

Note: This article refers to the Premier Legacy Templates, which may be outdated. If you are using the Kajabi Pages Templates, please refer to the updated guide here.
Adding a form to your page
- Open the Website tab from the Dashboard
- Click Pages
- Select the page you wish to customize or create a new page
- Click Customize to open the template editor
- Click + Add Section from the sidebar
- Select Opt In Form
- Click Add
- Your newly created Form Section will generate at the bottom of the page
- Select the Form from the dropdown to display in your Section
- Click Save to keep your changes:
Customizing your form section
In a Form Section, select the Form used, configure the Thank You Page, and edit the Text.Select the form
Click Edit your forms to change or create Offers in the Product tab: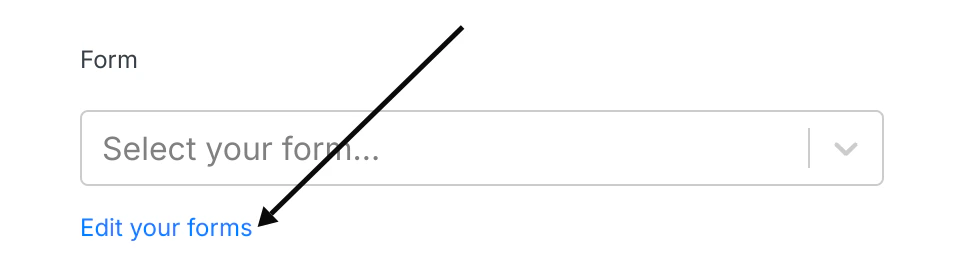
Thank you page
Set up the the action triggered after the Form is submitted from the page:- Go to a Landing Page
- Go to a Checkout Page
- Download a File
- Go to a URL
Note: Leave blank to send your customers to the default Thank You Page located under the Website Design tab or to the specified Thank You Page set up in the After Submissions settings of the Form editor. Selecting the Thank You Page from this dropdown will override the default Thank You Page and the After Submission Form settings Thank You Page.
Button text
Customize your message displayed on the Button to submit the Form.Text
Choose to Show Text to provide additional context or information next to your Opt In Form. Use the Text Editor to enter your custom messaging.Form appearance
Customize the appearance of your Opt In Form within the Section by editing the:- Position
- Input Label
- Button Style
- Button Width
- Button Color
- Form Color