

Note:
You must be using Builder 2.0 to access Media Library. Learn how to upgrade to Builder 2.0.
Key benefits
- Upload once, use everywhere — Add video or audio to your library and embed it across your entire site without re-uploading
- Stay organized — Use Tags to group and categorize your media assets
- Track usage — See exactly where each asset is being used across your site
- Enhance your content — Add transcripts, translations, dubbing, and chapters to your videos
Get started with Media Library
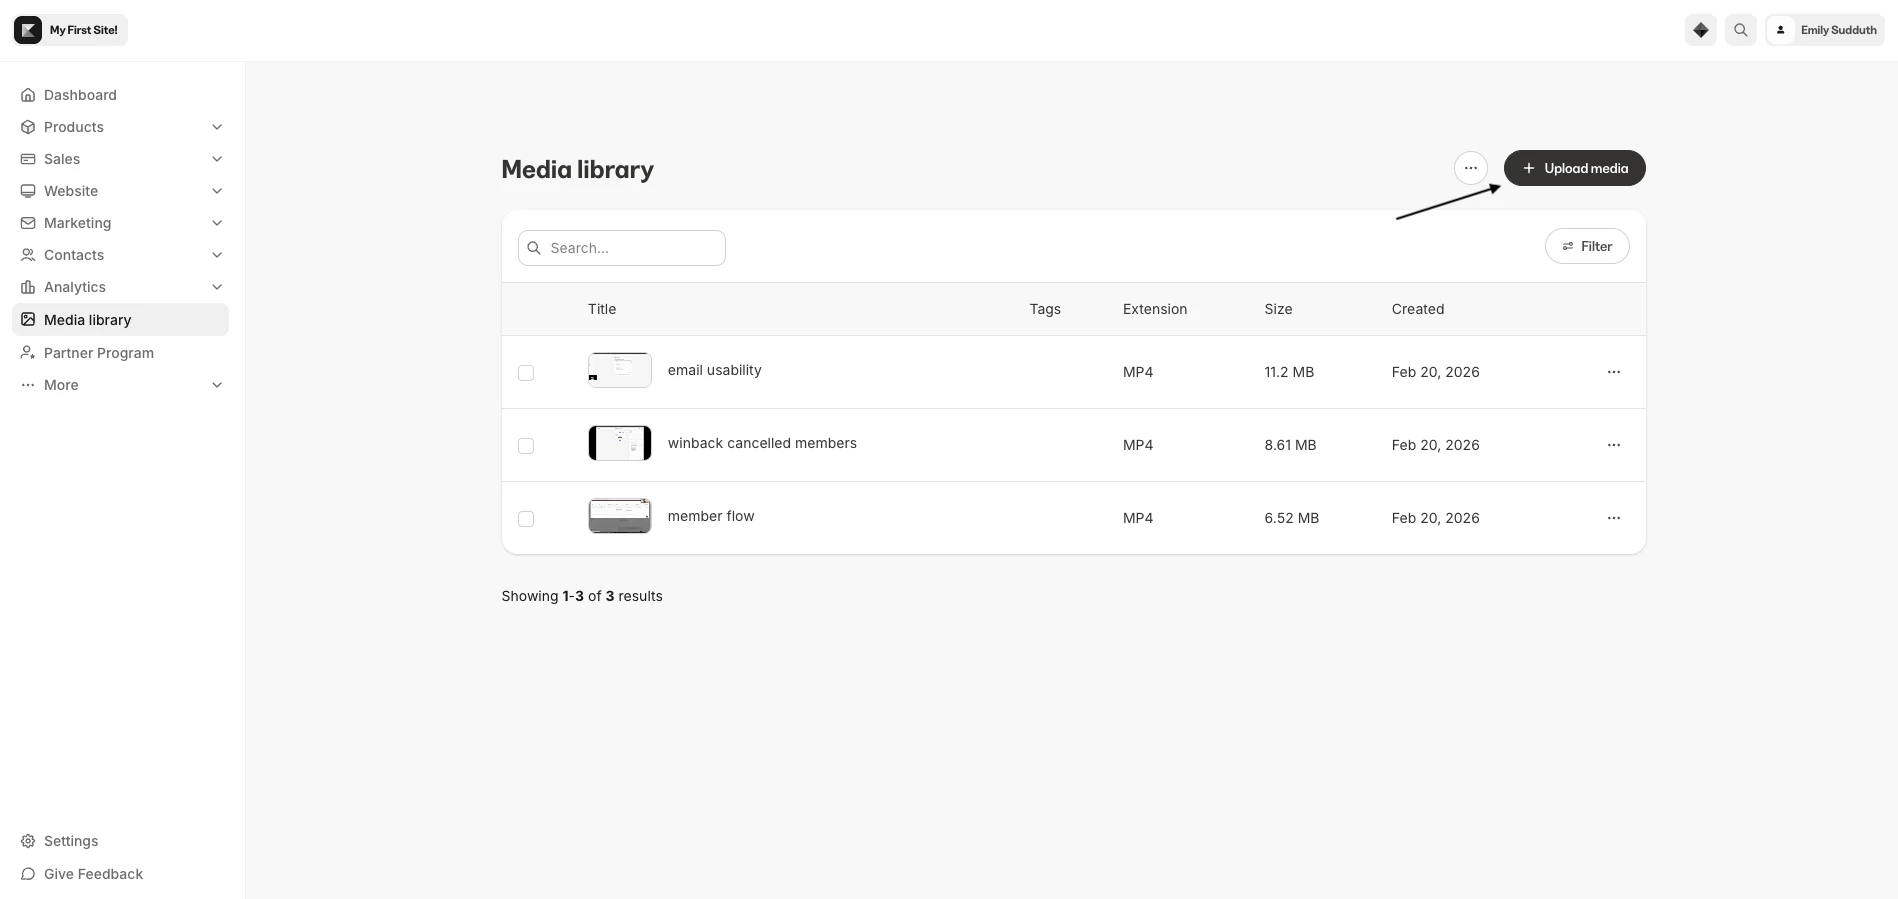
In your Kajabi account dashboard, go to Media Library. From here you can browse all of your uploaded video and audio files, upload media, and organize everything with Tags:
Import existing video files
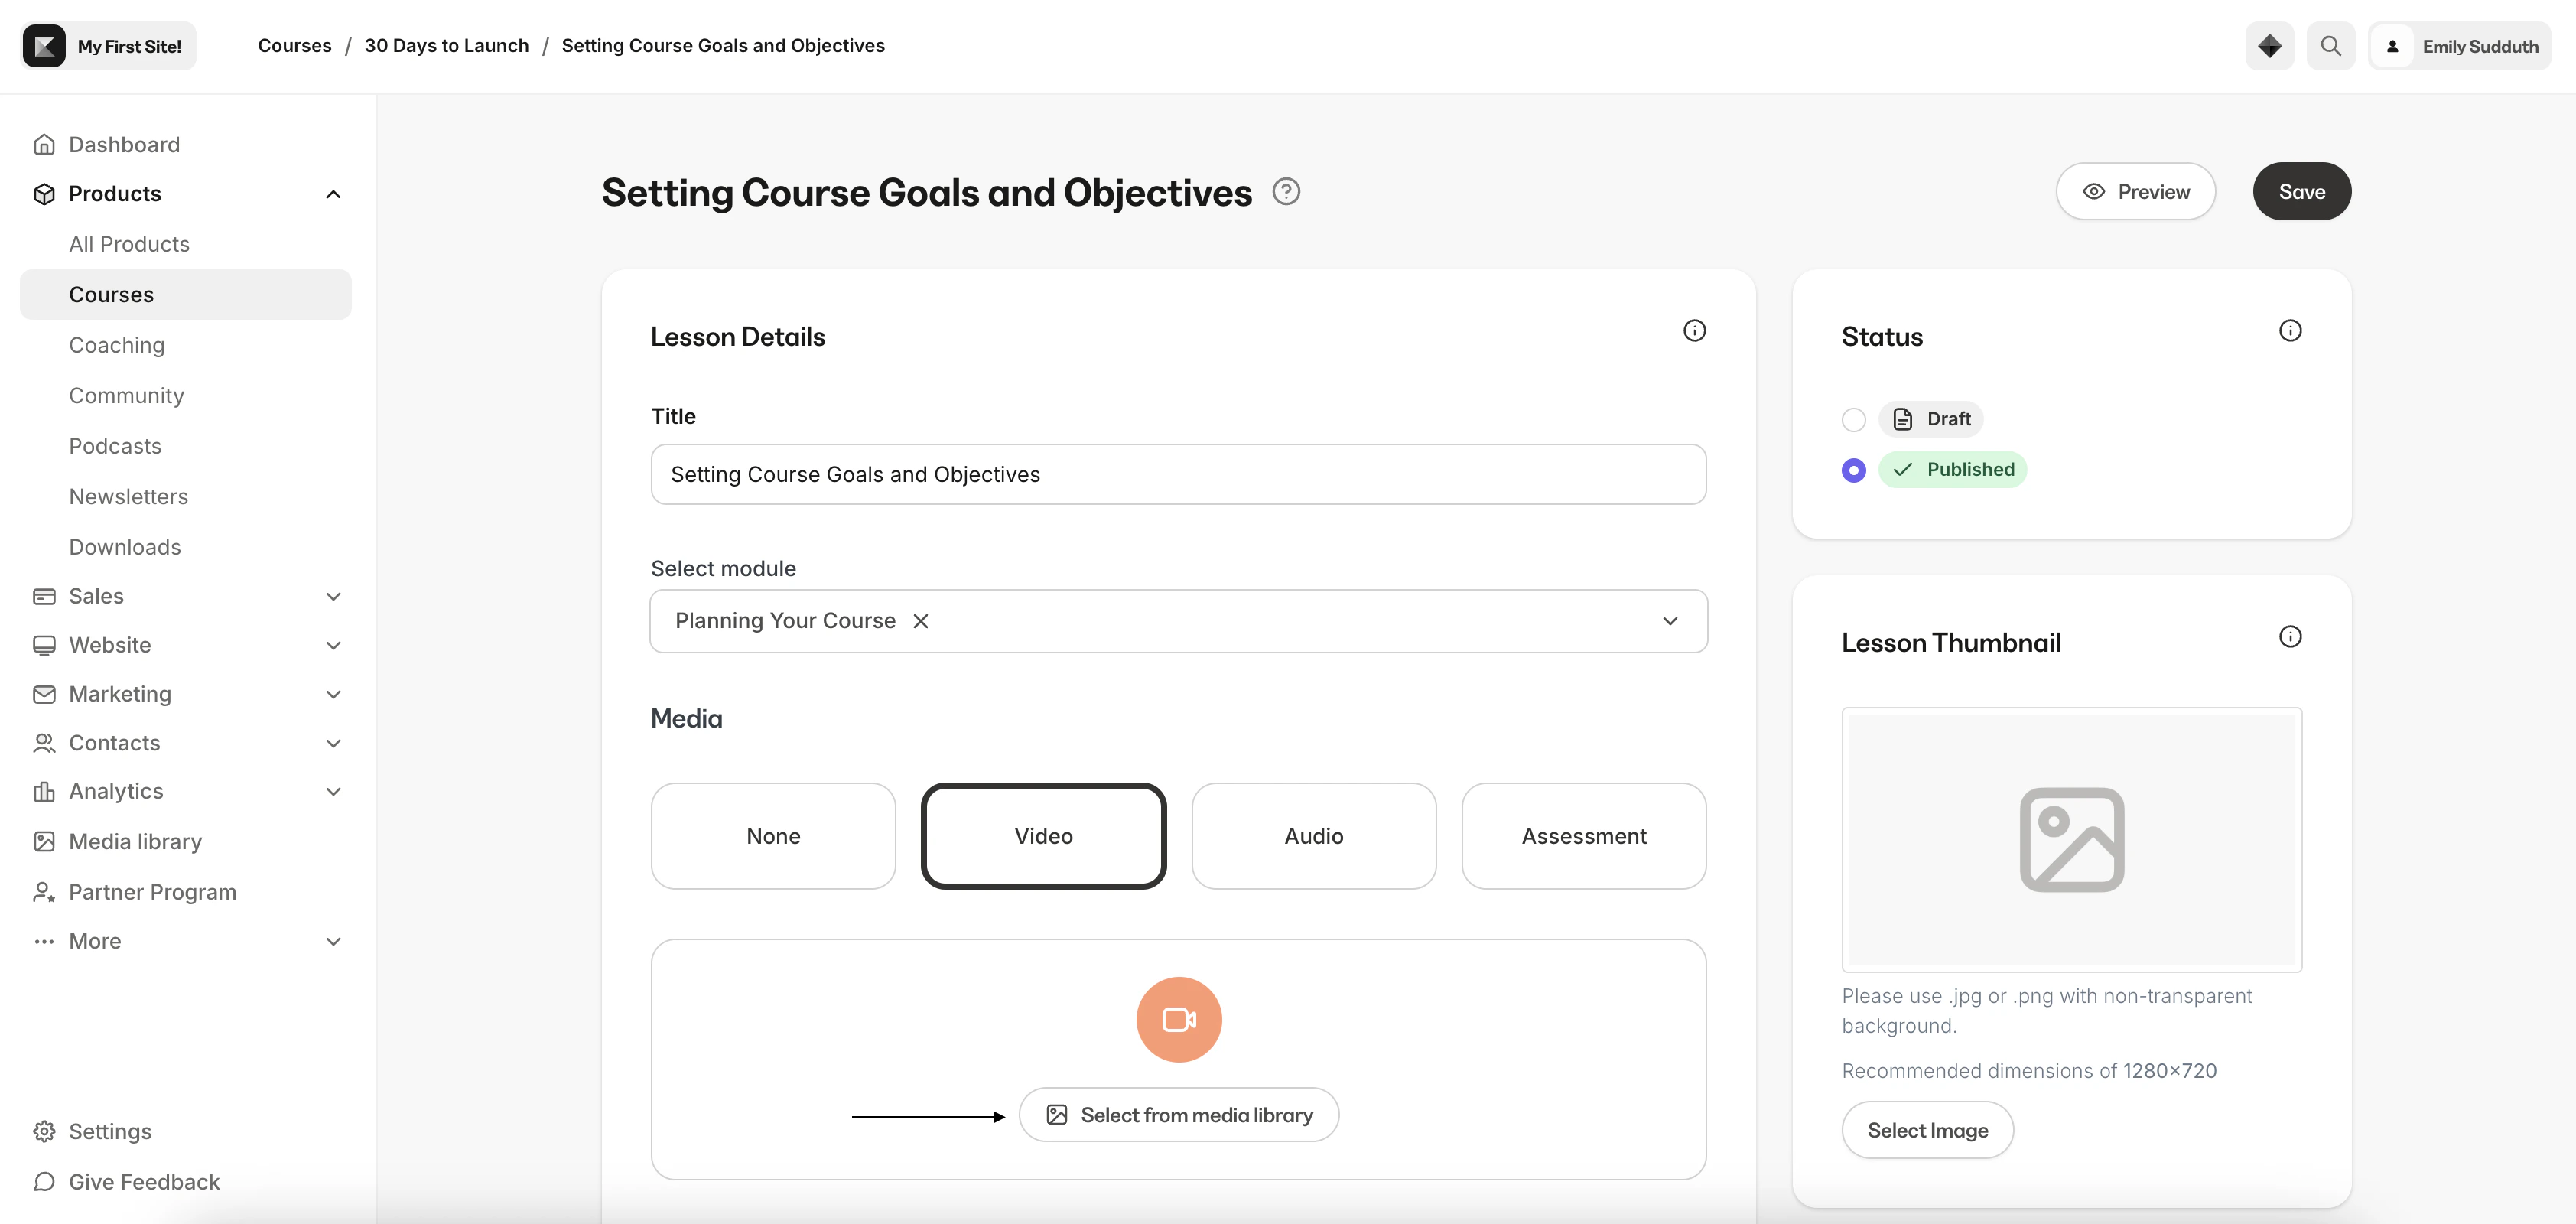
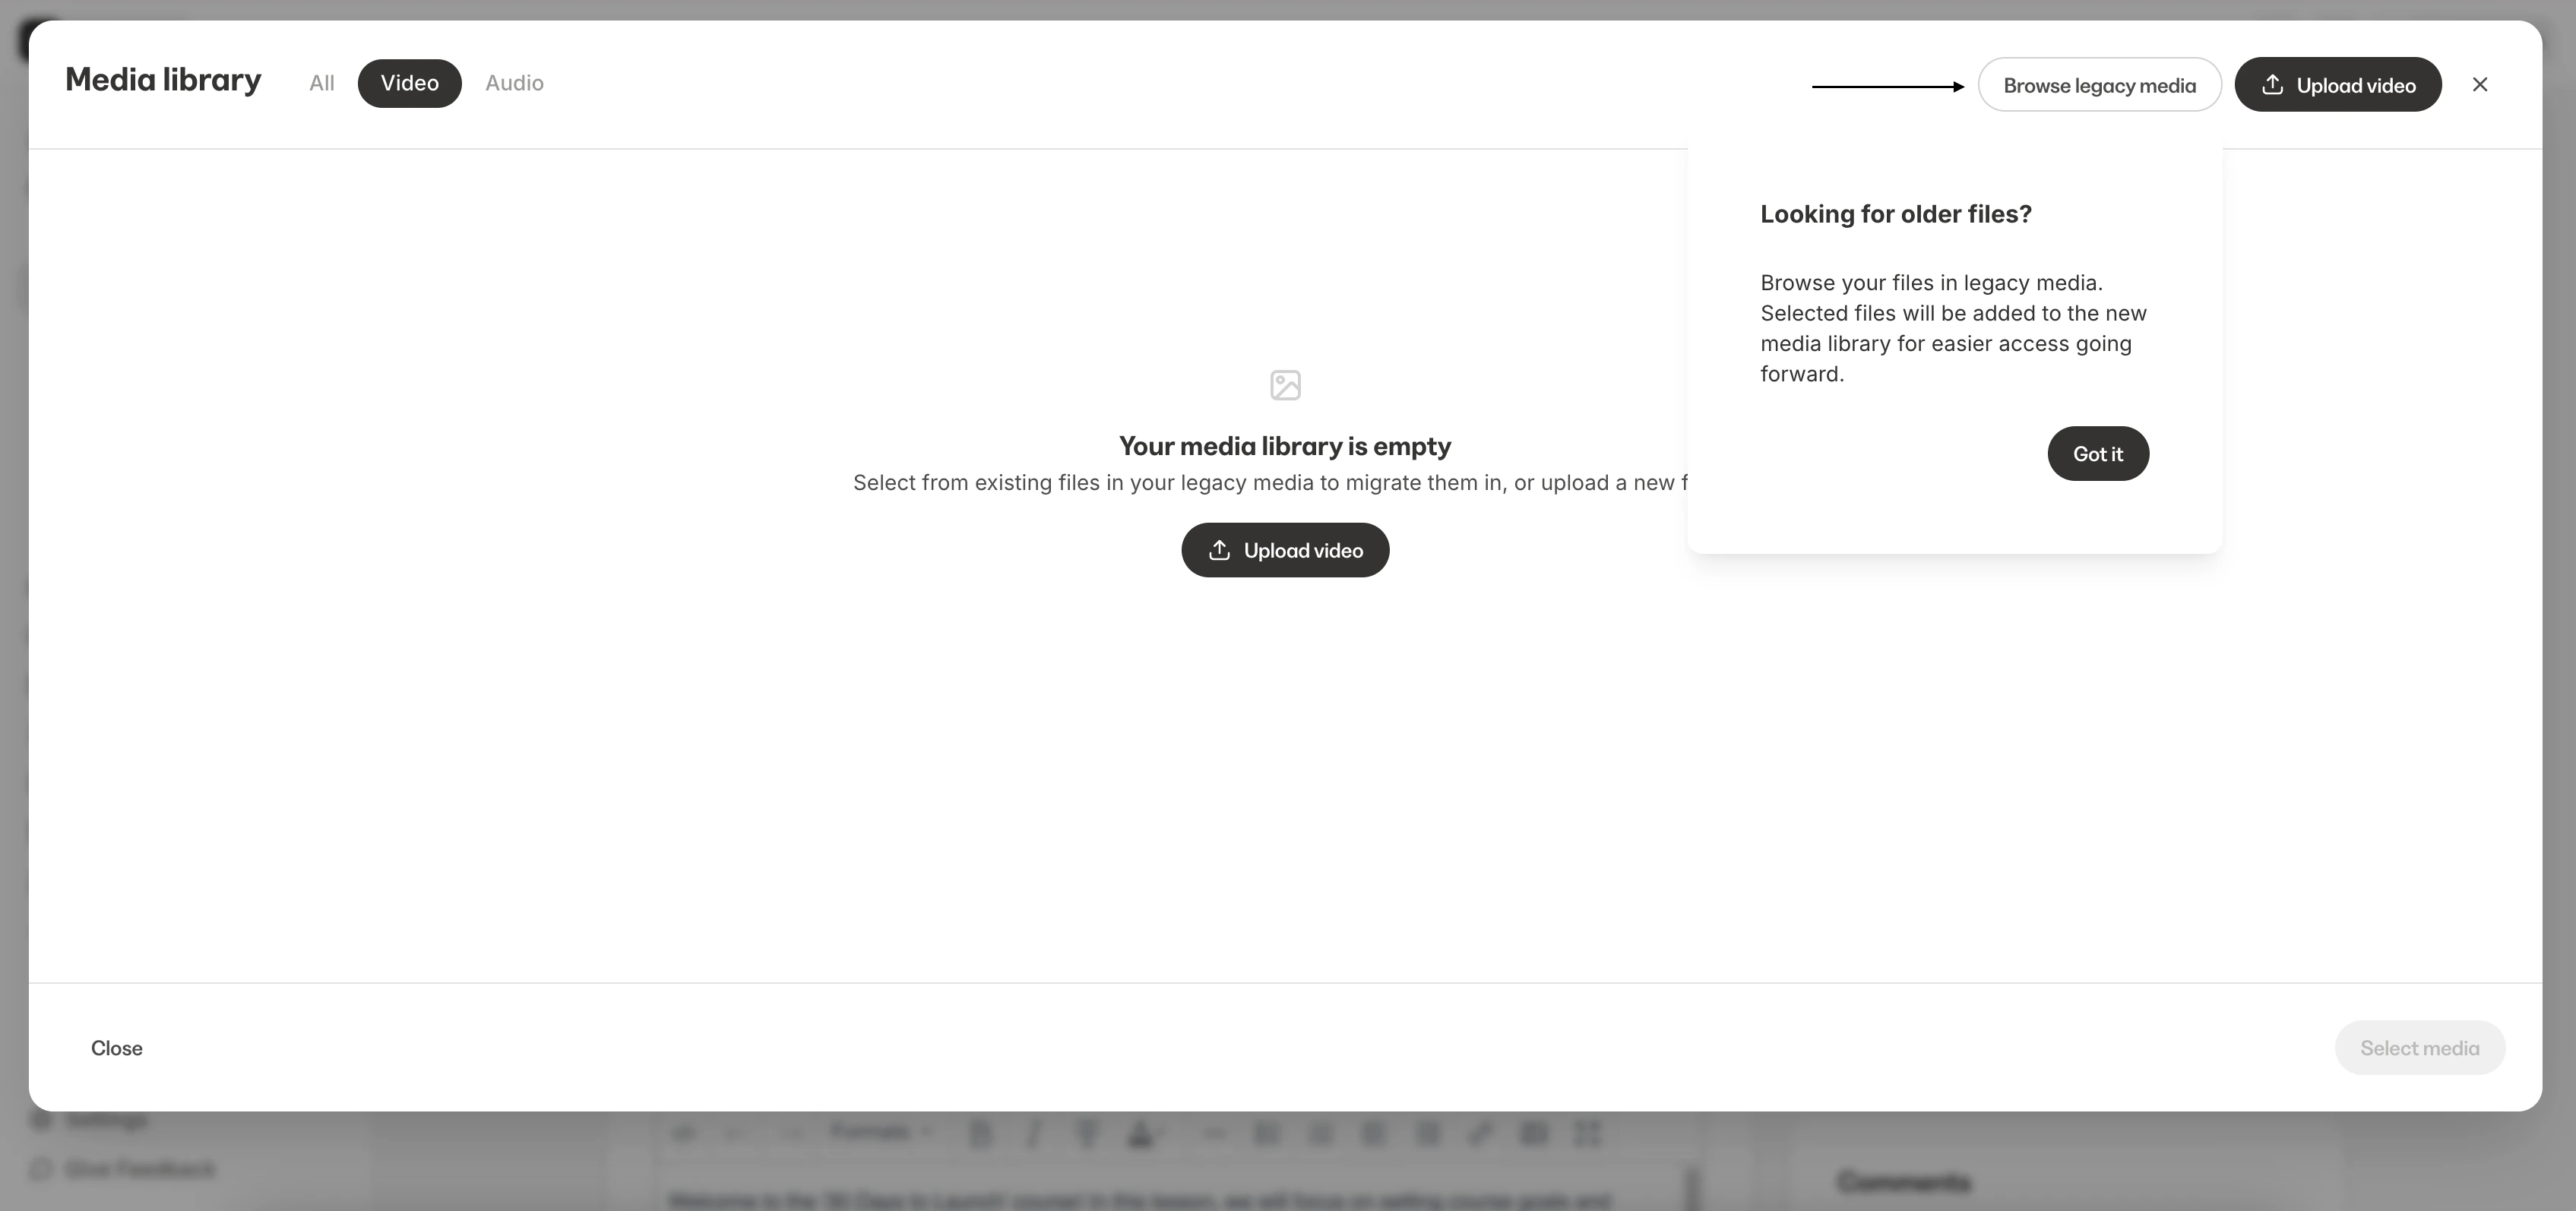
If you have video files that were uploaded before Media Library was available, you can bring them into your library using the Looking for older files? option. This appears the first time you open the Media Library picker and lets you browse your recent videos and copy them into the library for centralized management going forward.- Go to upload a video and click Select from media library.
- Click Browse legacy media.
- Select your video file and click Copy to media library.
Key features
Upload video and audio files
You can upload video and audio files directly to your Media Library. You can upload up to 10 files at a time using the upload buttons at the top of the Library. Supported file types:- Video — MP4, MOV, AVI, WMV, FLV, MKV, 3GP, 3G2, M4V, MPG, OGV
- Audio — MP3
Organize with Tags
Create Tags to organize your media assets. You can add multiple Tags to any asset, making it easy to group and find related files. Manage your Tags from the Tags page where you can create, rename, and delete Tags.- Create Tags like “Module 1,” “Interviews,” “Bonus Content,” etc.
- Add or remove Tags from any asset’s detail page or directly from the Library
- Filter your library by one or more Tags to quickly find what you need
- Bulk add or remove Tags with multi-select

Search and filter
Find exactly what you’re looking for with built-in search and filtering:- Search by name — Type in the search bar to find assets by name
- Filter by type — Switch between All, Video, and Audio tabs
- Filter by Tags — Select one or more Tags to narrow your results
- Sort — Sort by name or date added

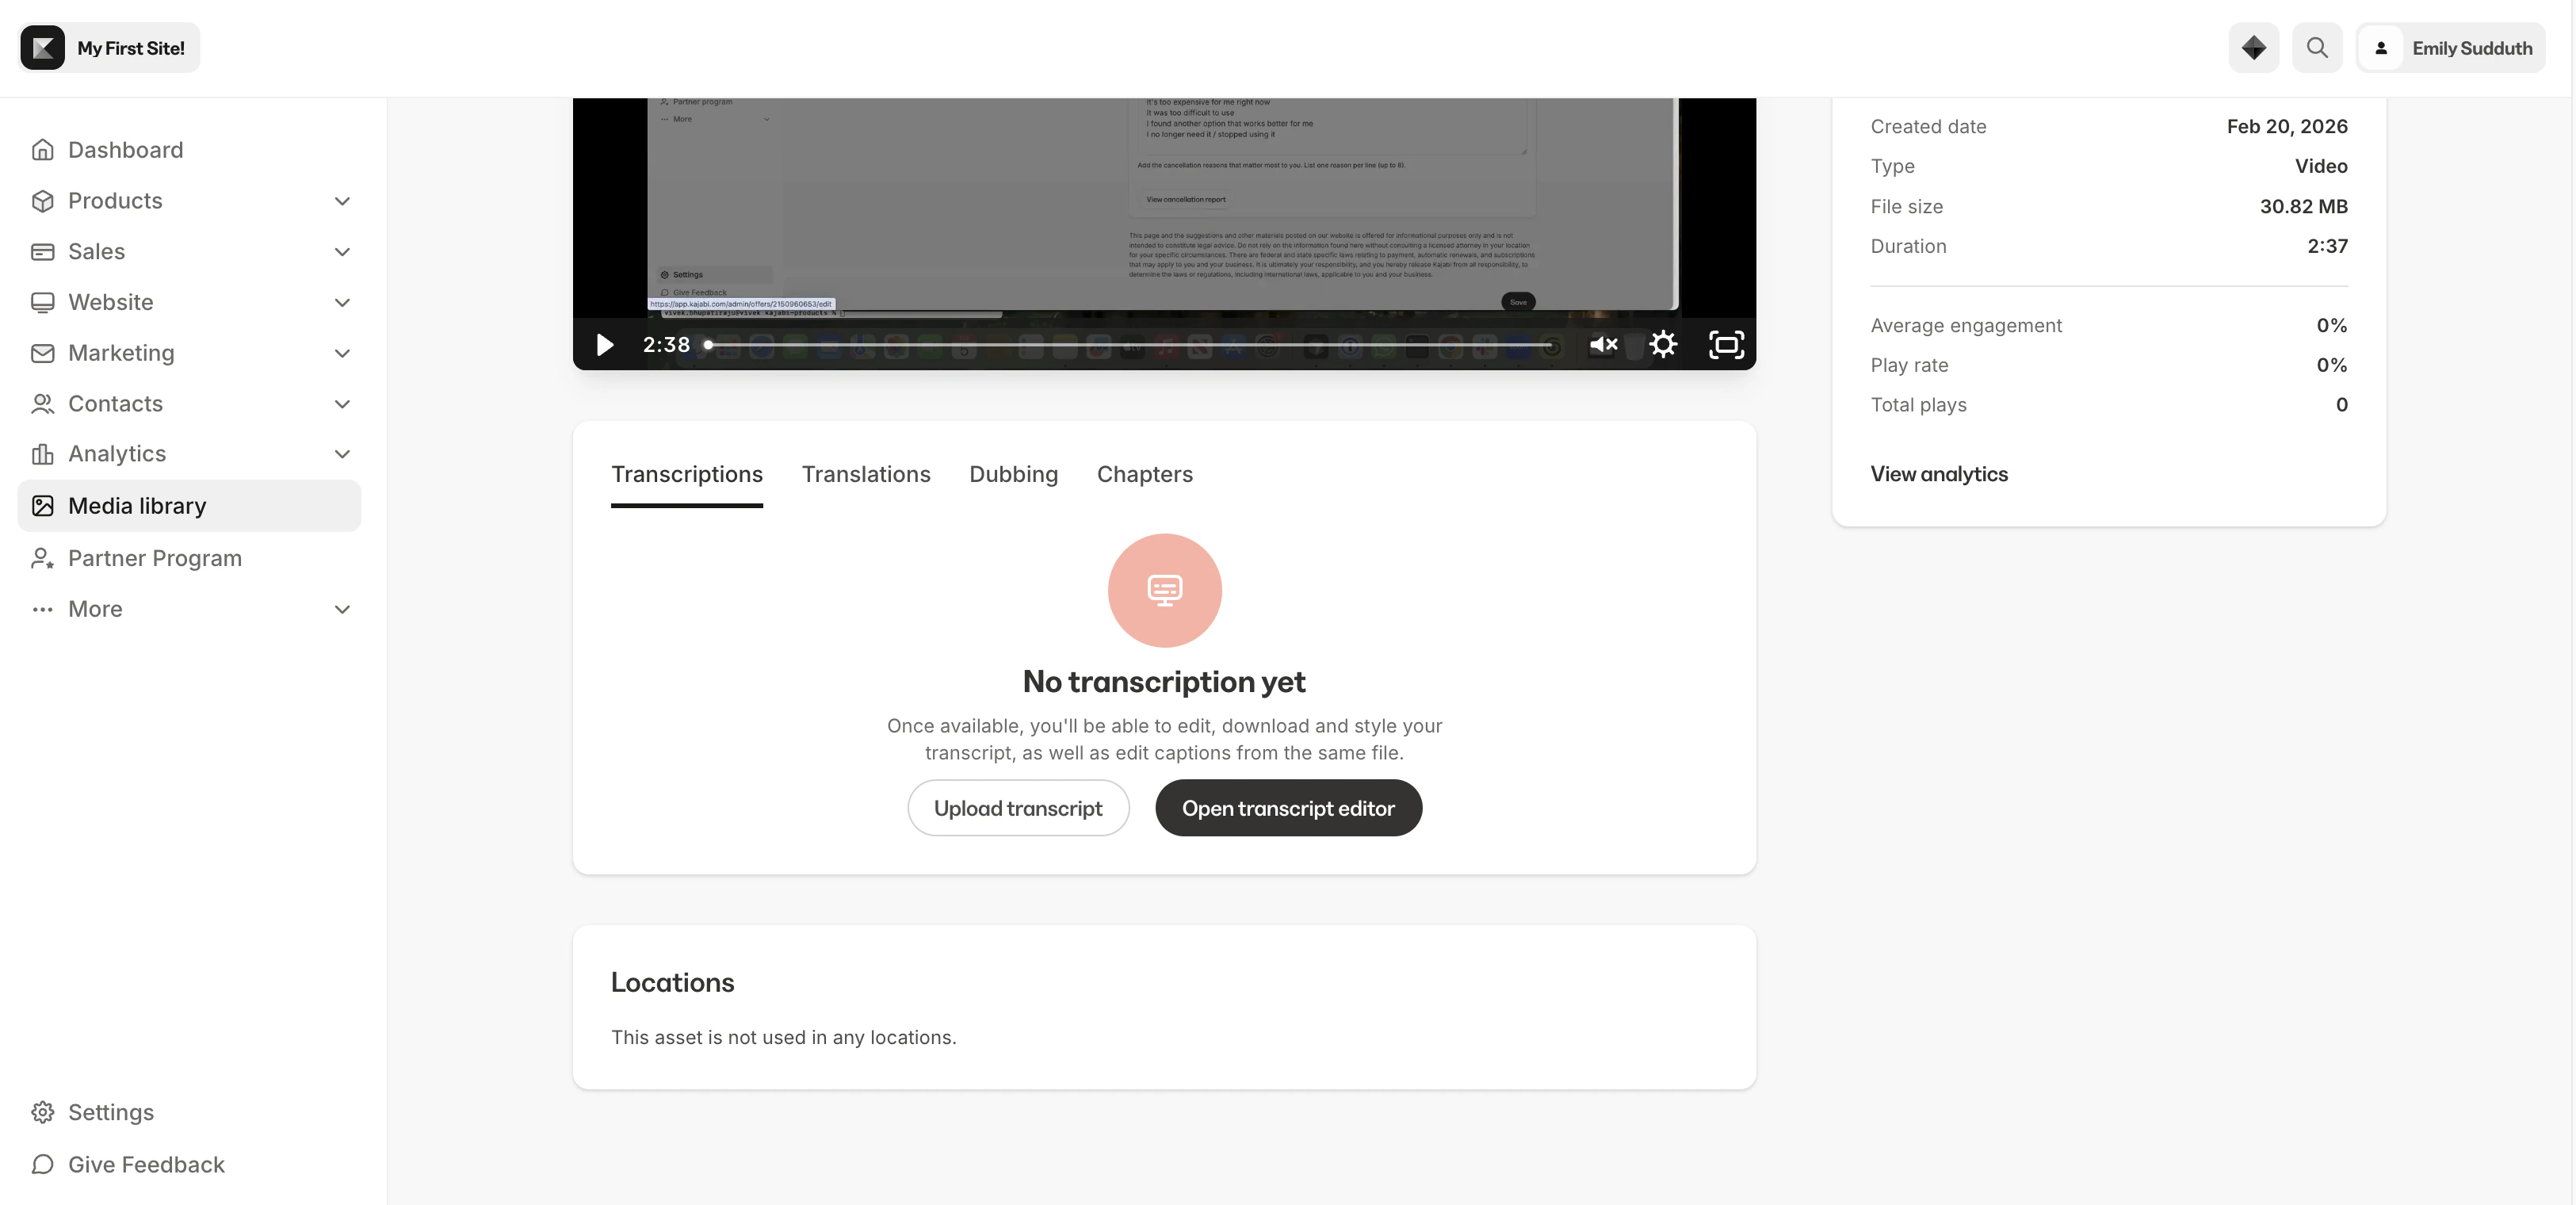
Asset detail page
Click on any asset to open its detail page, where you can see everything about that file in one place:- Media preview — Watch videos or listen to audio directly in the browser
- Asset info — View the File Type, Duration, File Size, and Upload Date
- Locations — See every place this asset is currently used across your site, with direct links to each location
- Tags — Add or remove Tags
- Actions — Rename, download the original file, or delete the asset
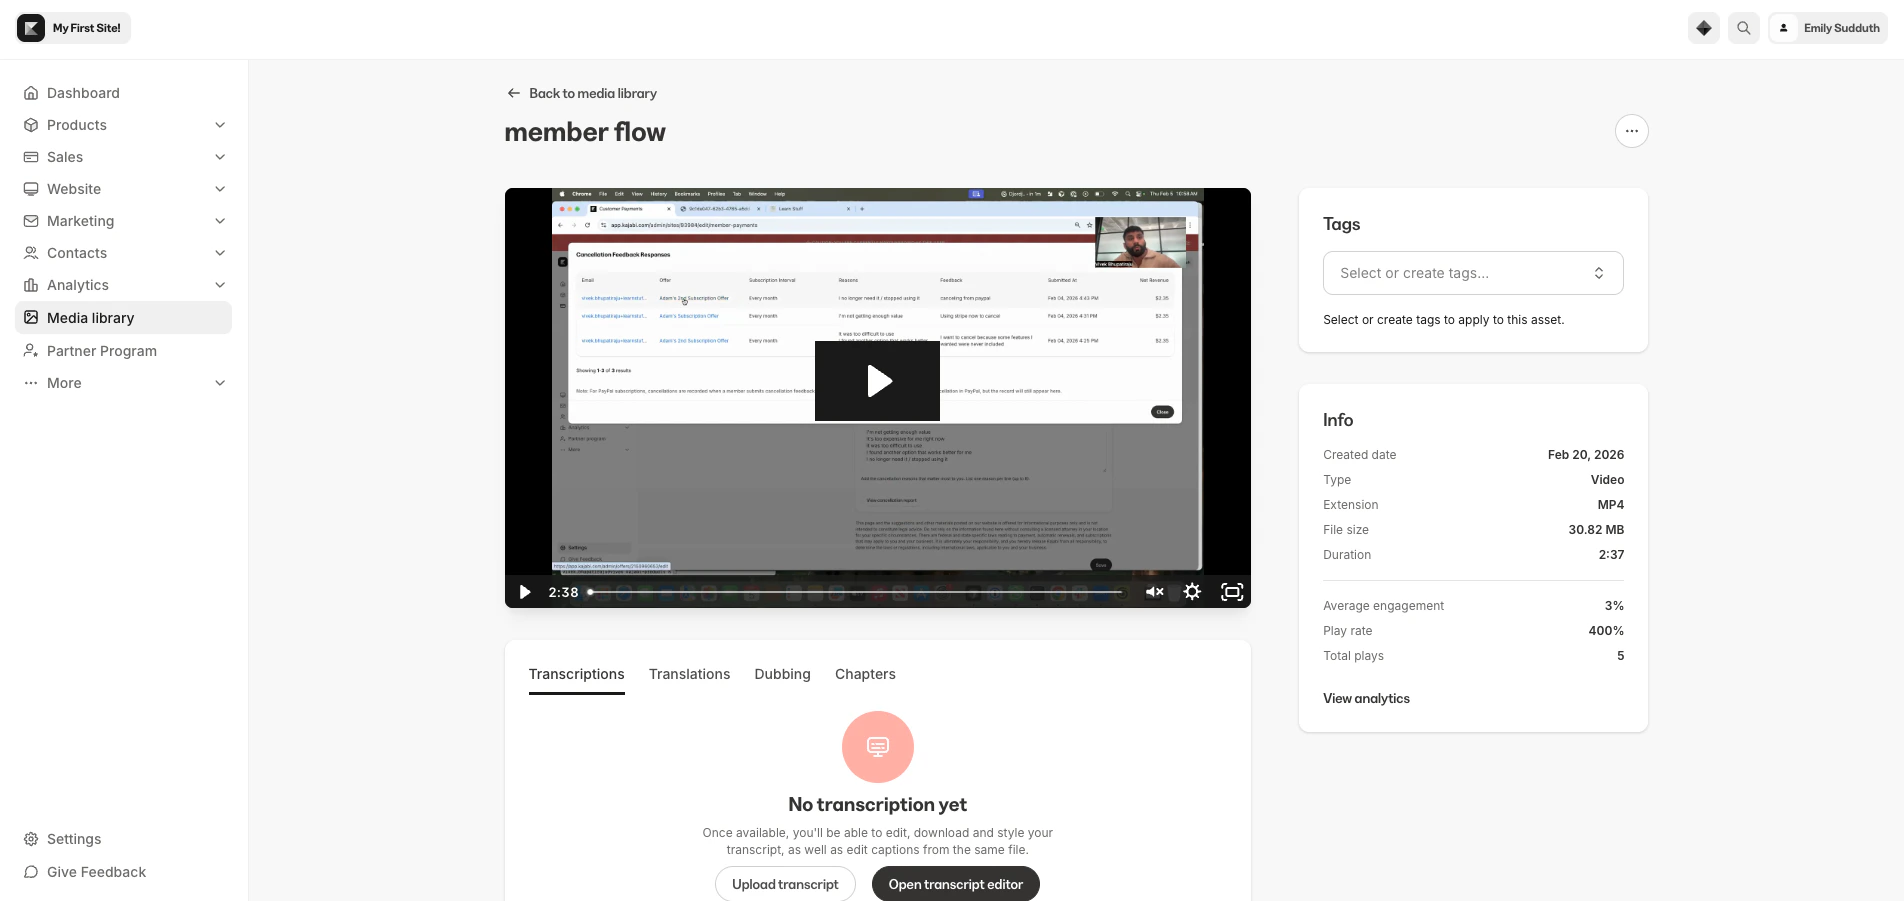
Transcripts, translations, and dubbing
For video assets, the detail page gives you access to powerful content enhancement tools:- Transcripts — View automatically generated transcripts of your video content
- Translations — Access translated versions of your transcript for a global audience
- Dubbing — Manage dubbed audio tracks for your videos
- Chapters — Add chapters to create navigable sections within your videos, making it easy for your audience to jump to the content they need
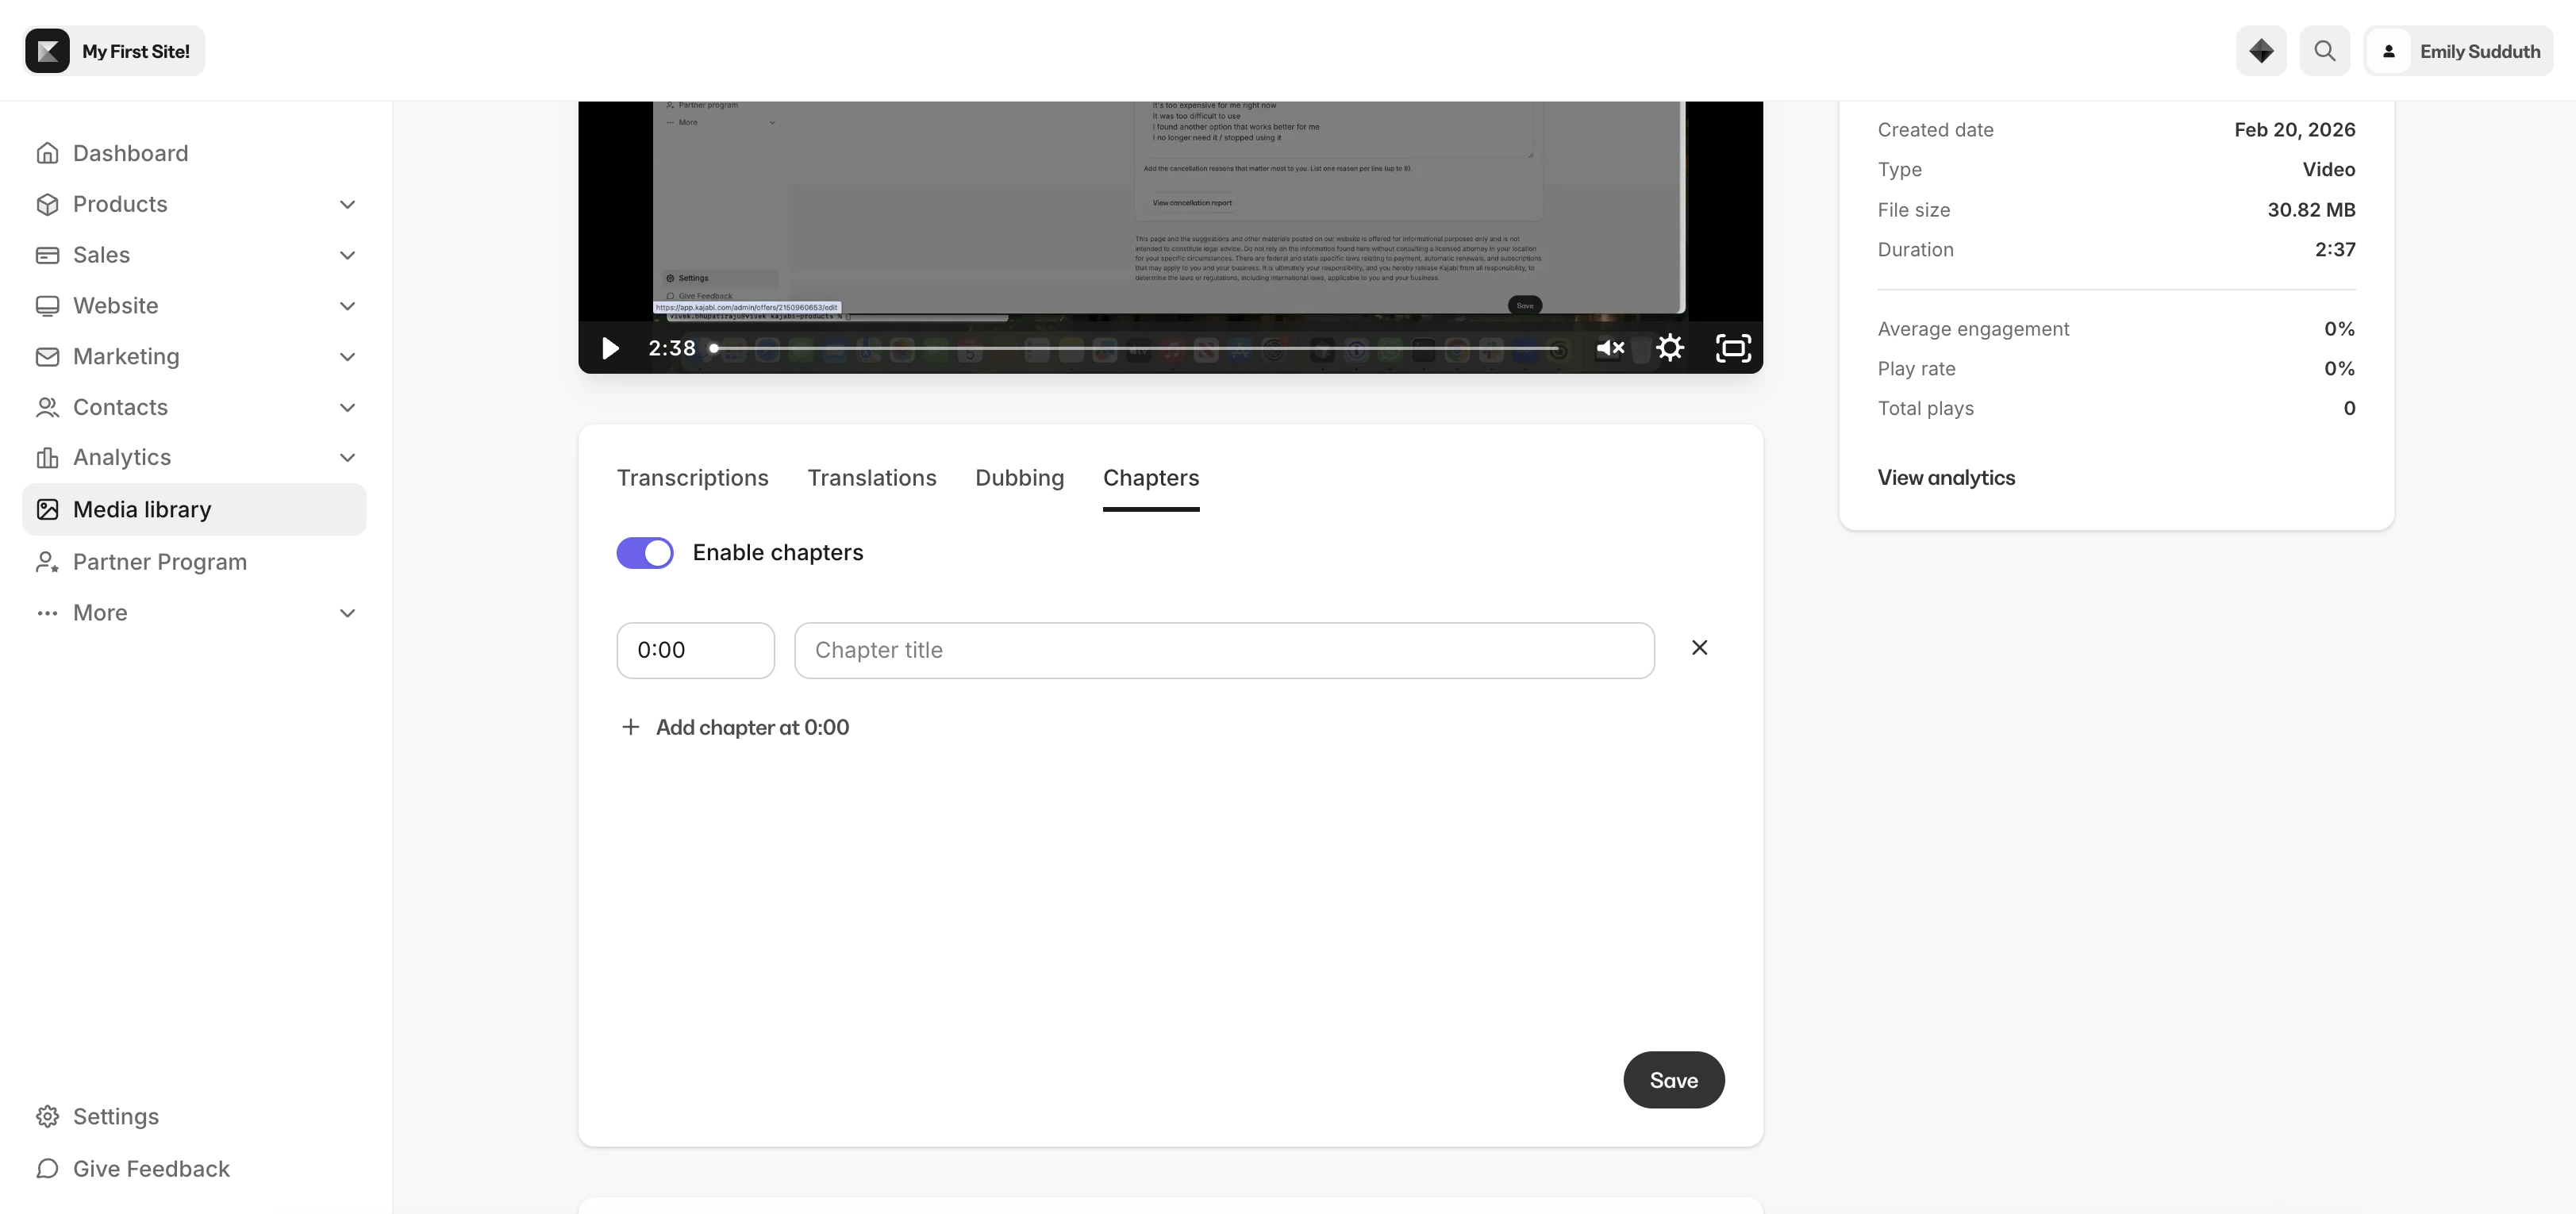
Chapters
Add navigable sections to your videos so viewers can jump directly to the content they need. From the Chapters tab on any video asset’s detail page, you can define titled markers throughout your video — similar to chapters on a YouTube video. When enabled, your members see clickable chapter markers in the video timeline during playback on every location where the video is embedded.- Add up to 20 chapters per video with a Title and Start time for each
- Chapters appear as clickable markers in the video player timeline for your members
- Enable or disable chapters at any time without losing your work
- Live video preview lets you verify each chapter’s timing as you set it up
- Works on both desktop and mobile
Note:
Chapters can only be added to video assets that are in the Media Library.
Use media across your site
The real power of Media Library is using your assets anywhere across your Kajabi site. When you’re building content in any of the following areas, you can select media directly from your library instead of uploading a file:- Course lessons — Add video or audio to any lesson
- Blog posts — Embed video or audio in your blog content
- Coaching sessions — Attach recordings to group or one-on-one sessions
- Live sessions — Add video replays
- Offers and upsells — Include video in your Offer pages
- Pages and themes — Add video or audio to any page through the Page Builder