

Customizing your Help Center landing page template
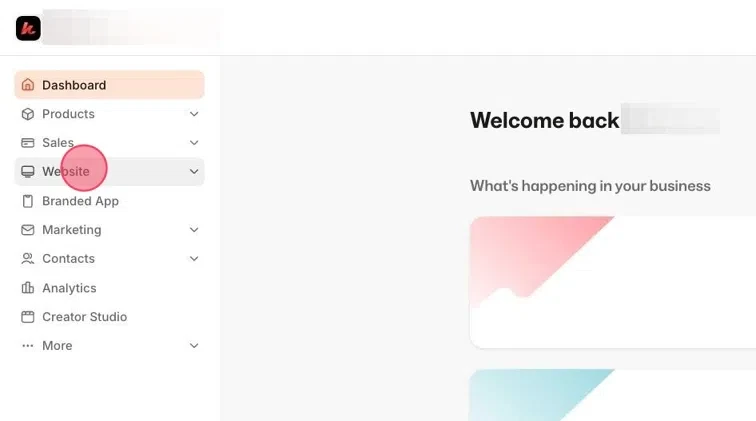
Step 1. Access your Dashboard
- From your Kajabi Dashboard, navigate to Website > Landing Pages.
Step 2. Create a landing page
- Click on New Landing Page to start building a customized Help Center page.
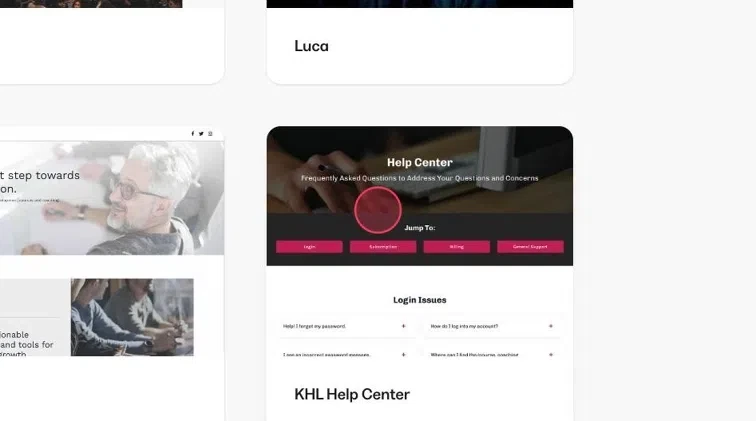
Step 3. Select the Help Center template
- Click View All (15) to browse templates, then scroll down to select KHL Help Center.
- Click Get started to begin customization.
Step 4. Name your Help Center page
- Enter a name for your page (e.g., “Help Center”) and click Create to proceed.
Step 5. Add a form to collect visitor information
- At the bottom of your Help Center template, click Click here to select a form to display.
- Select a Form: Choose a form that collects Name, Email, and Message fields to help you capture user inquiries effectively.

Step 6. Create a form (optional)
- If you need to create a form for your Help Center submissions, click Edit your forms > New form.
- Enter a title for your form, then click Save.
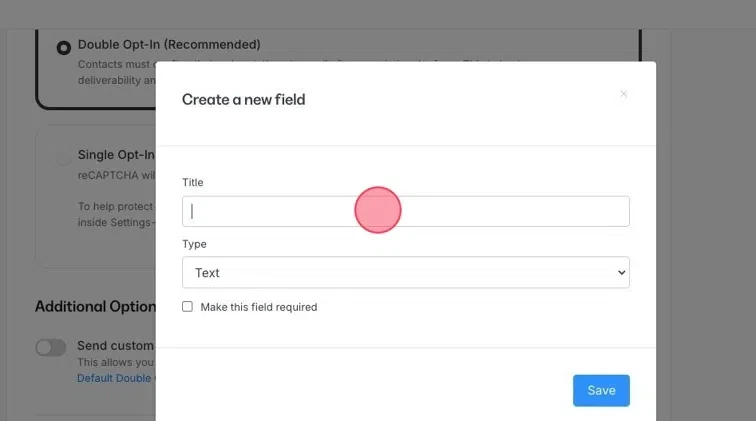
Step 7. Customize form fields
- Click Add Form Field > Create a New Field
- Select “Text” under type
- Add a “Title” for your form field (we recommend “How can we help you?”)
- Finally, click “Make this field required”
Step 8. Set a custom thank you page
- To redirect users after they submit a form, choose Send the contact to a custom thank you page and save your settings.
Step 9. Review and save your page
- Once you’re satisfied with your Help Center layout and content, click Save to publish your customized Help Center page.
Customizing your Help Center landing page creates a cohesive, user-friendly support hub for your customers. Following these steps ensures your Help Center is both functional and reflective of your brand.