

Overview
When you experience slow page load times, see 404 error pages, or encounter other connectivity issues, clearing your browser cache and flushing your DNS are the recommended first troubleshooting steps. This guide walks you through both processes for Windows and Mac.My browser has cookies?
Every internet browser (e.g., Chrome, Firefox, Safari, etc.) uses cookies to store data. This is a text file type that websites use for faster processes in the future. An example of a cookie would be your login info saved for a future visit for a site requiring a login, or products you saved to a shopping cart but did not purchase still being in your shopping cart the next time you access that site. While cookies are very small in size, it is good practice to clear them if you are facing load time issues or having trouble loading images through your browser. A browser cache is a type of static file saved by your browser to improve load times. This can be an image such as a brand logo or a piece of HTML code. Think of the Amazon logo. After you visit Amazon once, your browser will cache that image so that it does not have to re-download it each time you visit. This improves website page load times.How to clear your browser’s cookie and cache
Clearing your browser’s cookies and cache is simple and a great way to improve website load times. It is a crucial first step in troubleshooting any browser issues you may face. If you are using Internet Explorer, Edge, Google Chrome, or Mozilla Firefox, you can clear the cache of your browser with a keyboard shortcut.Windows 10
- While in your browser, press Ctrl + Shift + Delete simultaneously on the keyboard to open the Browser Cache window.
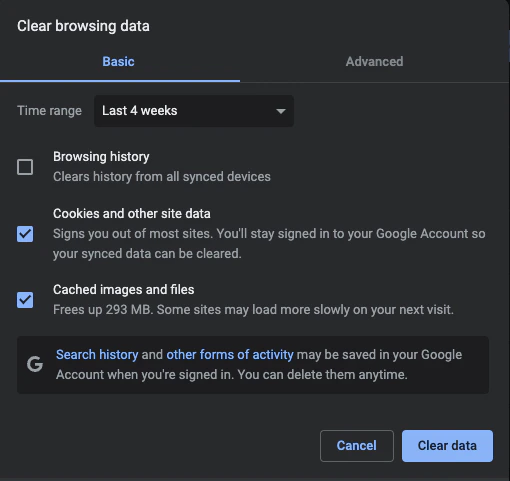
- Press Clear Data to clear your browser’s cache and cookies.
Mac
- While in your browser, press Command + Shift + Delete simultaneously on the keyboard to open the Browser Cache window.
- Press Clear Data to clear your browser’s cache and cookies.
What is a DNS?
DNS stands for Domain Name System. This is a record of IP Addresses that your operating system stores or caches so that it can find and load a website faster. When you visit a website for the first time, your operating system makes a record of that site’s IP Address, so that when you visit the site in the future it will pull from that established record and load the site faster than the first time. Click here for a more in-depth look into how DNS works.Why should you flush your DNS cache?
Flushing your DNS cache helps improve your browser security, increase your internet privacy, and resolve internet connectivity issues you may face. If you have already cleared your browser’s cookies and cache and are still experiencing slow page load times or seeing a 404 error page when trying to visit a website, clearing your DNS cache would be the next troubleshooting step. Flushing your DNS ensures that you are accessing the most up-to-date version of that website. This is useful when you add a new custom domain name to your website. You may receive a 404 error page when visiting your custom domain URL for the first time. This is because your DNS has not refreshed yet to give you the most recently updated version of that page. Flushing your DNS will force the DNS to refresh and give you that up-to-date version of the page.How to flush your DNS cache
Flushing your DNS is a relatively simple process, but the process does vary slightly for each operating system.Windows 10
- Right-click on the start menu and choose Command Prompt (Admin) from the menu.
- Type in the command
ipconfig /flushdns.
Mac OS X
- Open Finder.
- Click Applications.
- Scroll down to the Utilities folder and click into it.
- Open Terminal.
- Type in the command
sudo killall -HUP mDNSResponder. - Enter your password when prompted to complete the process.