

- Sign in to The Apple Developer Console and select Account.
- You may see a notification banner with bold lettering near the top of the screen notifying you of required documents that need to be signed. If so, first sign these documents.
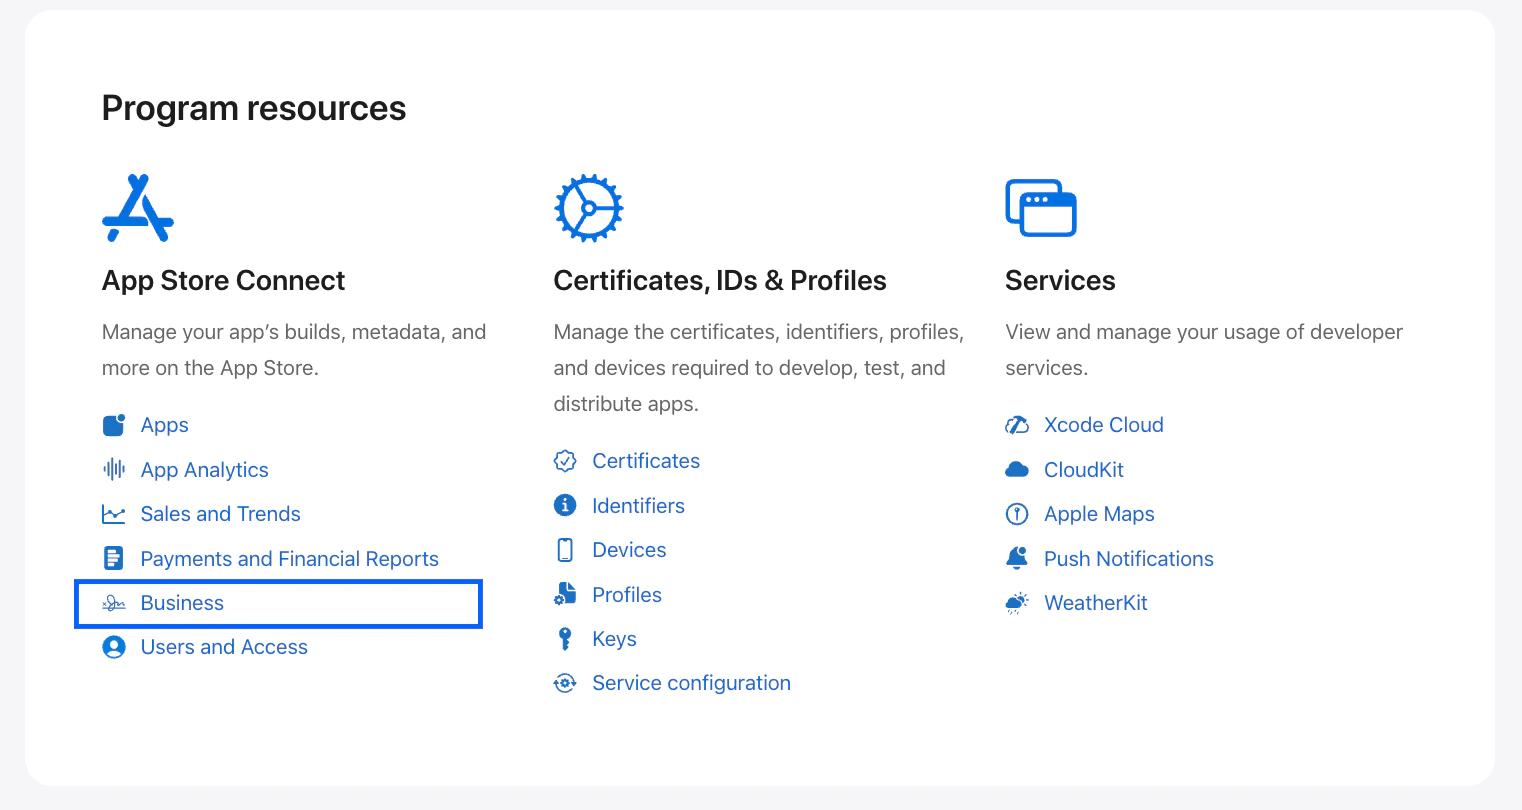
- Scroll down to the Program resources section.
- Under App Store Connect, select Business:
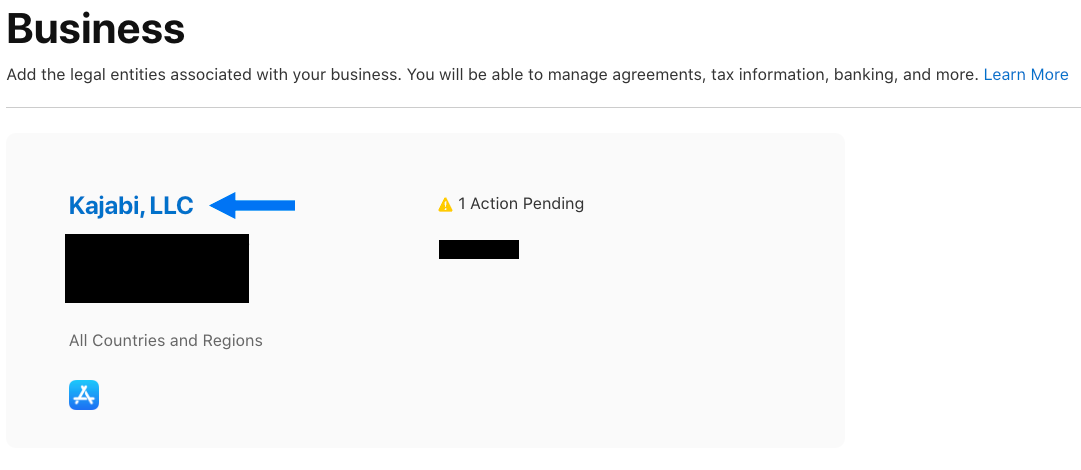
- Click on the name of the Business Entity (it will appear as a blue hyperlink):
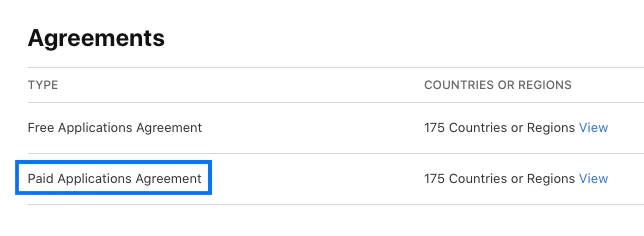
- Navigate to Agreements and locate the Paid Applications Agreement:
- Click View Terms. (If you don’t see a link to view the terms, you may need to update the account information or accept additional agreements first. Check the top of the page for notifications of other outstanding items).
- Review the terms of the agreement and click Agree to accept.