

Publishing an AAB file
You’ll first download an AAB (Android App Bundle) file from the Kajabi account. This file contains the code for the Android app. Next you’ll add the Kajabi team as a Google Play account admin, upload the AAB file to the Google Play Console, and publish the app to the Play Store. Once the app is published, customers will be able to download it onto their mobile devices (they’ll only need to download the app once to receive all future updates).Download the AAB file from Kajabi
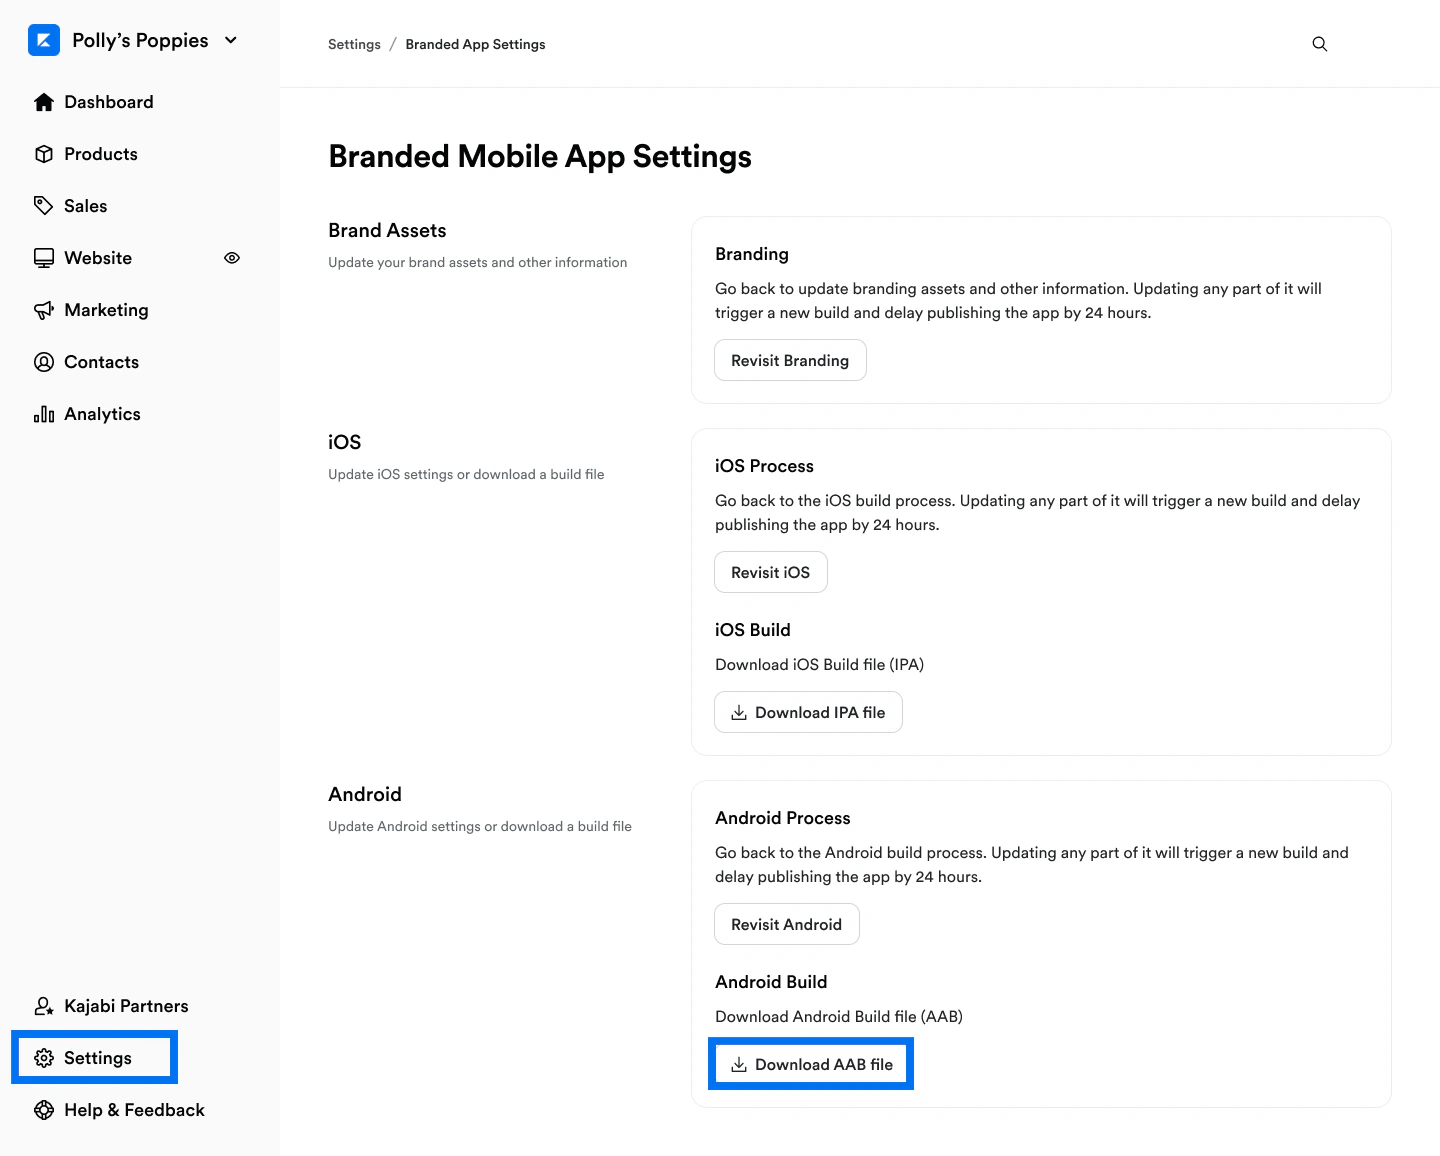
When the Kajabi team finishes building the app, the app code will be packaged into an AAB (Android App Bundle) file which you can download from the settings. To download the AAB file:- Log into the Kajabi account.
- Click the Settings tab at the lower left of the dashboard.
- Select Branded Mobile App Settings.
- Navigate to the Android section and click Download AAB file. The AAB file will download to your computer locally:
Add Kajabi as a Google Play account admin
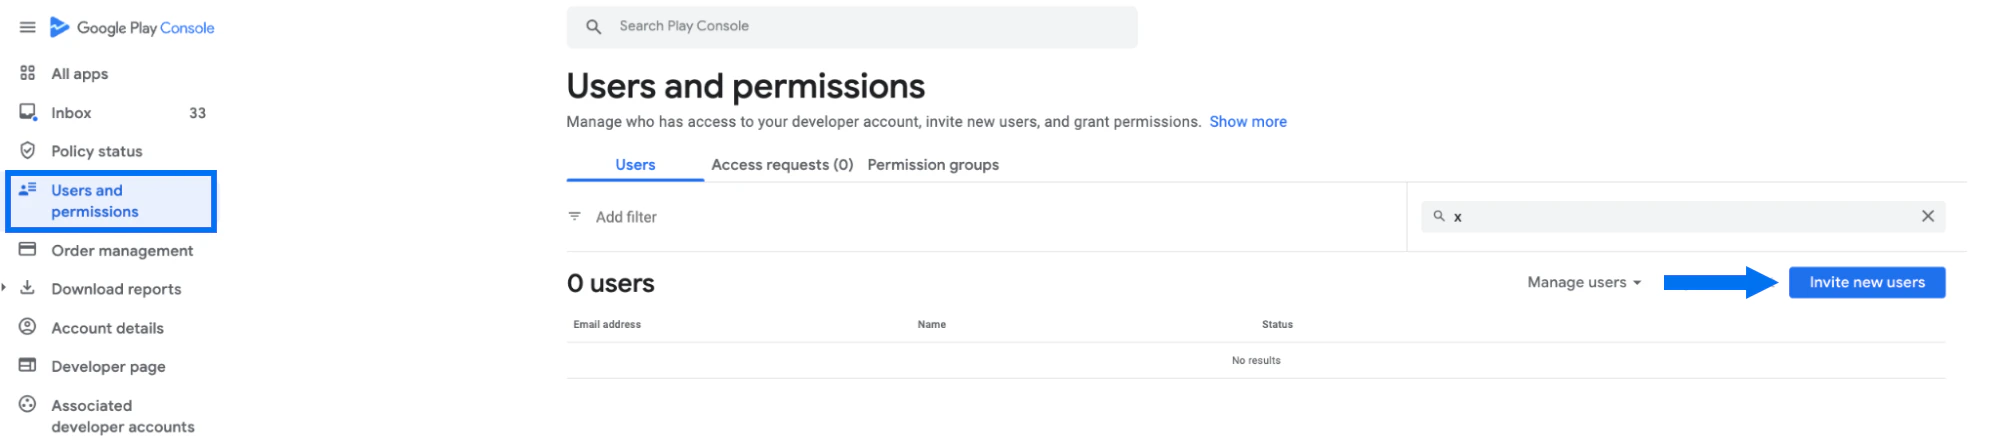
Next, grant the Kajabi team admin access to the Google Play Console and enable email notifications so we can help ensure that the app submission goes as smoothly as possible.- Log into the Google Play Console and make sure you’re not clicked into a specific app.
- Click on Users and permissions in the menu at the left of the screen.
- Click the blue Invite new users button:
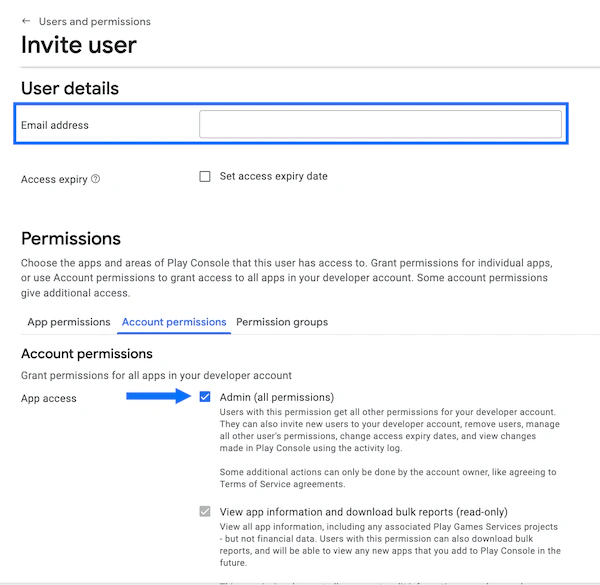
- In the Email address field, input: Creative.Coder@oc-corpeng.com
- Select the Admin checkbox under Account permissions.
- Click Invite User:
Upload the AAB file to Google Play
After downloading the AAB file, upload it to the Google Play Console.Production access error
Before proceeding with the steps below, please note that if you created a personal Google Developer account after 12/1/23, you’ll likely see an error message that “you don’t have access to production yet” if you try to publish the app into production without first releasing it for closed testing: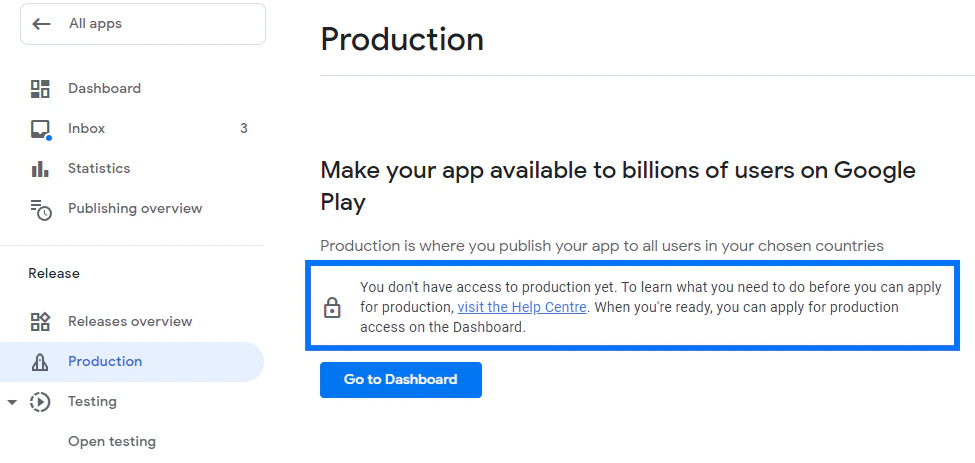
- In the Google Play Console, select the app you want to publish:

- Once you’ve loaded the specific app, navigate to the Release section in the left dashboard menu.
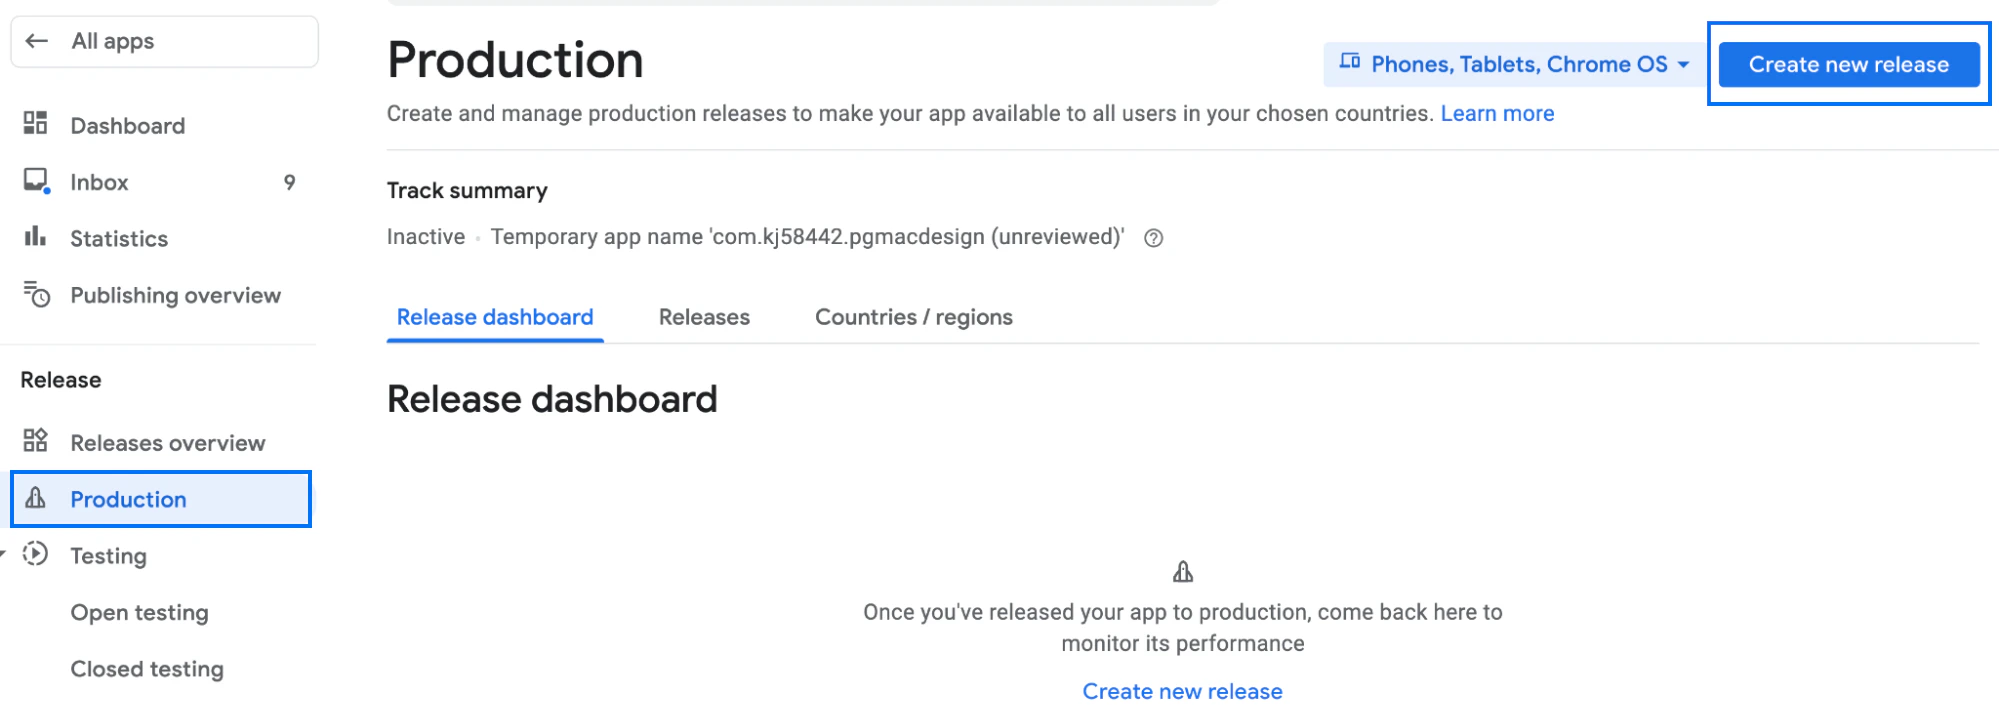
- From the Release menu options, select Production.
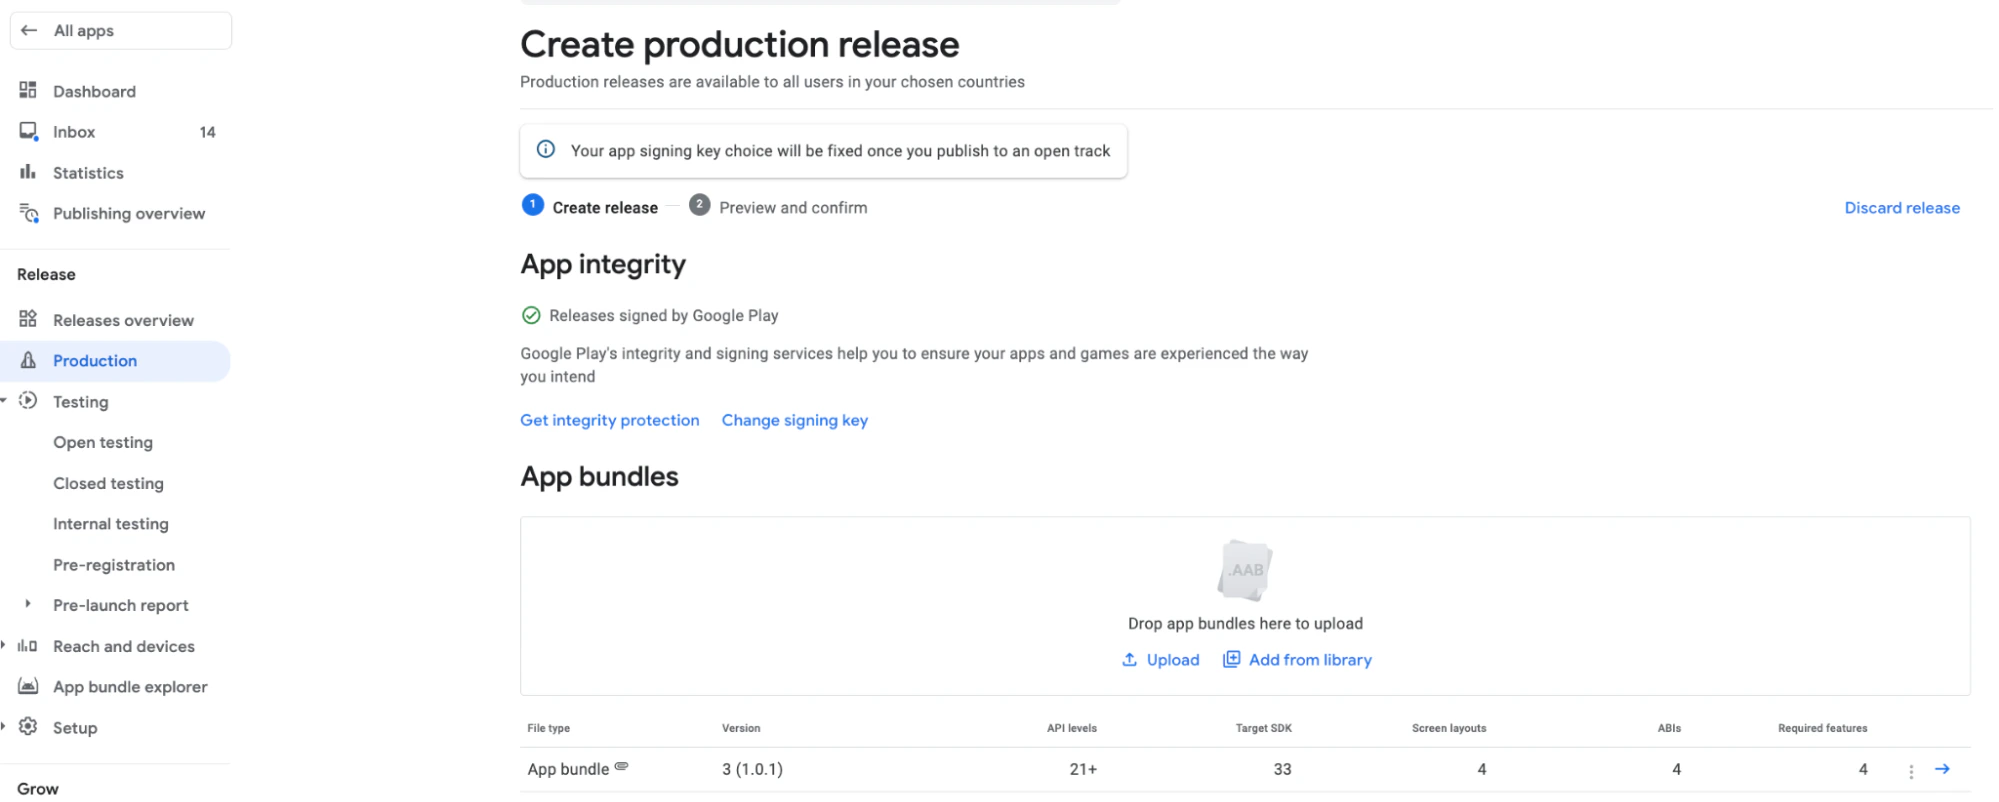
- At the top right corner of the page, select Create new release:
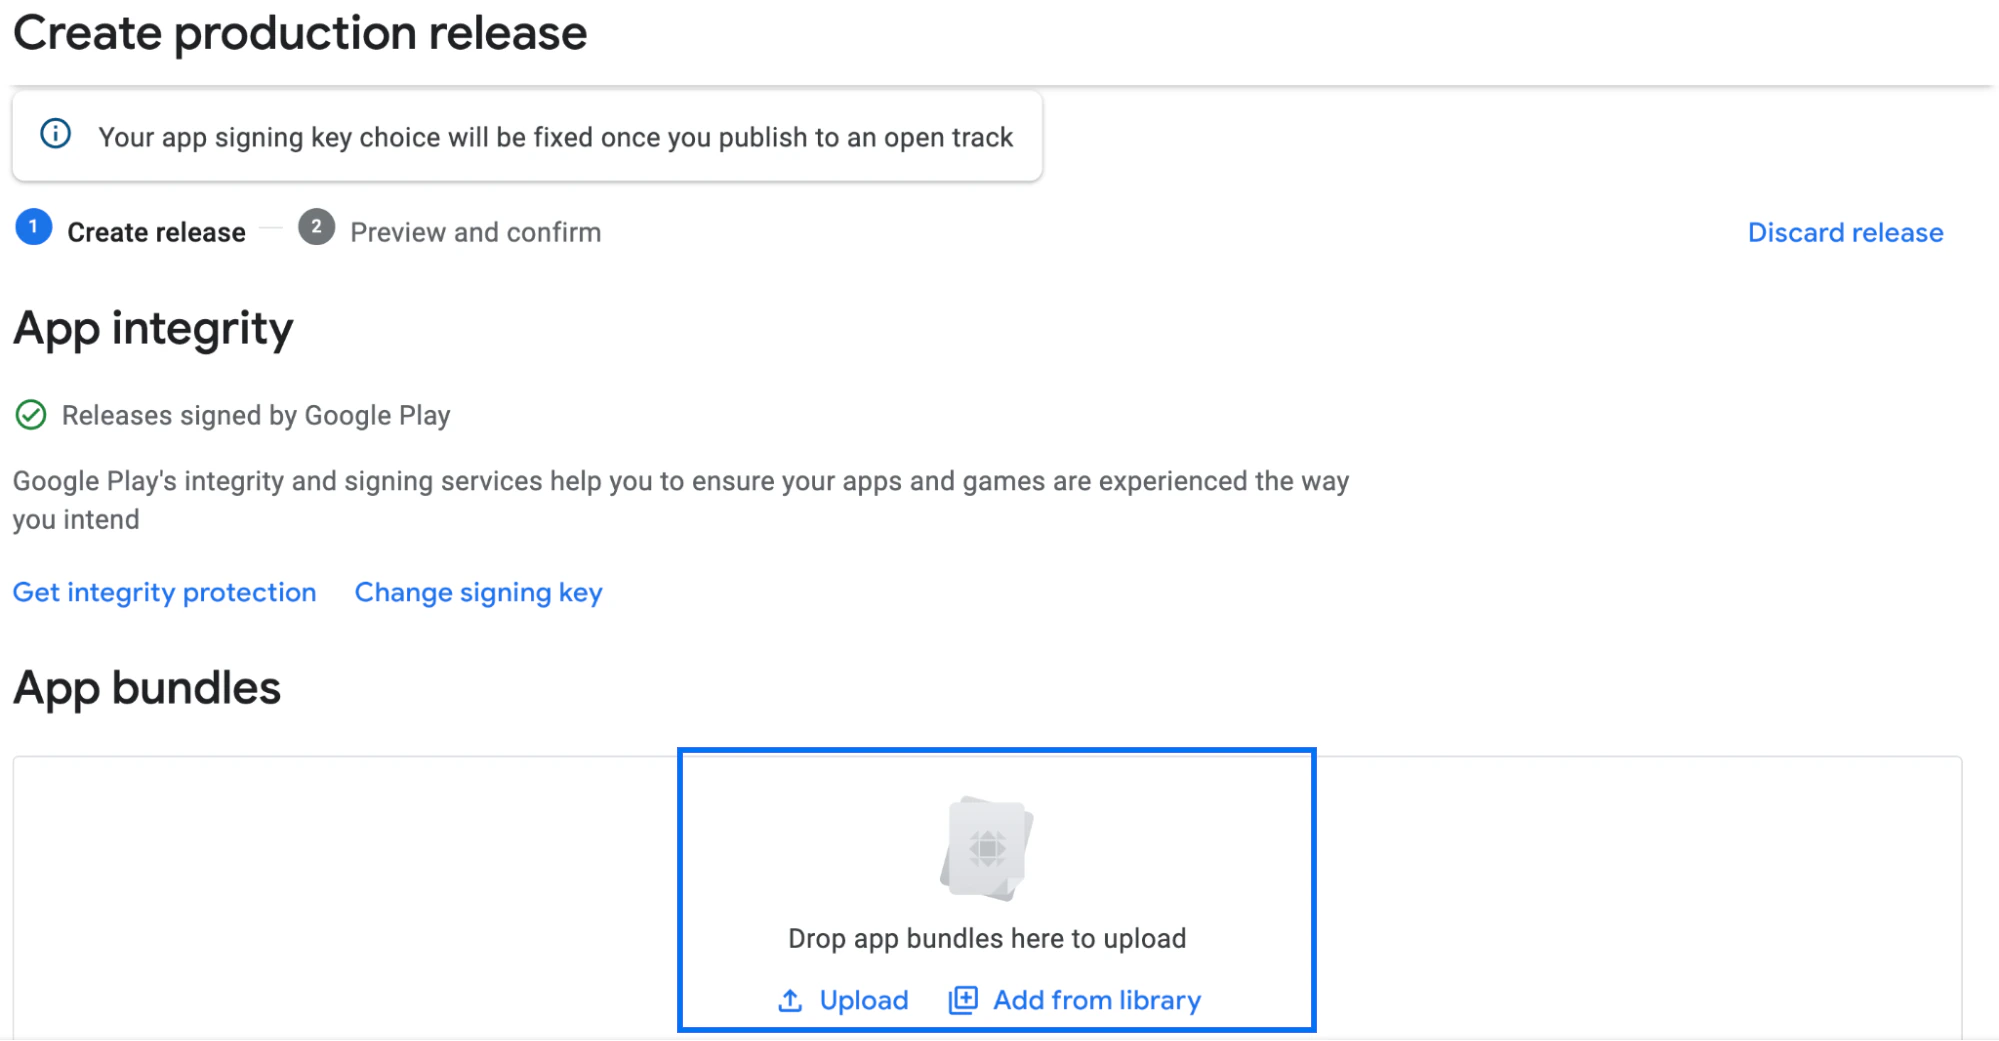
- Navigate to the App bundles section.
- Drag and drop the downloaded AAB file onto the box that says “Drop app bundles here to upload.” Or, click Upload and select the AAB file:
- Once the AAB file uploads, scroll down to Release details and confirm that you see two input fields, Release name and Release notes:
Advertising ID error
You may see an error message about an advertising ID: “Your app targets Android 13 (API 33) or above. You must declare the use of advertising ID in Play Console.” To resolve an advertising ID error:- Click Complete declaration just below the error message:

- On the next page, navigate to “Does your app use advertising ID?”
- Select No:

- Click Save at the lower right.
- Press the back arrow at the top left to return to the prior page.
- Click Next.
Debug Symbols warning
You may also see a warning that the App Bundle contains native code and it’s recommended that you upload debug symbols. It’s ok to simply ignore this warning:
- Click Save.
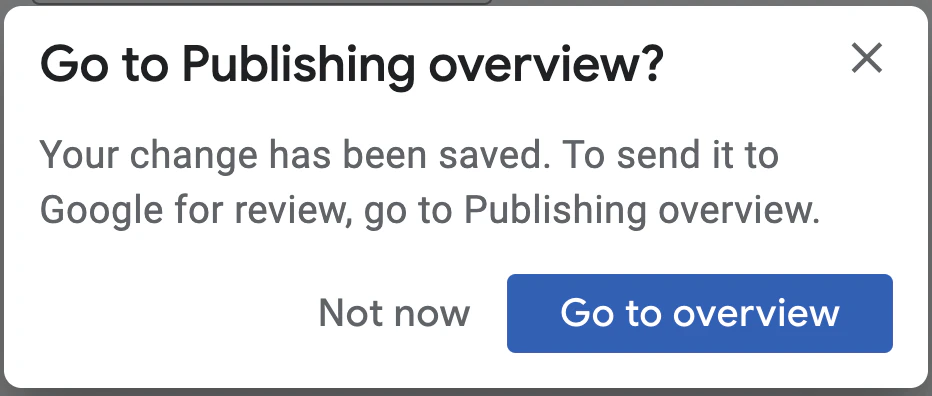
- Click Go to overview. (If you accidentally click “Not now” or don’t see the popup, you can easily get to the Publishing overview page on the left menu near the top.):
Publish the app to Google Play
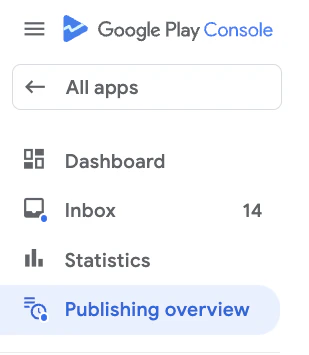
Now that you’ve created a production release, it’s time to send it for app review. To submit the app:- First, get to the Publishing overview page using one of the options described at the end of the previous section:
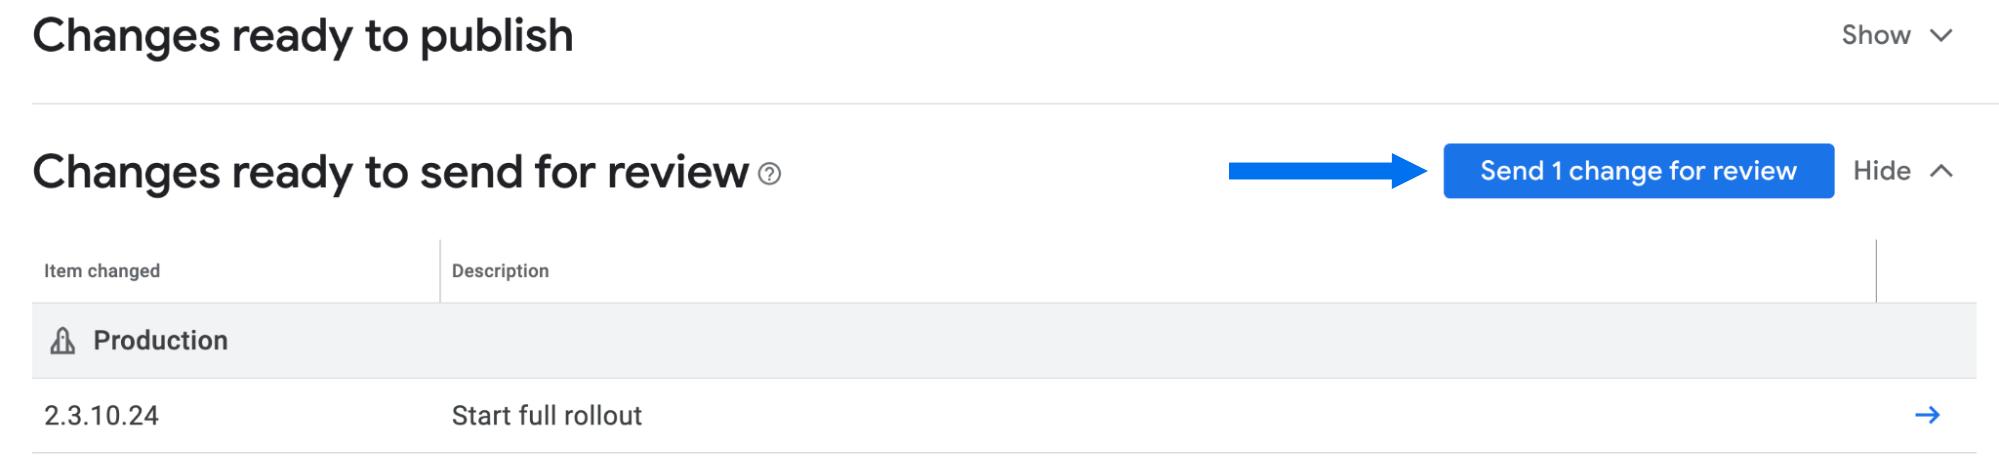
- Confirm that you don’t have any errors.
- Click Send x changes for review. There may be multiple changes even if you’re doing the initial launch because Google reviews multiple things. For example, the privacy policy page, and verifying they can successfully log into the app:
- When prompted, confirm the submission.
What if the app isn’t approved?
If you receive a rejection notice instead of an approval, the Kajabi team will review the issue. The expert team at Kajabi will determine what action is needed to correct the problem. Email us at bma.support@kajabi.com and we’ll be in touch.Troubleshooting
If you see a message about an advertising ID error, follow the steps above.Invalid Data Safety Form
If you receive an email that indicates, “Data safety section in Google Play User Data policy: Invalid Data safety form”, it likely means that a step was missed during the intake process. In this case, follow the steps outlined here to complete the data safety form. Make sure to get all the way to the end and press Save before moving on.Version Code Has Already Been Used
While trying to upload the app, you may see this error: “Version code X has already been used. Try another version code.” If you see this, there are 3 actions you can take to resolve it:- First, when you are creating a build in the Production tab:

- Make sure you only have 1 build listed. If you see more than 1 build, delete all but the highest number (i.e. the most recent) build:
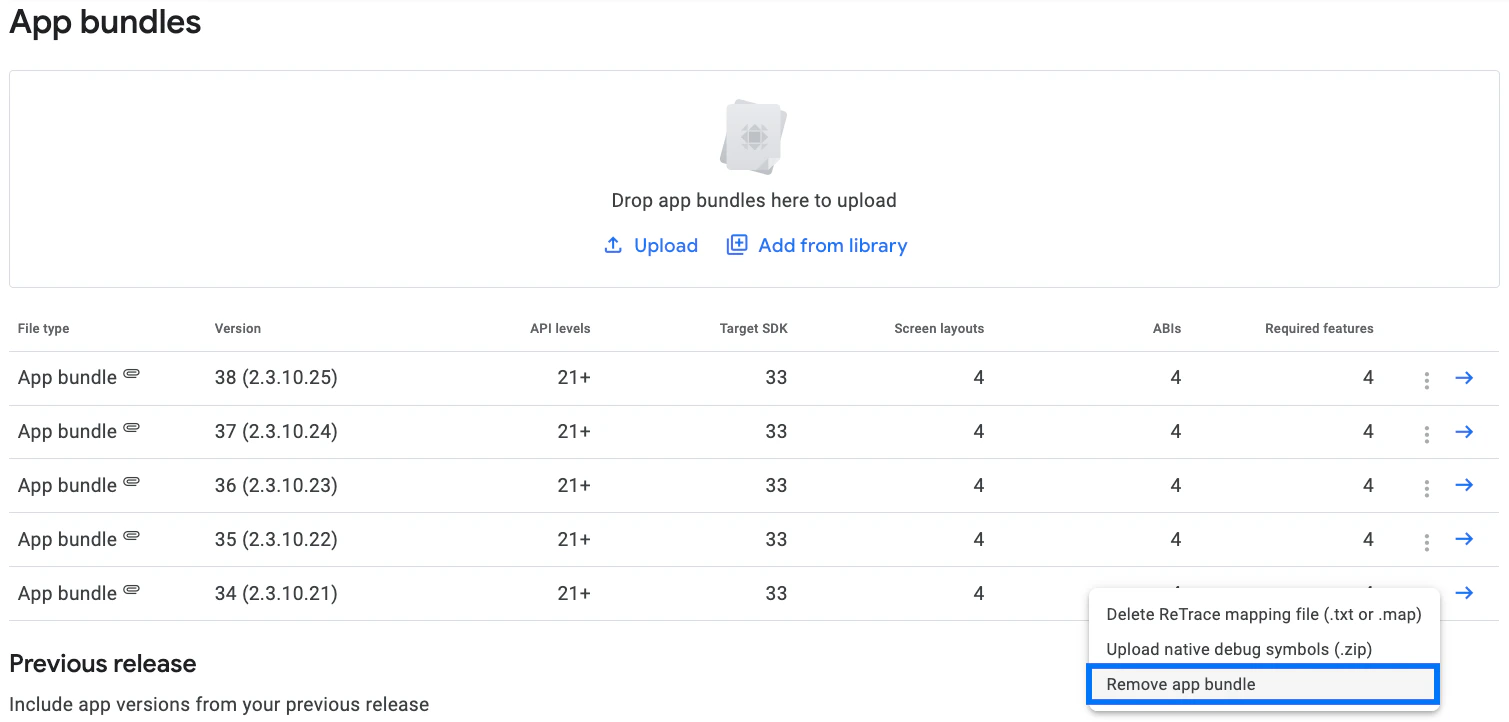
- If you don’t see any options in the library, you can also download the AAB file directly from the Branded App Settings page and upload it by selecting the Upload button.
Note:
If none of those actions work and you are still seeing the same issue, please reach out to our support team and ask us to generate a build for you so that the next app will have a higher version number.
No Countries Or Regions Have Been Selected
When going through the app release process, you may encounter this error: “No countries or regions have been selected for this track. Add at least 1 country or region to roll out this release.”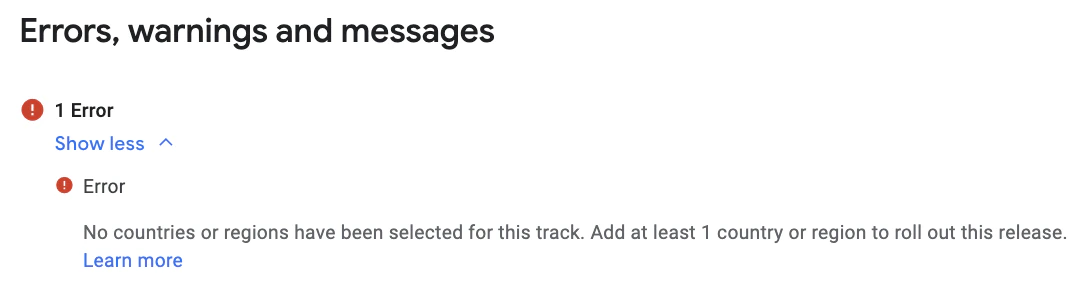
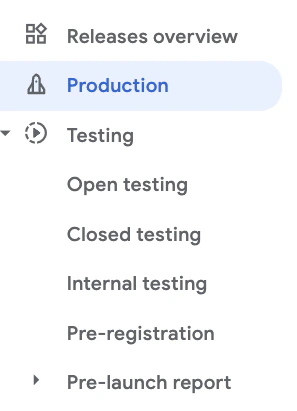
- In the left menu, select the type of release you are setting up:
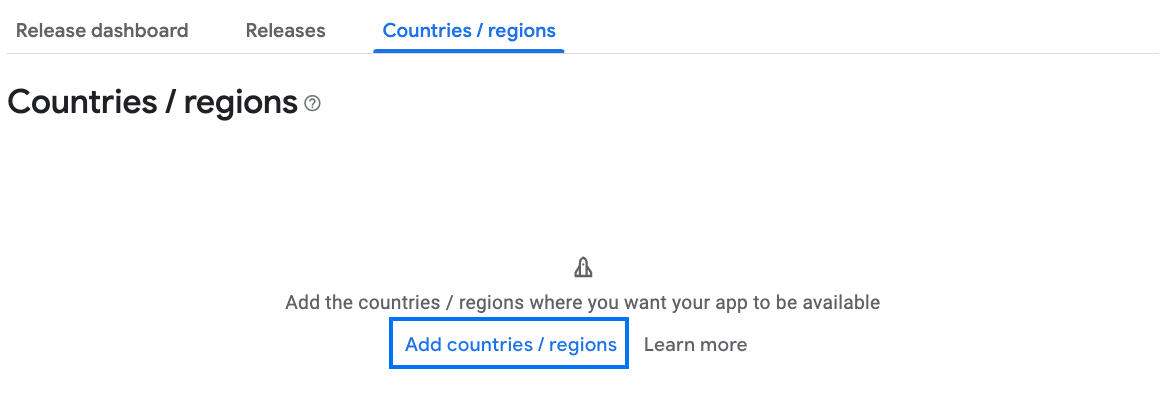
- Click Add countries / regions. You’ll see a full list of countries in which the Play Store operates.
- Select the country or countries where you want the app to be available.
Want to test the app first?
In order to test the app before submitting it for review to the Play Store, you’ll need to utilize the different testing tracks. To upload the AAB file: Log into the Play Console and select the app you want to work on:- Once you’ve loaded the specific app, navigate to the Release section in the left dashboard menu.
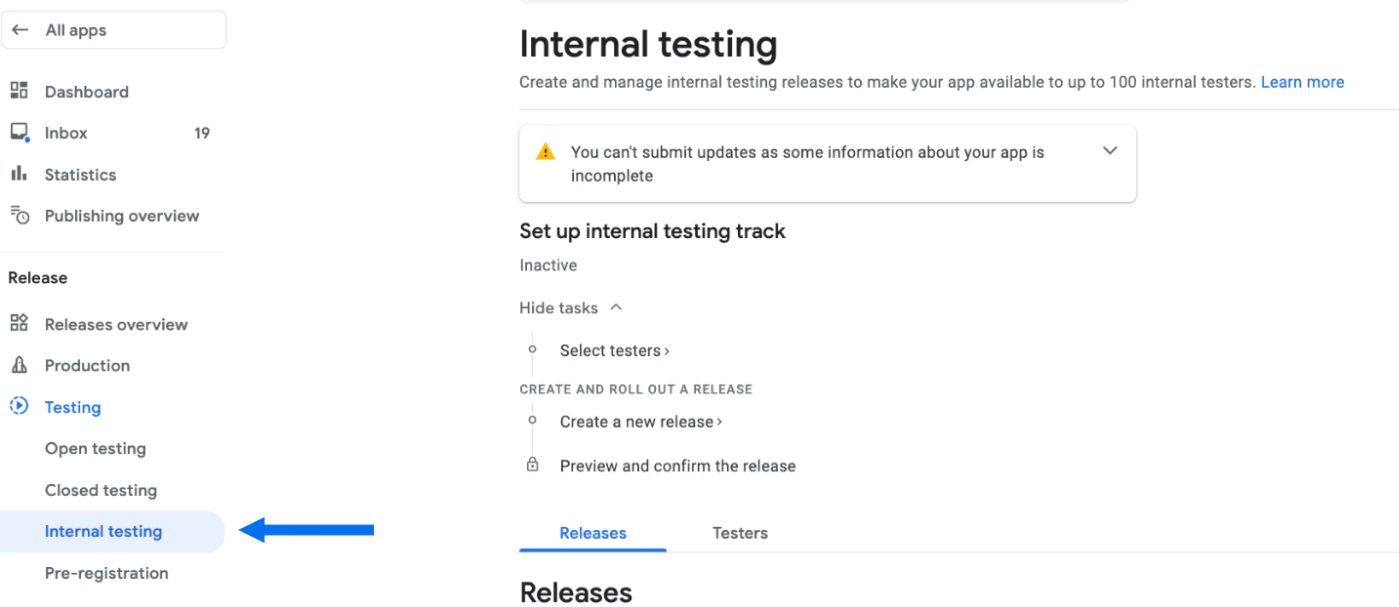
- From the menu options under Testing, select Internal testing:
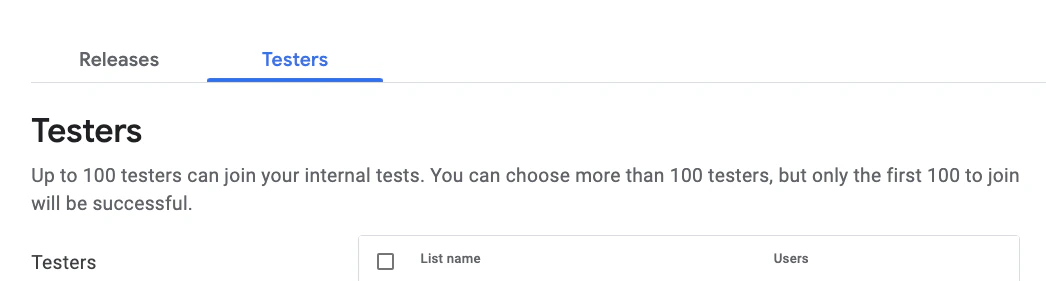
- Select the Testers tab.
- Add the name and email address of anyone who will test the app before it goes live (i.e. yourself, a member of your team, etc.):
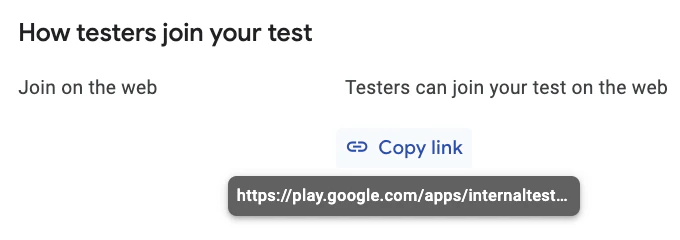
- Scroll down and click Copy link to copy the testing link and keep it handy:
- At the top right corner of the page, select Create New Release.
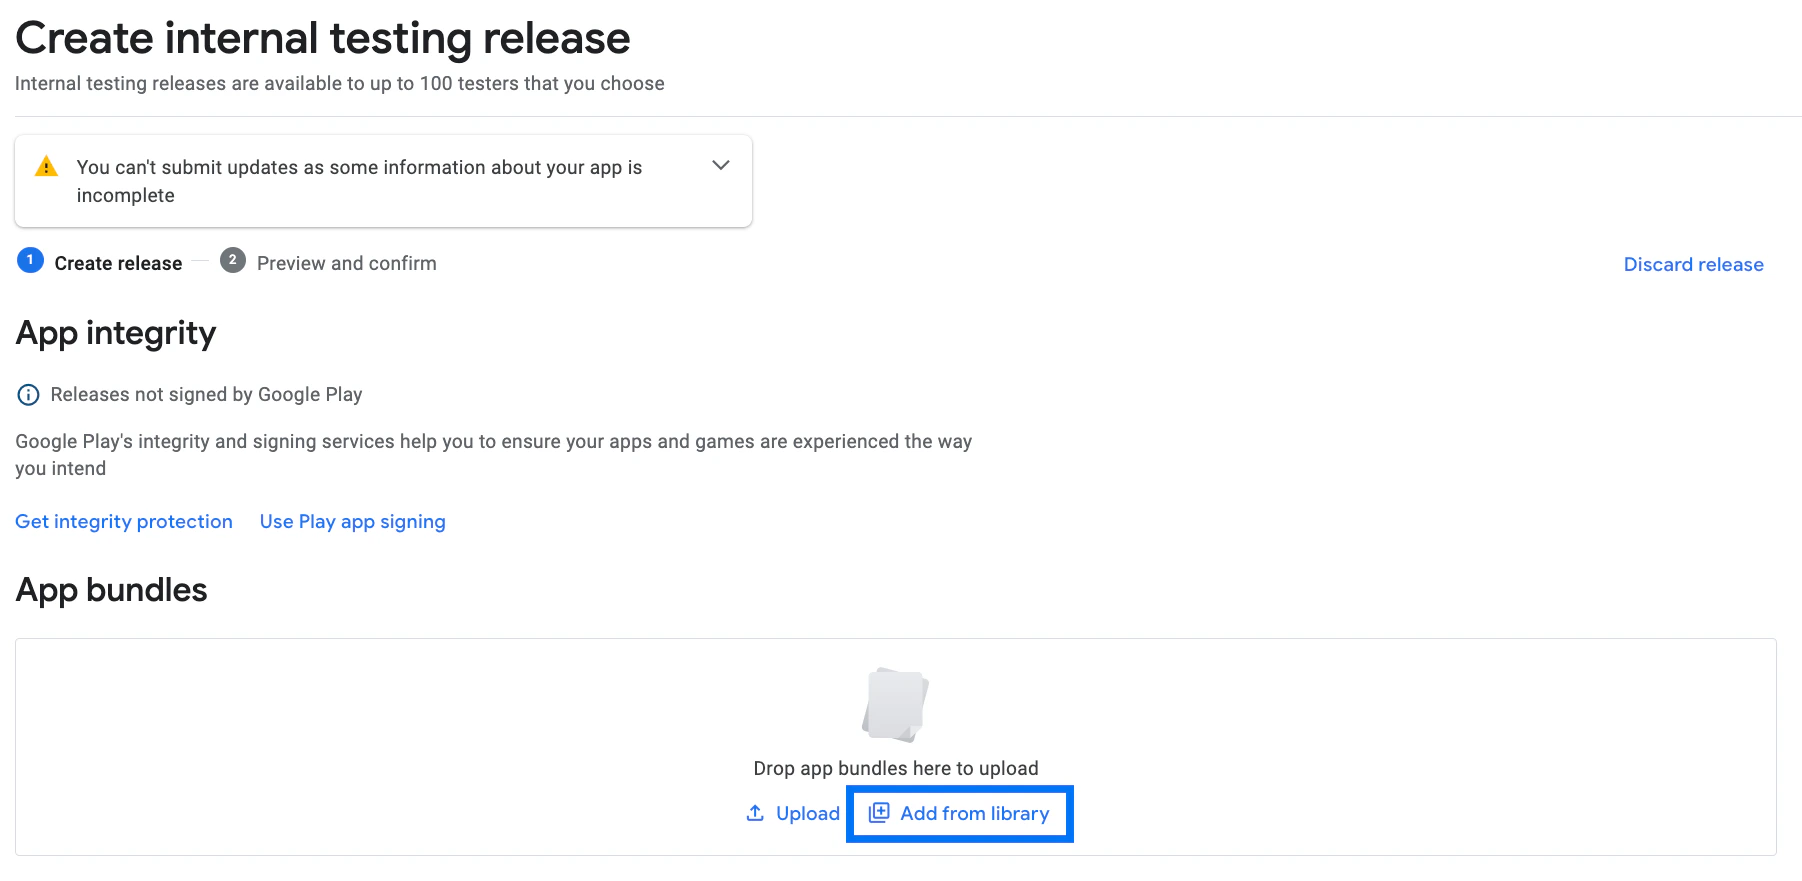
- Navigate to the App bundles section.
Option 2
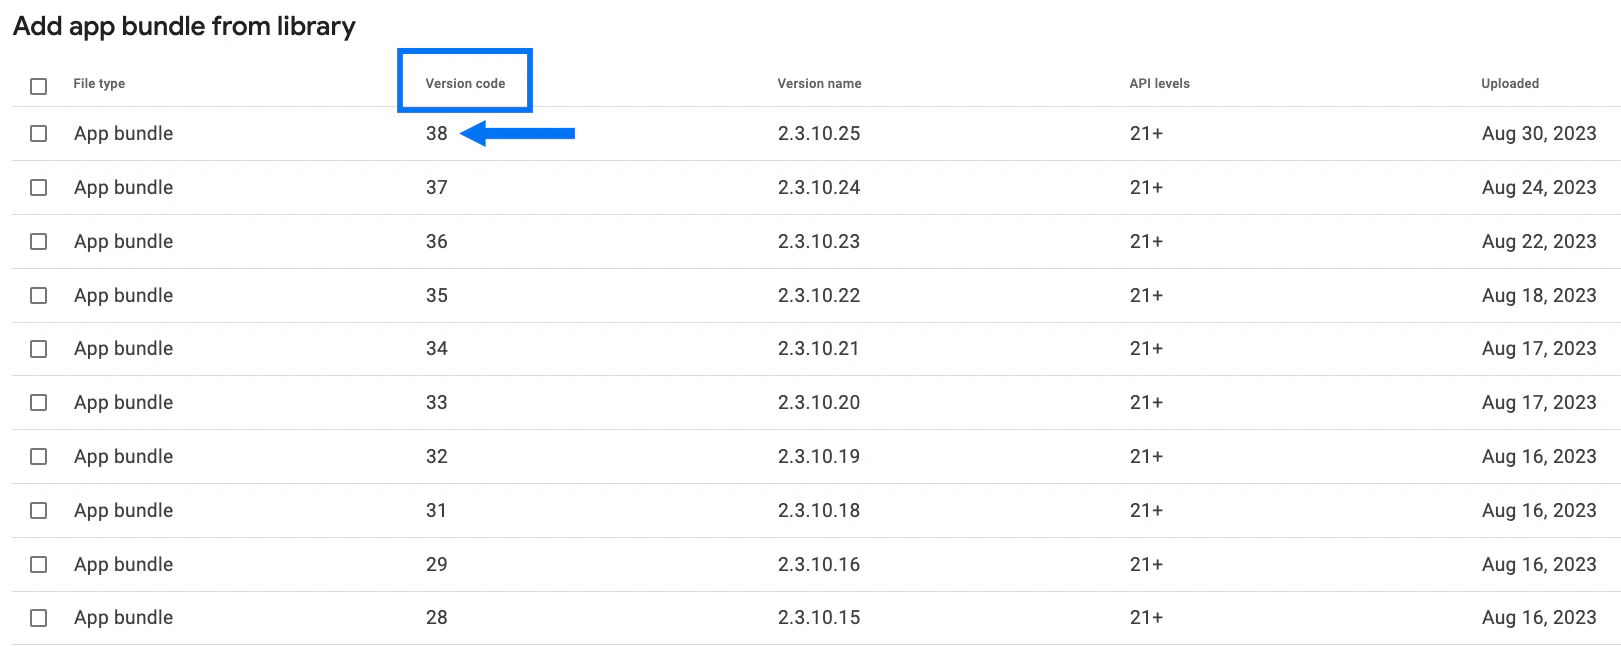
If you’ve already uploaded the AAB file previously and Kajabi has successfully sent the build to the Store:- Click the Add from library link:
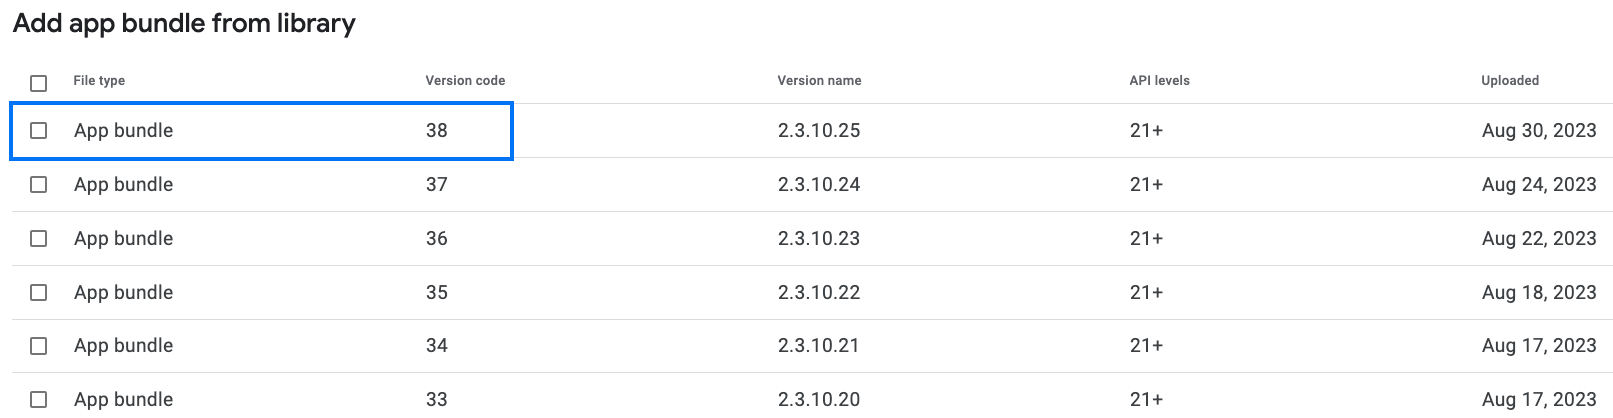
- Choose the newest build that was uploaded. (The newest build will have the highest version code.):
AAB file is added
Once you’ve completed either Option 1 or Option 2 and added the AAB file:- Scroll down to Release details and confirm that you see two input fields, Release name and Release notes:
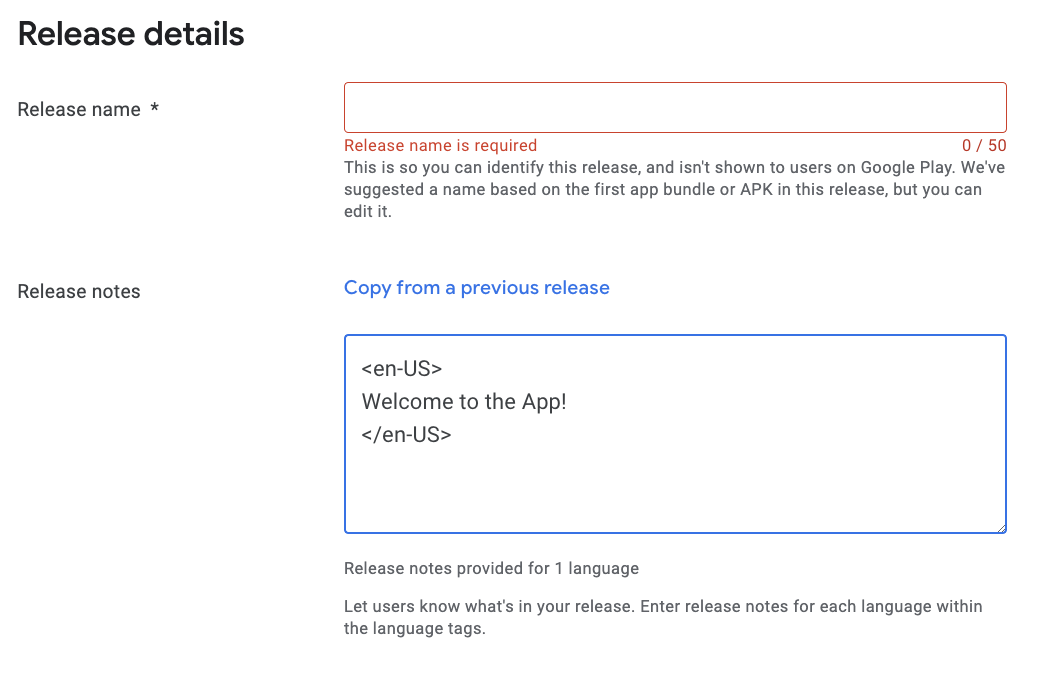
- A Release name will populate automatically after the AAB file upload completes. You can update it if desired.
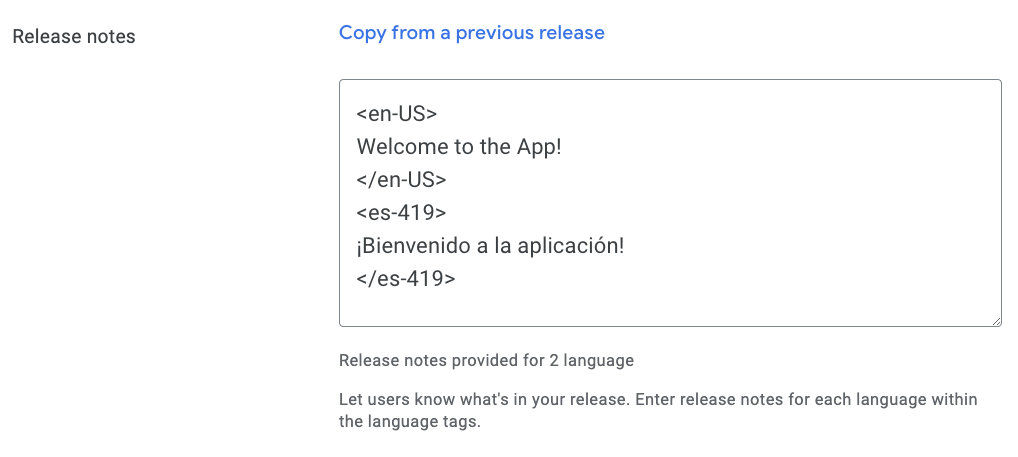
- Add any Release notes you’d like to share with app users. We recommend keeping initial release notes simple, such as any functionality or features being added or upcoming milestone updates for your products. Don’t mention anything about users purchasing content in the Release notes section.
- After entering Release notes, click Next at the lower right.
- Click Save.
- Log into the Google Play Console.
- In the left dashboard menu, navigate to the Release section.
- From the menu options under Testing, select Internal testing. (Or, if you chose a different Testing option, select that option.)
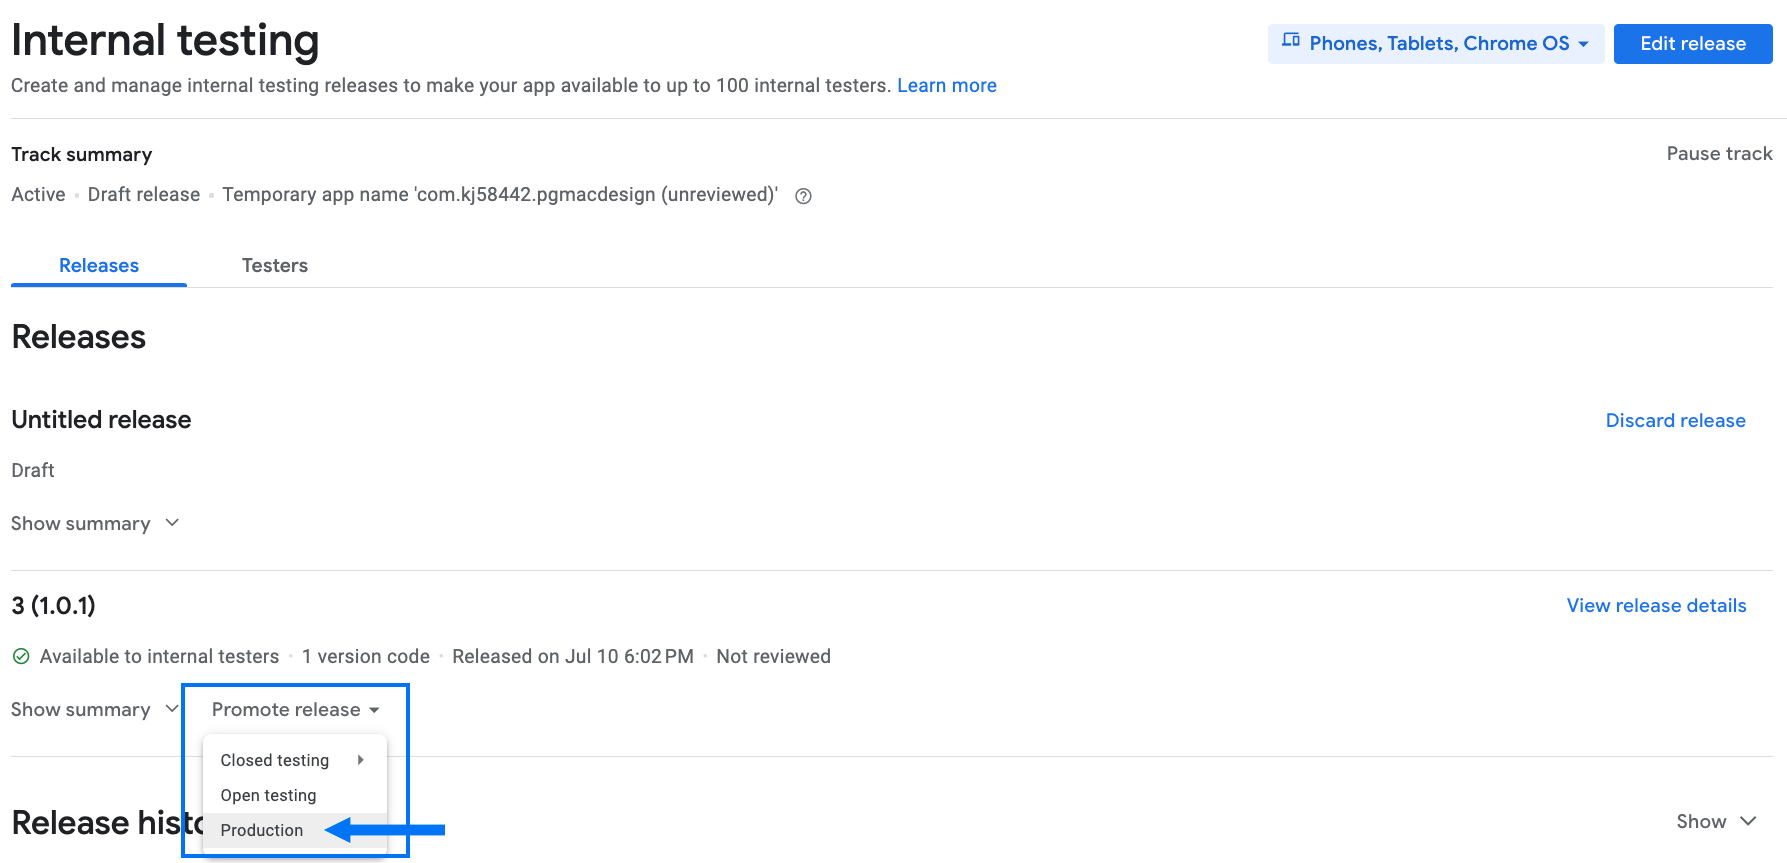
- At the middle of the page, click Promote Release.
- Select Production:
- Fill out release notes in the Release details section like you did above.
- Click Next at the lower right.
- On the next page, confirm that there are no errors.
- Click Save at the lower right.