

Why do I need to create a closed test?
In November 2023, Google updated their rules and regulations to require anyone with a newly created personal developer account to run a closed app test with at least 20 testers who’ve been opted-in for at least 14 days in order to gain production access to publish an app to the Google Play Store. This means you’ll need to create a closed test in Google Play if you created your personal Google Developer account after 12/1/23, or if you see an error message that “you don’t have access to production yet” when trying to publish your app into production: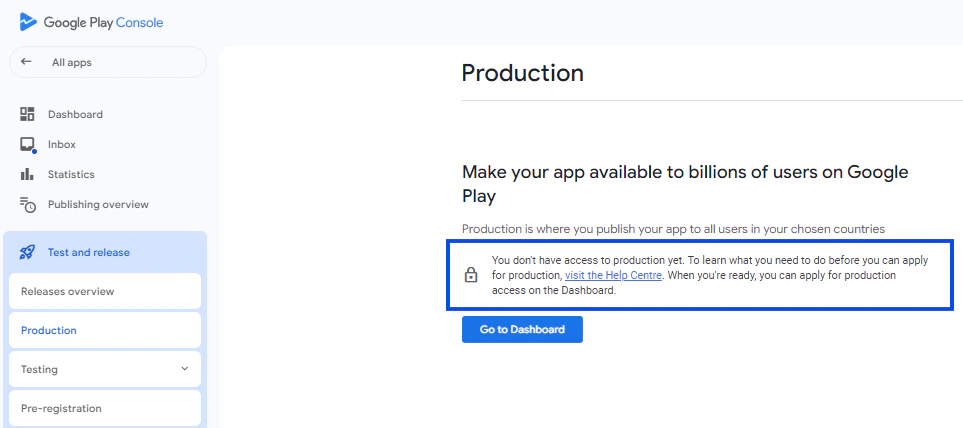
Creating a closed test
To release the app to a closed test, first upload the application file (.aab file) to the Google Play Store. To upload the AAB file:- Log into the Play Console and select the app you want to work on:

- Once you’ve loaded the specific app, navigate to the Release section in the left dashboard menu.
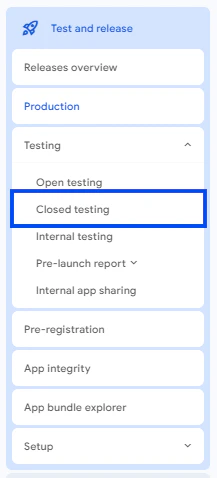
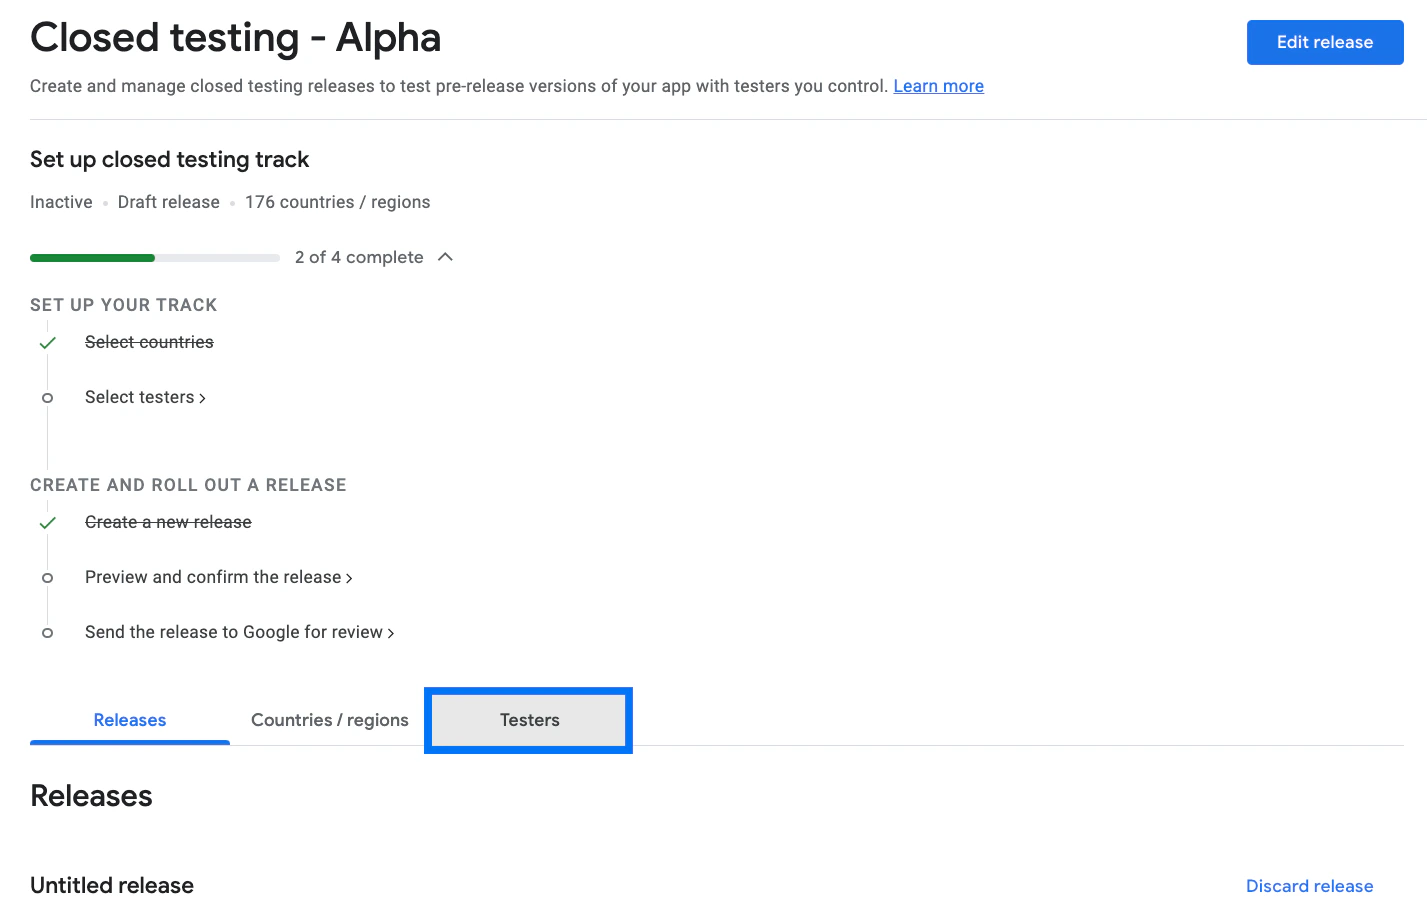
- From the menu options under Testing, select Closed testing:
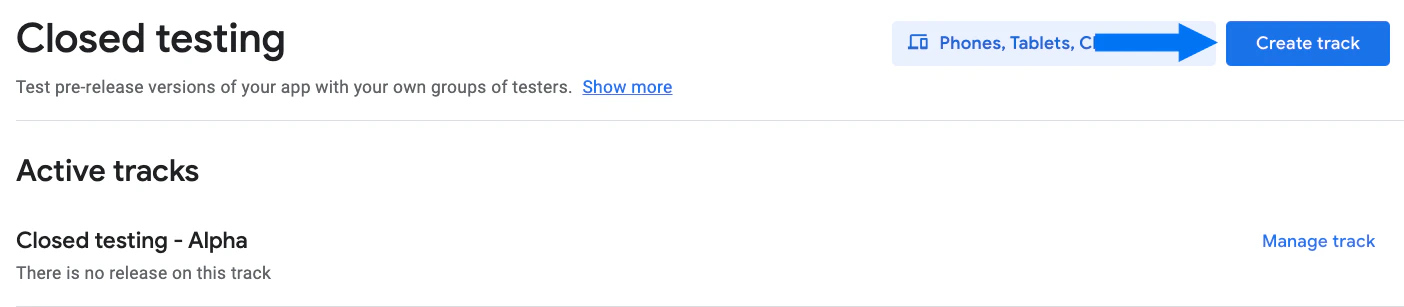
- On the closed testing page, click the dark blue button at the top right labeled either Manage track or Create track:
- Select the Testers tab:
- Add the name and email address of at least 20 people who will test the app before it goes live (i.e. yourself, members of your team, etc.):
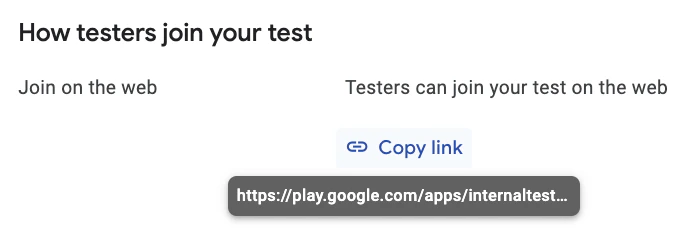
- Scroll down and click Copy link to copy the testing link and keep it handy:
- At the top right corner of the page, select Create New Release (if there is already a release in progress, the button text will say Edit Release instead).
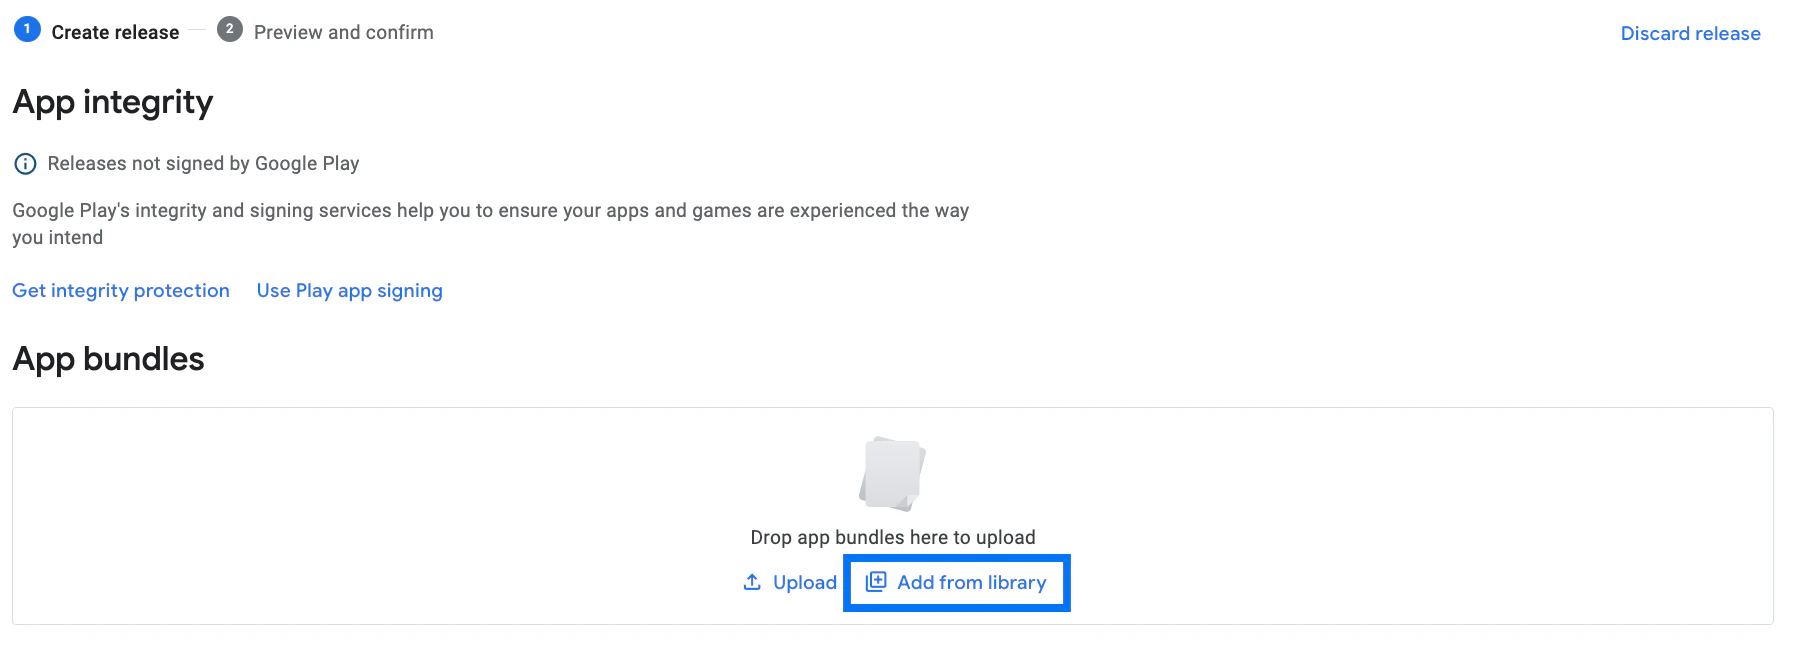
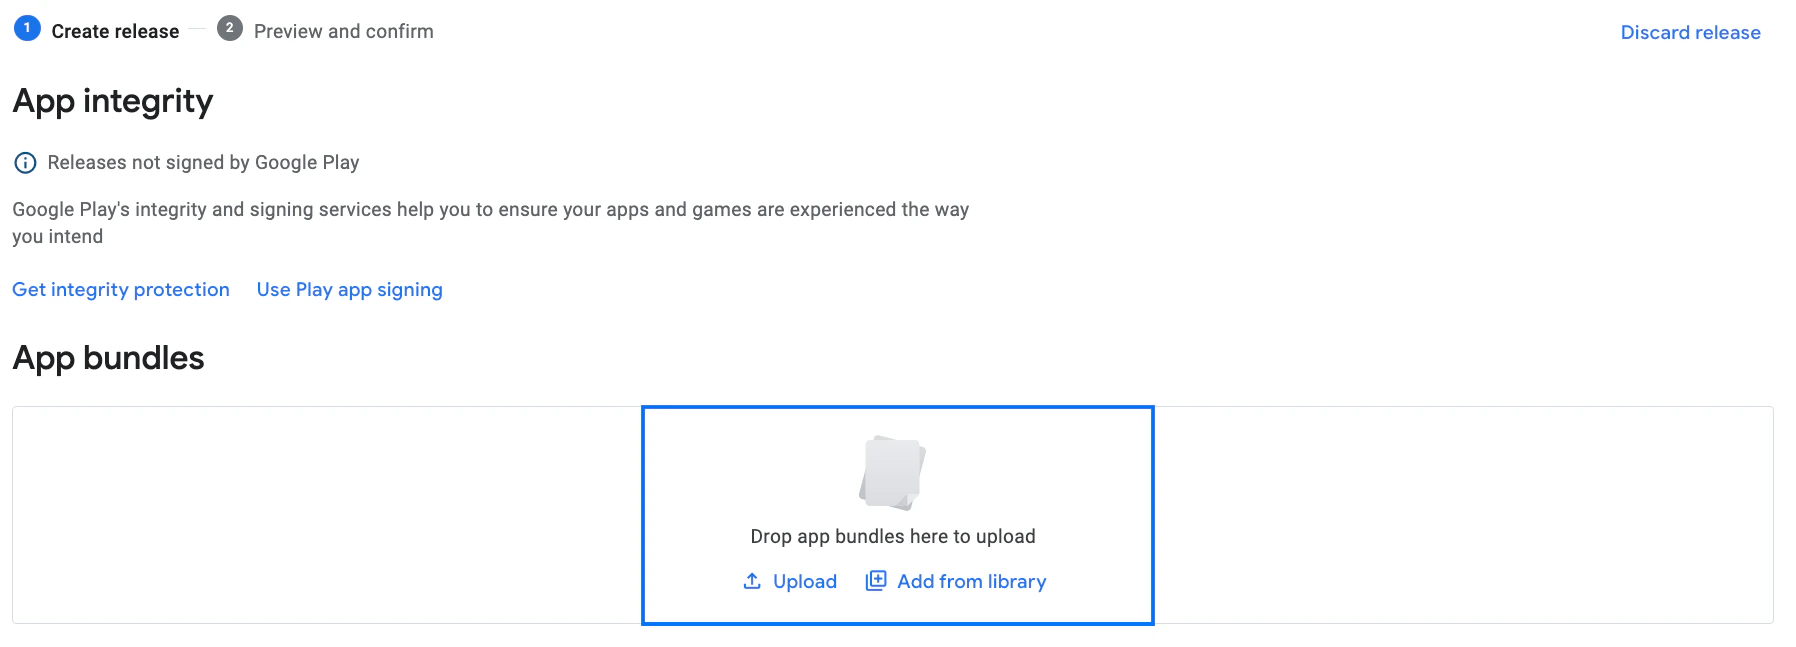
- Navigate to the App bundles section.
Adding the build - Option 1
If you’ve previously uploaded the AAB file, or if Kajabi has successfully sent the build to the Store automatically:- Click the Add from library link:
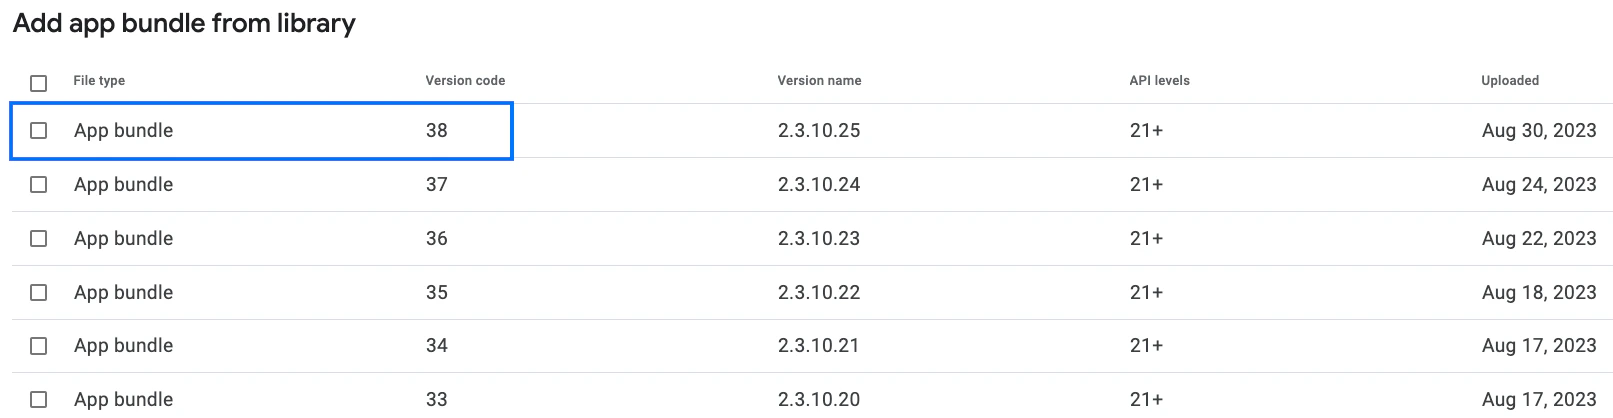
- Choose the newest build that was uploaded. (The newest build will have the highest version code.):
Adding the build - Option 2
If the build wasn’t automatically uploaded, follow these steps to do it manually.- If you haven’t downloaded the AAB file yet, follow these instructions to download it. If you already have the AAB file, move on to the next step.
- Drag and drop the downloaded AAB file onto the box that says “Drop app bundles here to upload.” Or, click Upload and select the AAB file:
Add release notes
Once you’ve completed either Option 1 or Option 2 and added the AAB file:- Scroll down to Release details and confirm that you see two input fields, Release name and Release notes:
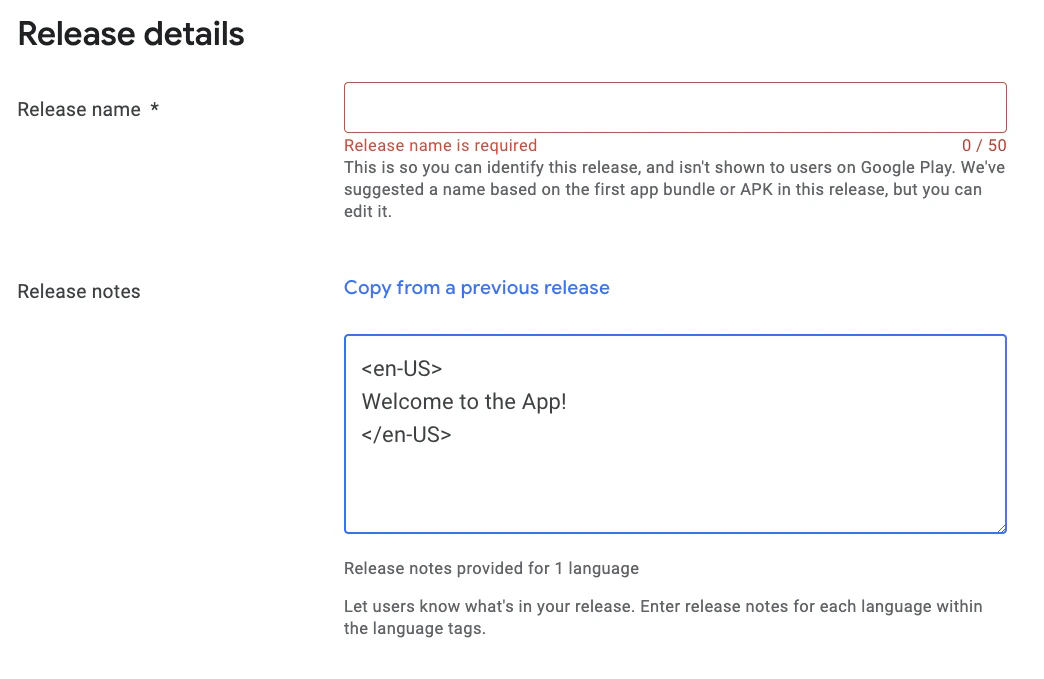
- A Release name will populate automatically after the AAB file upload completes. You can update it if desired.
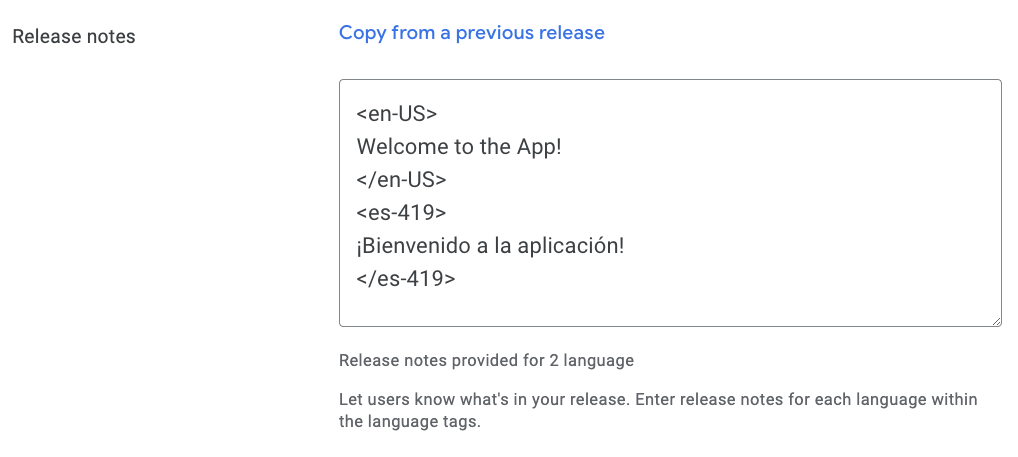
- Add any Release notes you’d like to share with app users. We recommend keeping initial release notes simple, such as “Welcome to the app.” Don’t mention anything about users purchasing content in the Release notes section.
- After entering Release notes, click Next at the lower right.
- Click Save.
Android app submission process
The steps below walk you through submitting the Android app for approval and publishing it.Submitting the app for approval
- Log in to the developer account: Go to the Google Play Console. Sign in with the Google Developer account credentials.
- Select the app: Click on the name of the developer account. Select the app from the list (e.g., “Kajabi Branded App”).
- Initiate production submission: On the dashboard, find the option to apply the app for production:
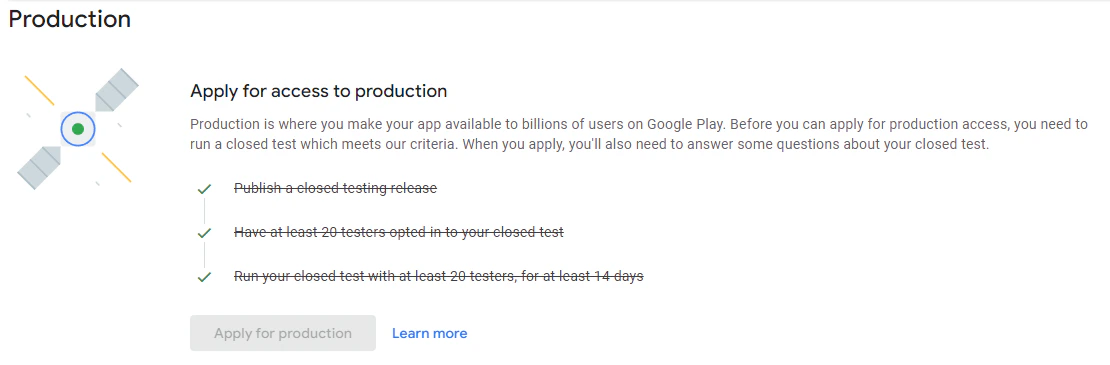
- Complete the Closed Beta Questionnaire: You will be redirected to Google’s Closed Beta Questionnaire. Answers can be updated if necessary based on your business needs.
Note:
We recommend following the response guide provided via email from bma.support@kajabi.com. If you have not received a guide or need help with these responses, please reach out to us.
- Await review and response: After submitting the Closed Beta Questionnaire, the app will undergo another review by Google. Google will either approve and publish the app or request additional information. If further questions arise, the Kajabi Branded App team will handle them.
Publishing the production app
To publish the app once the production app has been approved:- Log into the Google Play Console.
- In the left dashboard menu, navigate to the Release section.
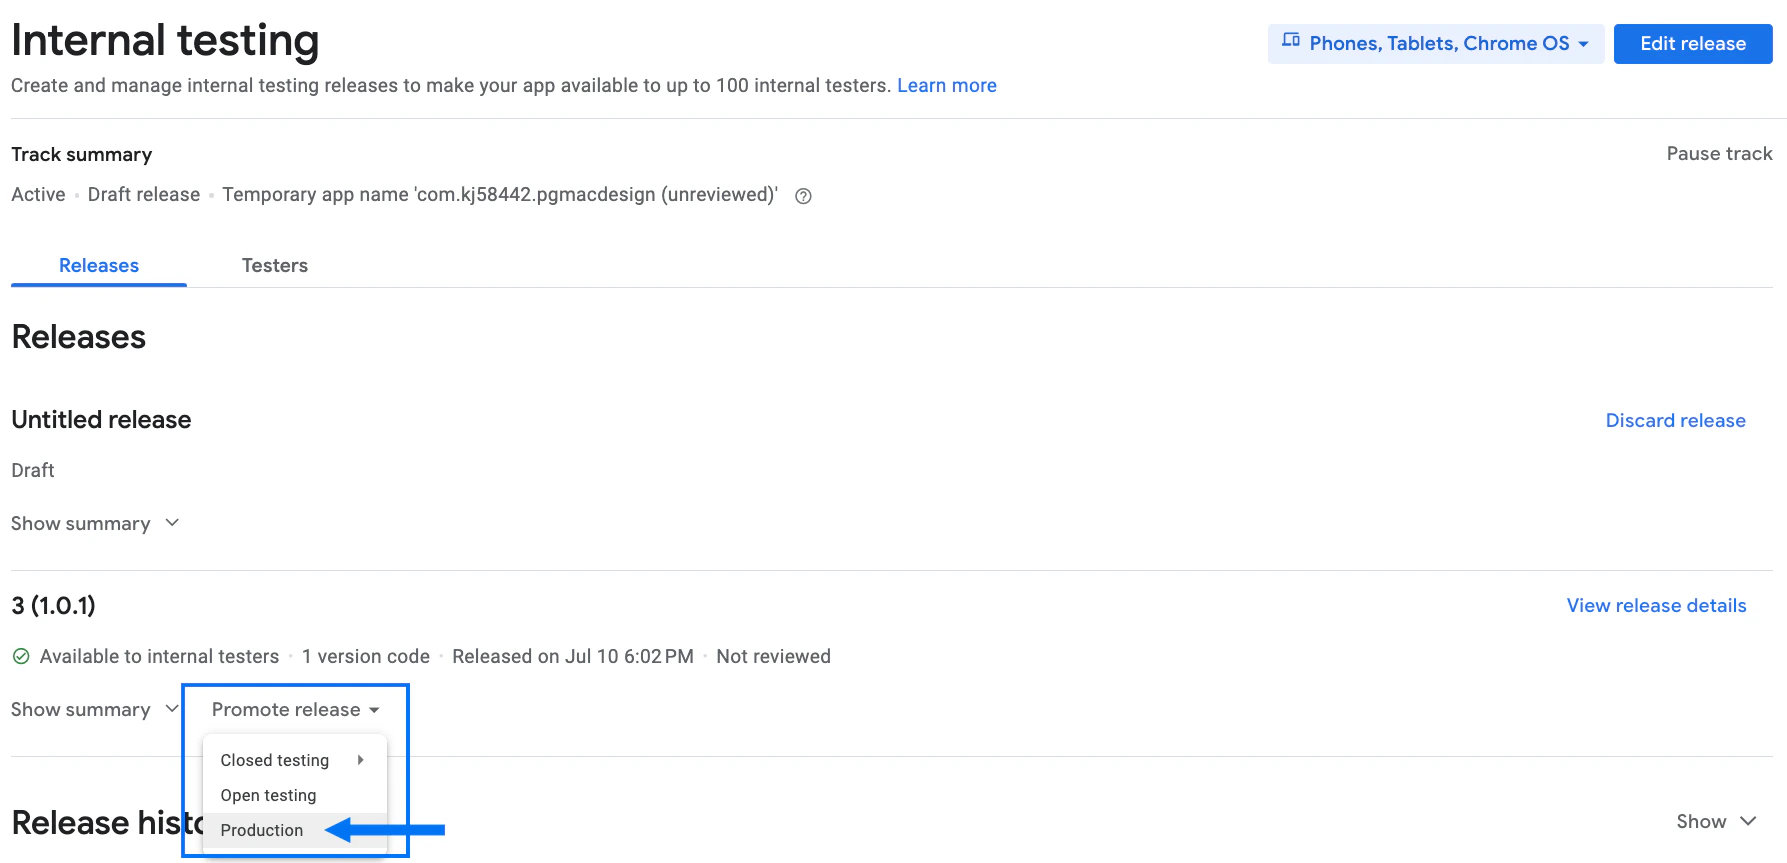
- From the menu options under Testing, select Closed testing. (Or, if you used a different Testing option, such as Internal testing, select that option.)
- At the middle of the page, click Promote Release.
- Select Production:

- Fill out release notes in the Release details section like you did above.
- Click Next at the lower right.
- On the next page, confirm that there are no errors.
- Click Save at the lower right.
- Click Go to overview.
- Click Send changes for review to submit the app.