

What are push notifications?
Push notifications are messages that pop up on app users’ device screens. If a user clicks on the notification, it will open a specific app page or web URL:
Note:
Community Push Notifications are available. Check out this article to learn how to set up community push notifications.
Push notification best practices
Here are some best practices to follow when sending push notifications to Course customers.Push notification length
The number of text characters visible in a push notification varies by device. That said, many readers won’t hang around to read the max character count. In most cases, push notification content should be very short and to the point (i.e. one concise sentence). Example: “Just dropped: Course bonus material”Push notification content
The notification message should be relevant to all recipients and make clear what action they should take. Use push notifications to share this type of content:- Advertising the release of a Course Lesson
- Announcing an update to existing Course content
- Reminding about an upcoming Course activity or event
- Sharing a relevant and interesting fact or action tip
- Asking a thoughtful question related to a Course topic
- Sending messages that may be irrelevant for some customers
- Advertising something unrelated to the Course
- Spammy-sounding promotions
Push notification timing
Sending push notifications is a great way to encourage customers to stay engaged with a Course. But you also don’t want to overwhelm people with too many notifications or they might turn them off. How often you should send notifications depends on your target audience and the reason. If you plan to send notifications at regular intervals, start with a few notifications per week, ask for customer feedback, and adjust as needed. Also consider what time of day you send notifications. It’s generally best to avoid sending anything out during nighttime hours for the majority of your customer base.Create a push notification
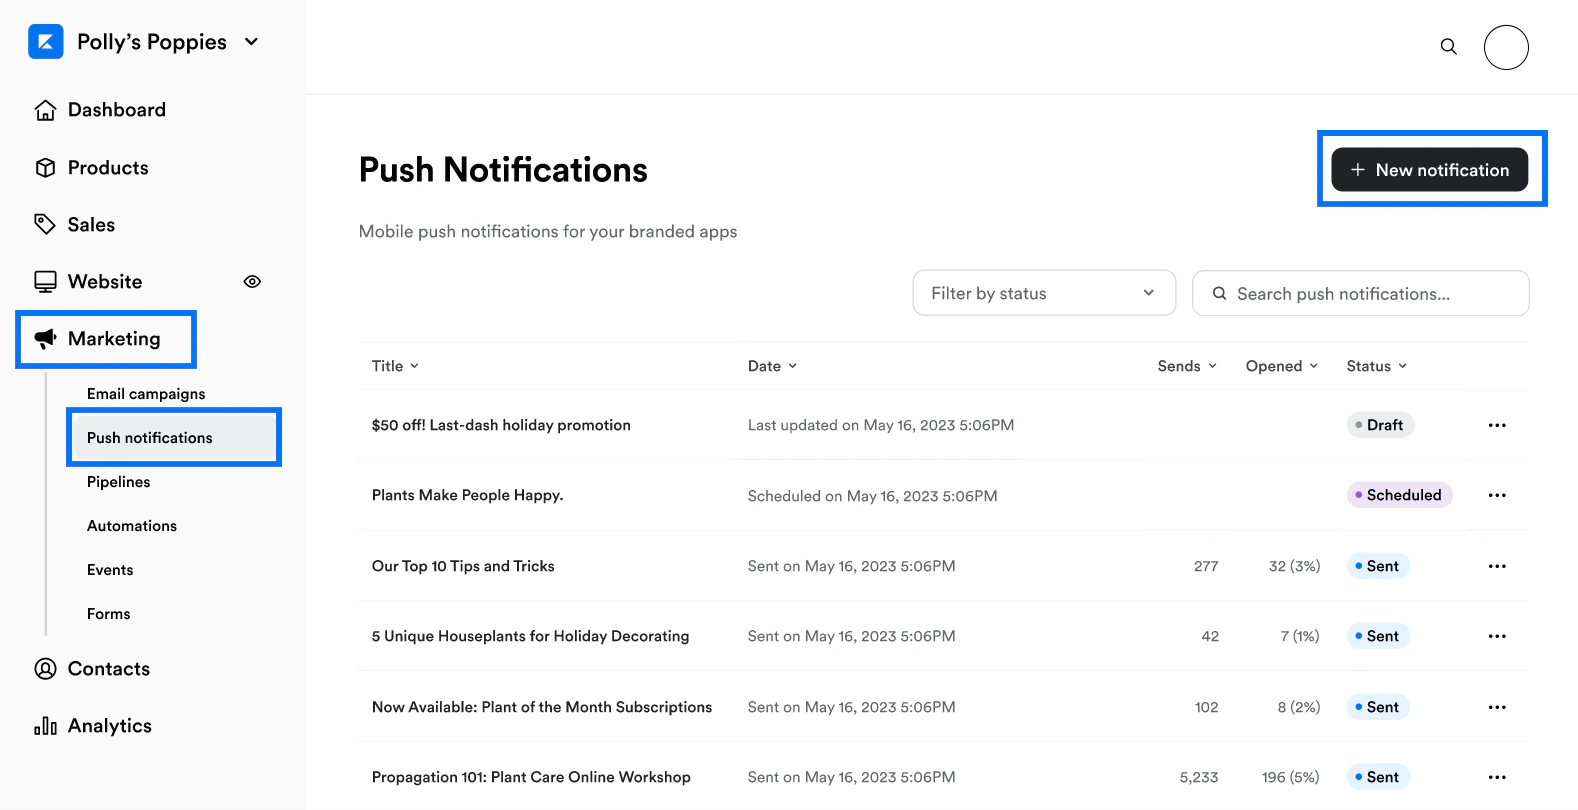
To create a push notification for Branded App members:- From your Kajabi dashboard, select Marketing.
- Then, select Push notifications.
- Click + New notification at the top right of the page:
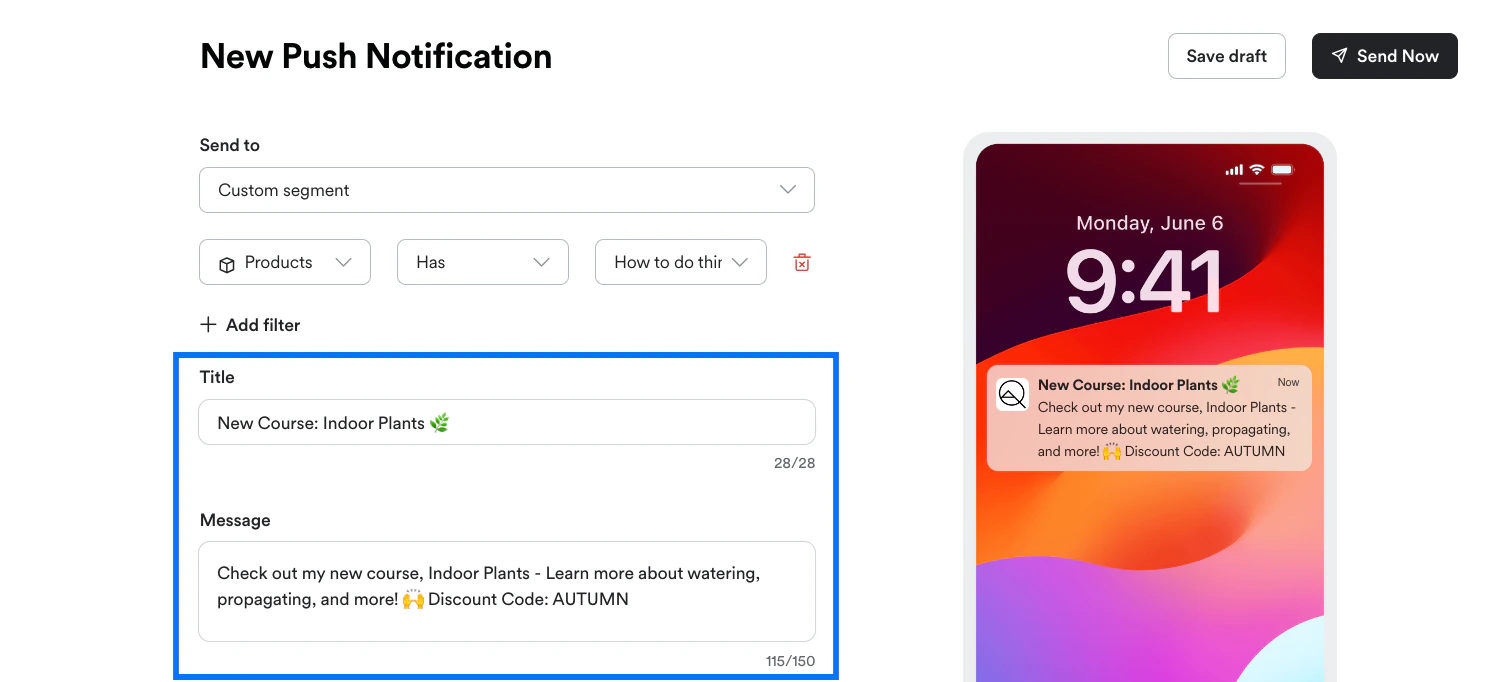
- Choose to send the notification to Everyone who allows notifications or to a Custom segment.
- If you choose to notify a custom segment of members, use the Category, Conditional, and Value dropdown menus to create one or more filters specifying who will receive the notification:
- Enter a notification Title up to 28 characters in length.
- Then, enter Message content up to 150 characters in length:
- Next, select which page to open when someone clicks on the notification: the product Library page, a Course page, or a custom Web Address.
- If you choose Course or Web Address, a second input field will appear allowing you to specify the desired Course or URL:
- Finally, choose to either Send now or Schedule a time to send the notification. (Or, click Save draft at the top right of the page to return and finish later).
- To send the notification now, click Send Now at the top right of the page.
- To schedule the notification for a future time:
- Select Schedule a time.
- Click into the date/time field, select the desired send date and time from the calendar, and click Apply.
- Click Schedule at the top right of the page:
Note:
When a push notification is sent, it can take up to 10 minutes before it reaches devices as it needs to route through both Apple and Google’s servers.
View and edit push notifications
Push notifications you’ve drafted, scheduled, or sent will appear on the Push notifications page (located under the Marketing tab). You can also view how many app users the notification was sent to, and how many times it was opened: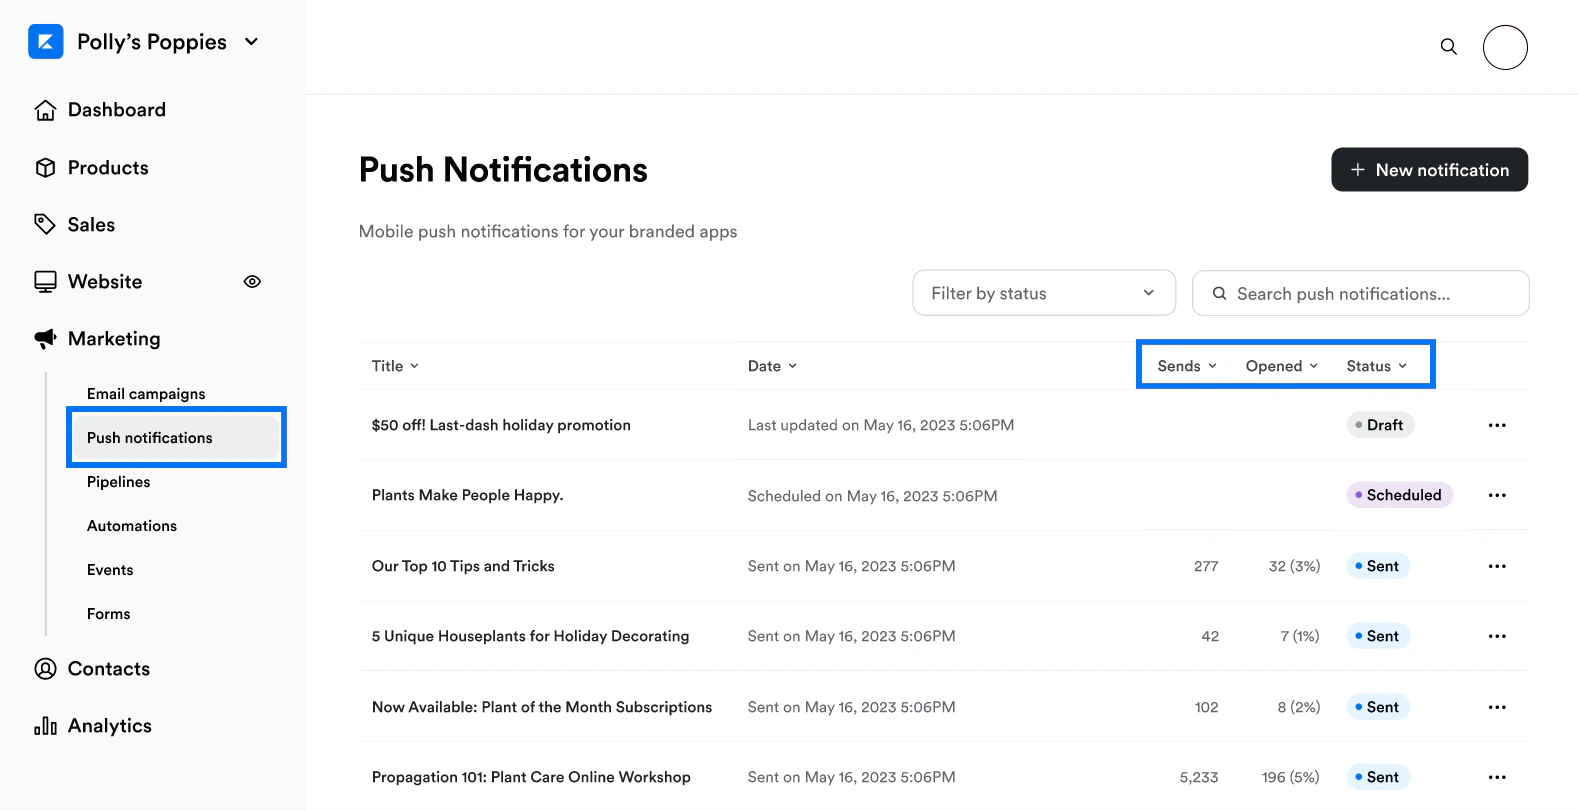
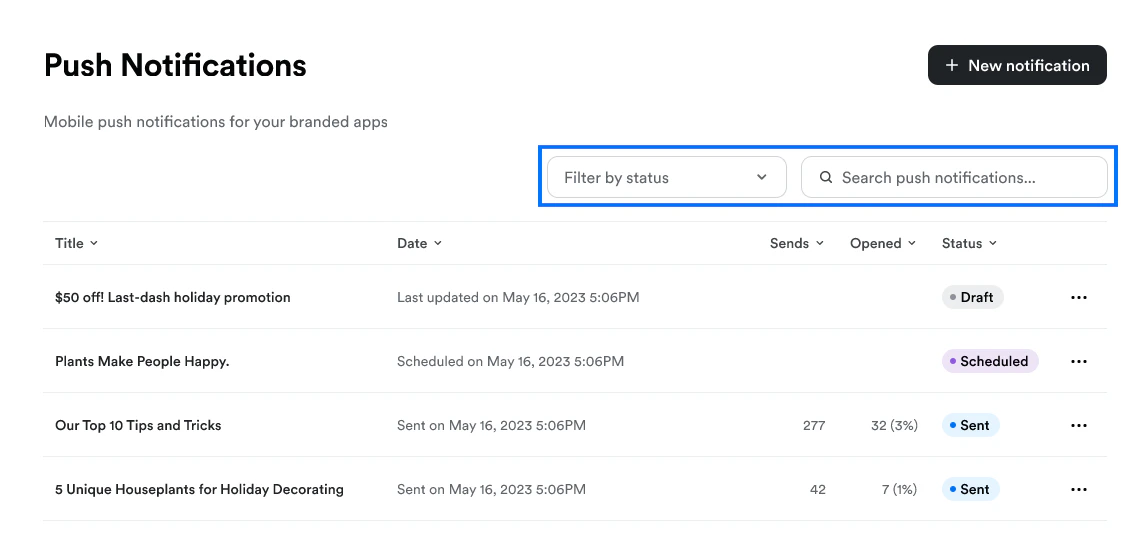
- Draft
- Scheduled
- Sent
- Sending
- Failed
… icon to the far right of a notification to open the Editing Options menu:
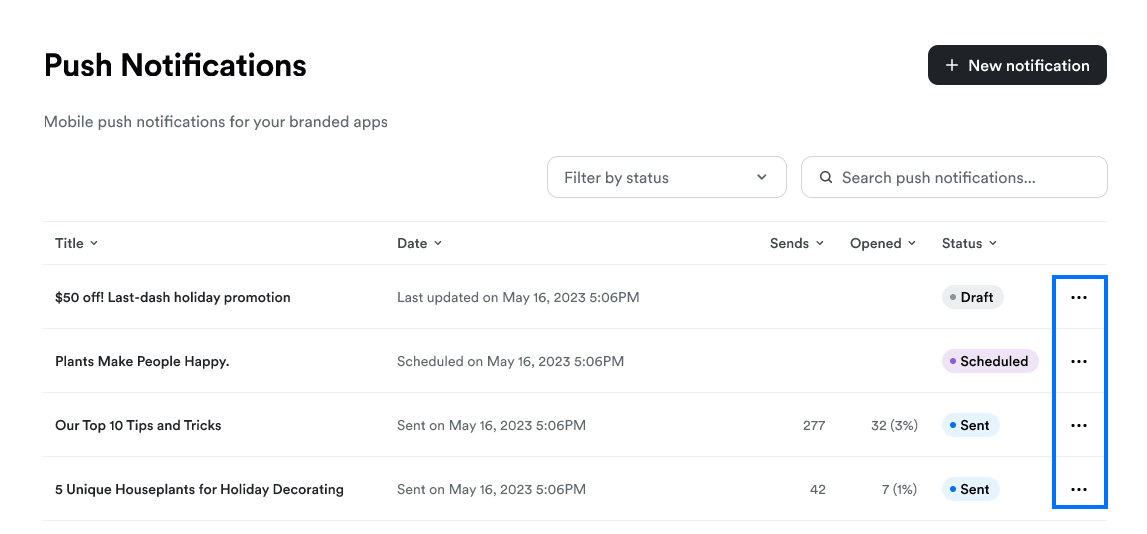
- Edit, duplicate, or delete a notification in Draft status.
- Duplicate, unschedule, or delete a Scheduled notification.
- Duplicate or delete a Sent notification. (Deleting a notification that has already been sent will only delete the notification from the Push notifications page, it will not remove the notification from app users’ devices.)