Customer experience
Creating a live session in your course will display the course live video section at the top of your course outline. Your customers can view your live session by opening the Categories tab within their course.Go live in a Course
Add a live video to a course
To add a live video to a Course:- Open the Products tab from your Dashboard.
- Select Courses.
- Open an existing course or create a new course.
- Click Settings from your Course.
- Click Provide a live video session for this course.
- Enter the Title, Session Description, and Schedule.
Note:
Adding a schedule can help set expectations for when your course customers can join your sessions. An email can be sent to notify your customers whenever you join your live session.
- Click Save to create your live video session:
Note:
Adding a schedule to your live video details can provide structure for your customers taking your course to easily understand when they can join your live video session(s). However, you can go live whenever you want, even if it is not stated in your schedule. By starting your live video session, you have the option to have an email sent notifying your customers that you have started a live video session.
Start a live video session
Start your live video session and notify your course customers that they can join your session. To go live in your course live video:- Open the Products tab from your Dashboard.
- Select Courses.
- Open the course with your live video session.
- Click Go live in the Course Live Video card.
- Select Yes, notify to notify your course customers through an email notification with a link to join your live session in the pop-up modal.
- Select No, just go live to start your live session without sending an email notification to your course customers.
Note:
Live sessions are limited to 200 participants.
Customize live session settings
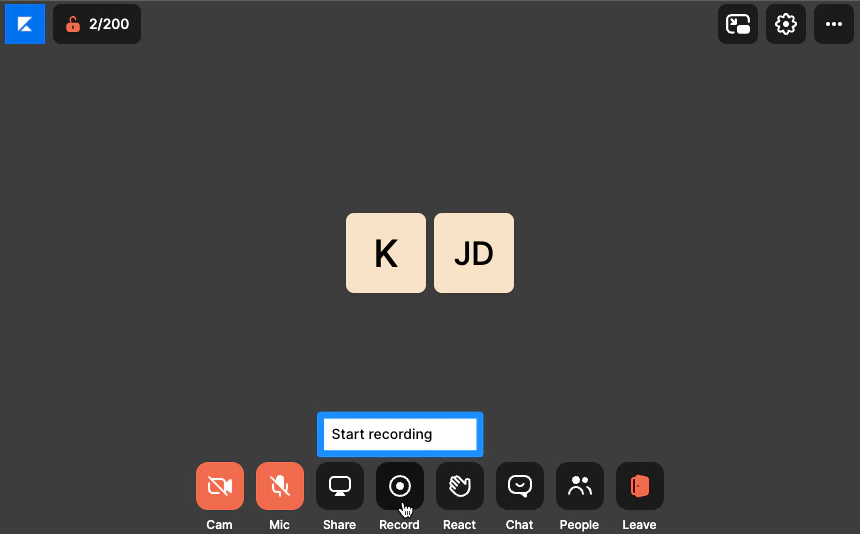
As an admin, you can customize your live video session settings. Adjust your camera, microphone, video settings, and more to customize your customer’s experience with your live session.Camera
Click the camera icon to quickly turn your camera on or off. Hover over the camera icon to access more camera settings: select the camera used to display your video, set background effects to create a professional setting, and adjust your video and audio settings.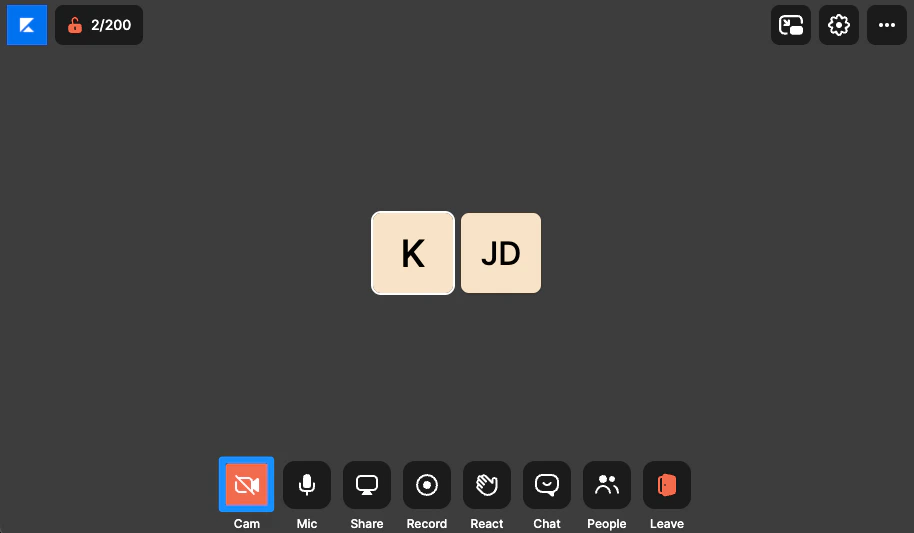
Microphone
Click the microphone icon to quickly mute yourself or prepare to speak. Hover over the microphone icon to access more audio settings: select the device used for sound input, select the device used for sound output, toggle on noise reduction to dampen unwanted audio, and adjust your audio and video settings.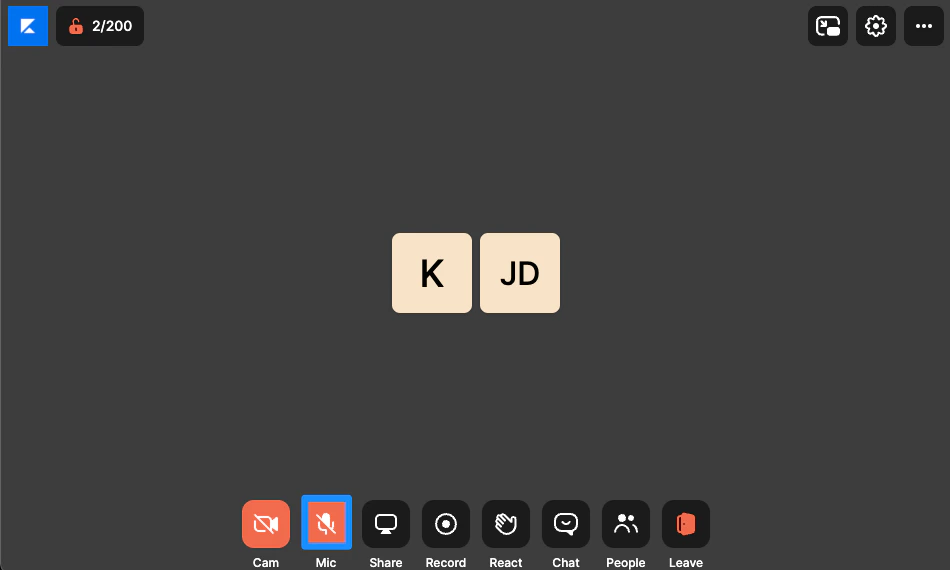
Share
Present to your course customers by sharing your screen.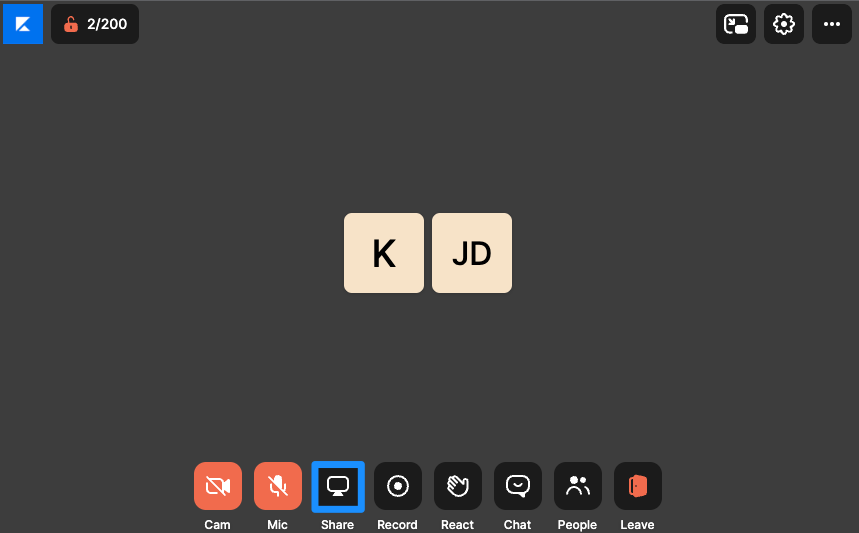
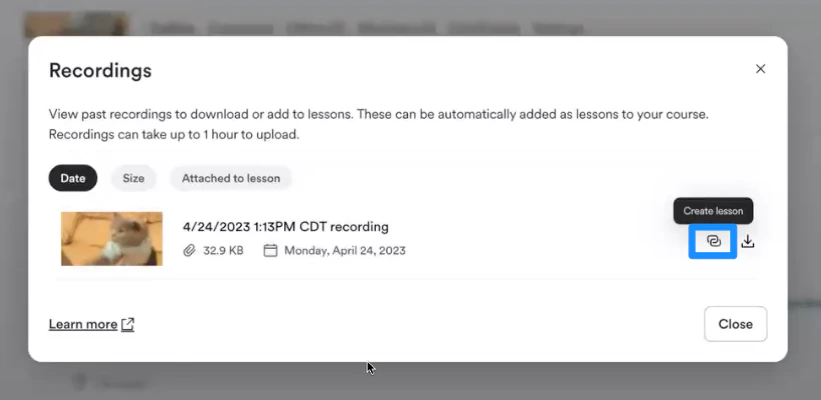
Record
Note:
Be sure to ask your live session participants for permission to record them before you start recording.
Note:
Provide your viewers with a high-definition viewing experience with Premium Video by recording and streaming in 1080p. Learn to record with Premium Video.
React
Send an emoji out to your live video session participants to share your reaction to the conversation: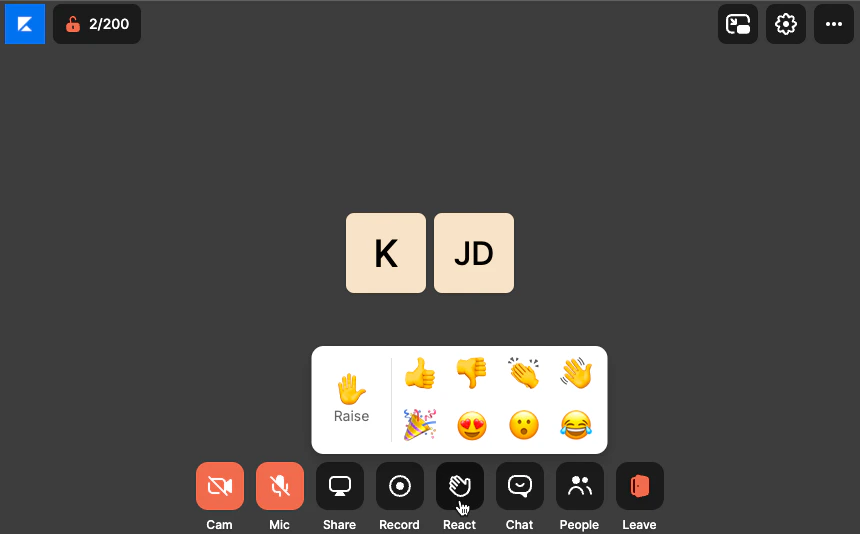
Chat
Use the Chat icon to send a message to your course customers.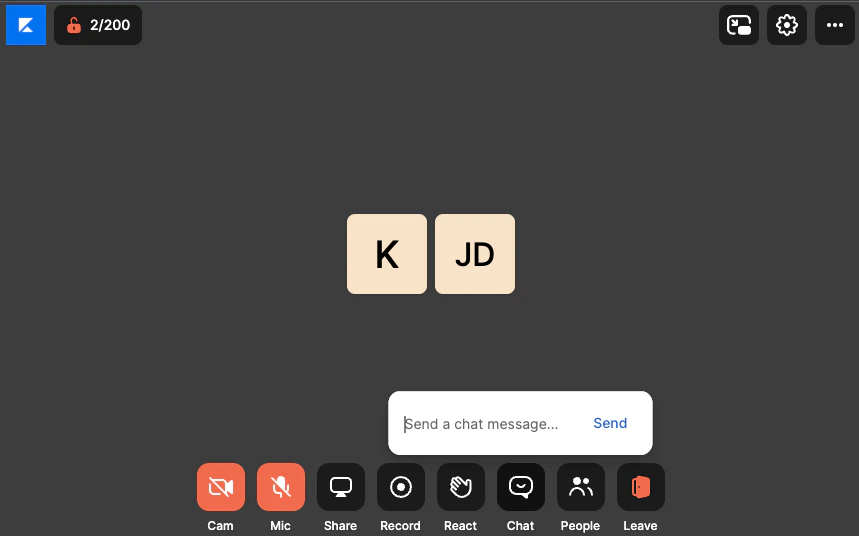
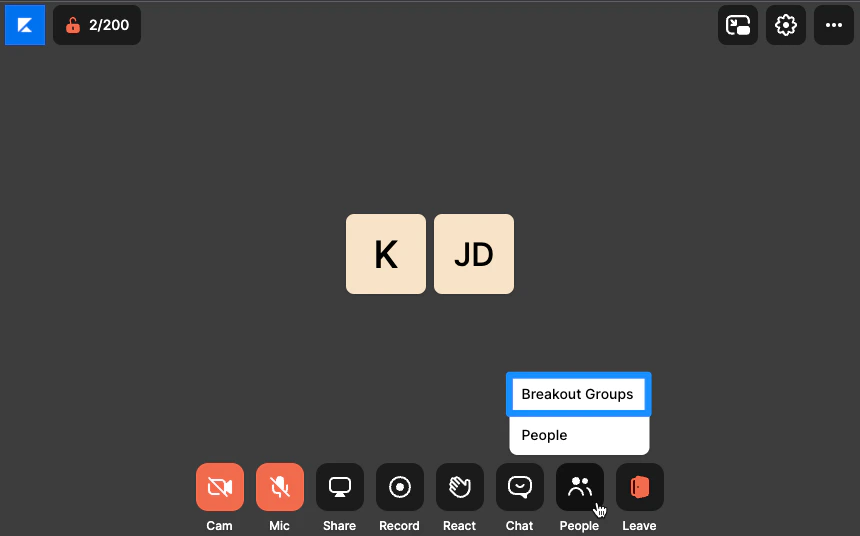
People
View and adjust participant settings to control the participant’s video and audio, spotlight a participant, or remove from the live session.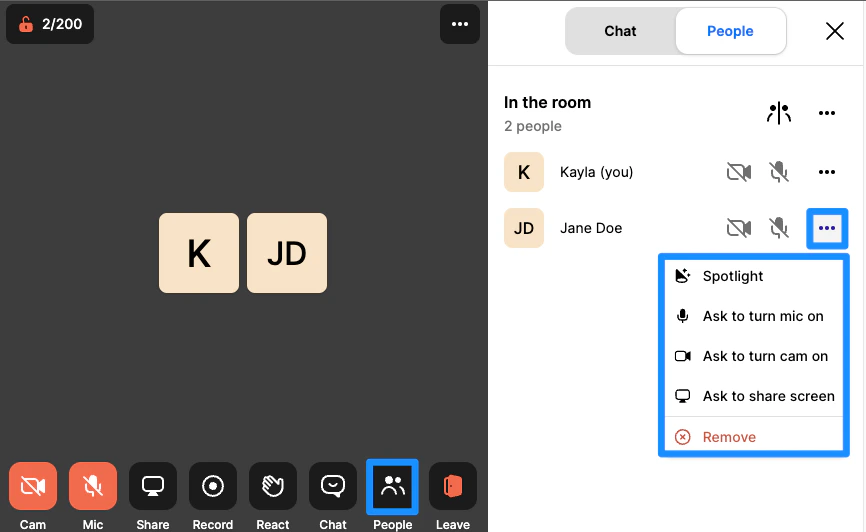

Leave
Click the Leave icon to end your live session.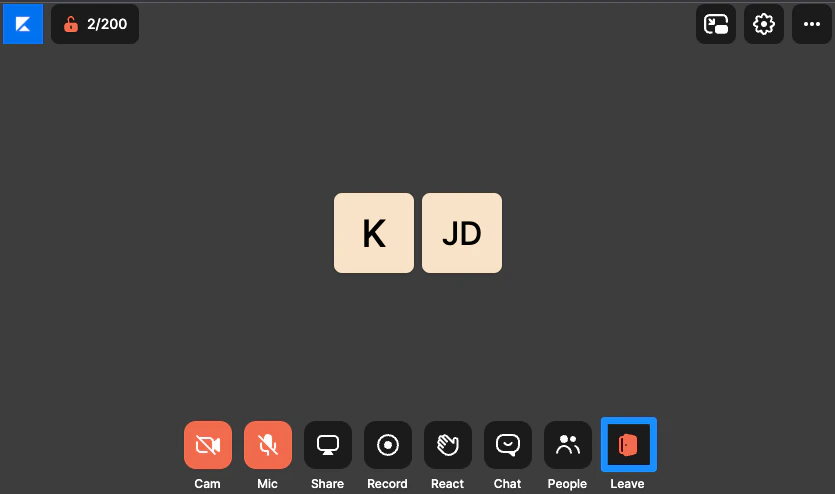
Manage Course live video
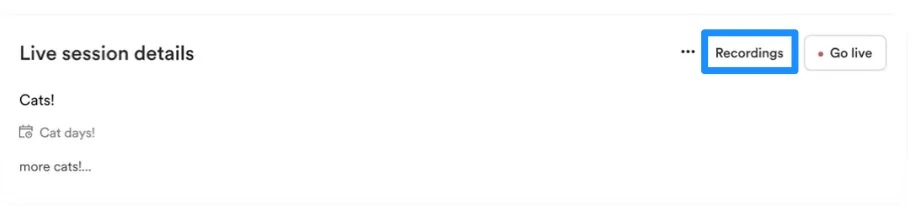
Manage your course live video by updating the live video session details, copying the session link to share with your customers, or by disabling your live session. Course Live Video is made possible with the same video software used within Kajabi Communities. If you are having trouble with your live session, learn how to troubleshoot your live room.Edit live video session details
Update your live video session title, description, and schedule: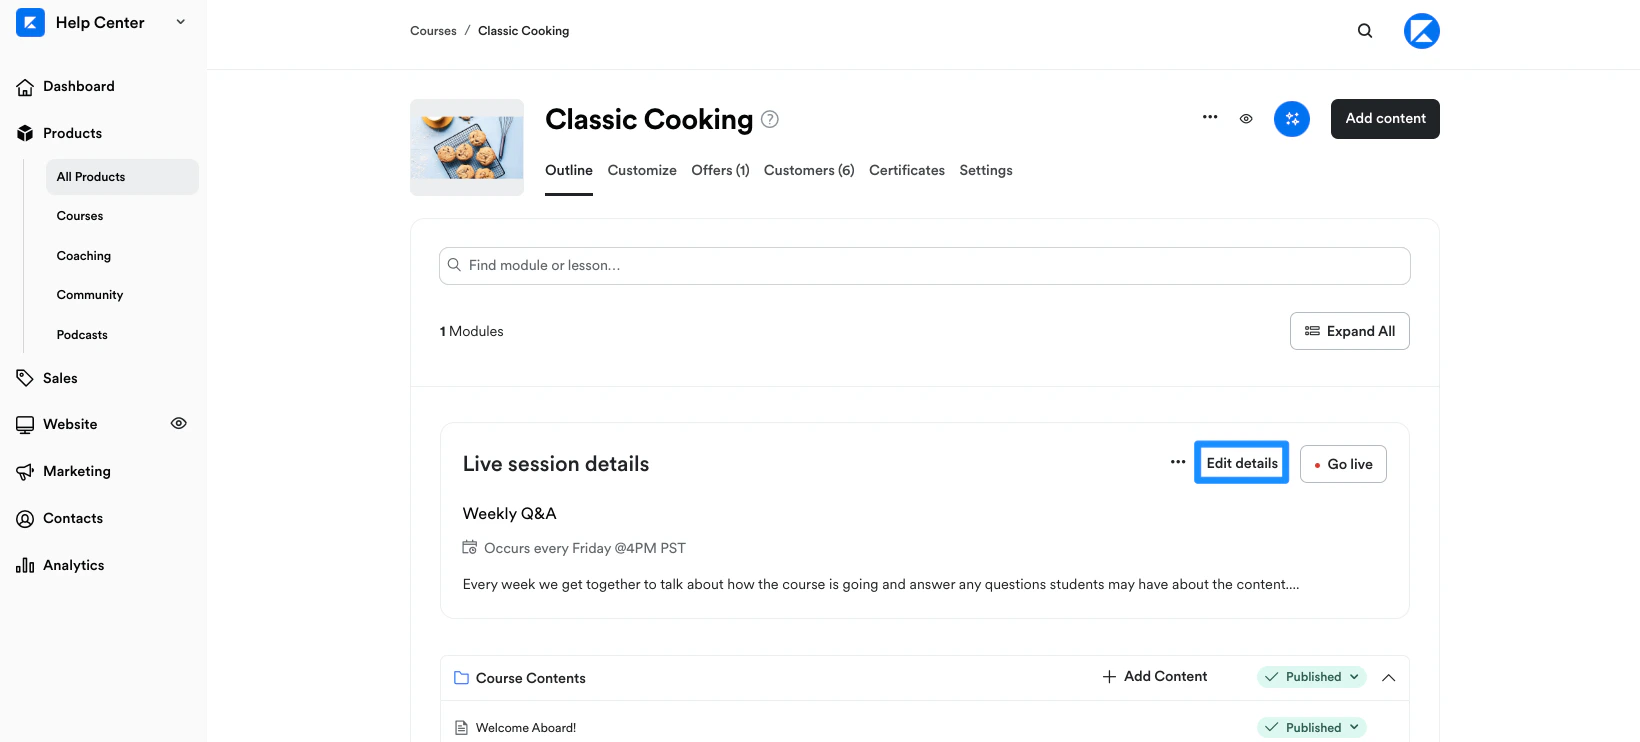
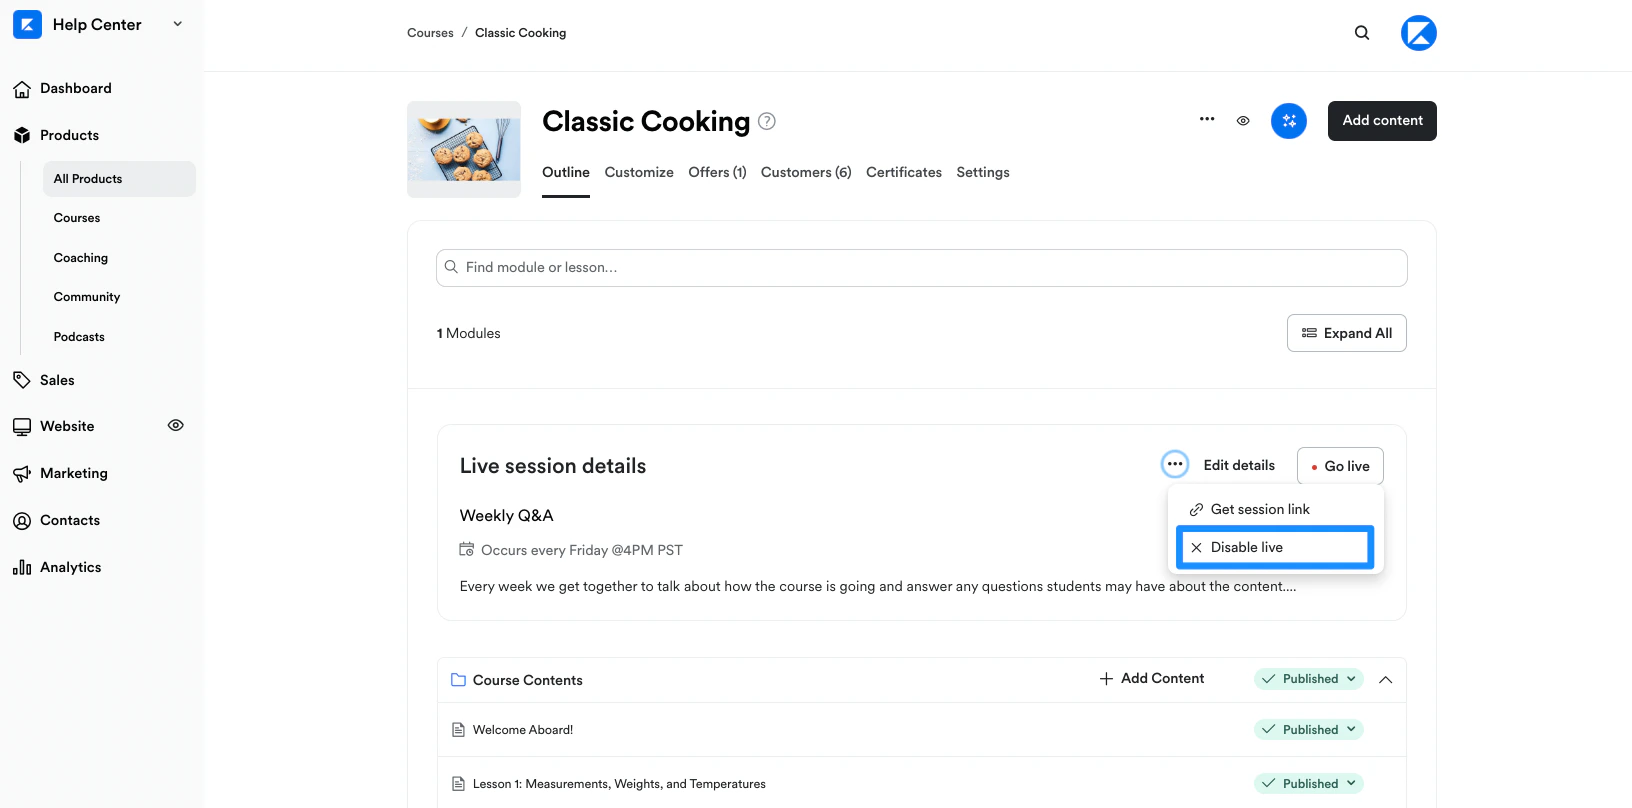
Get session link
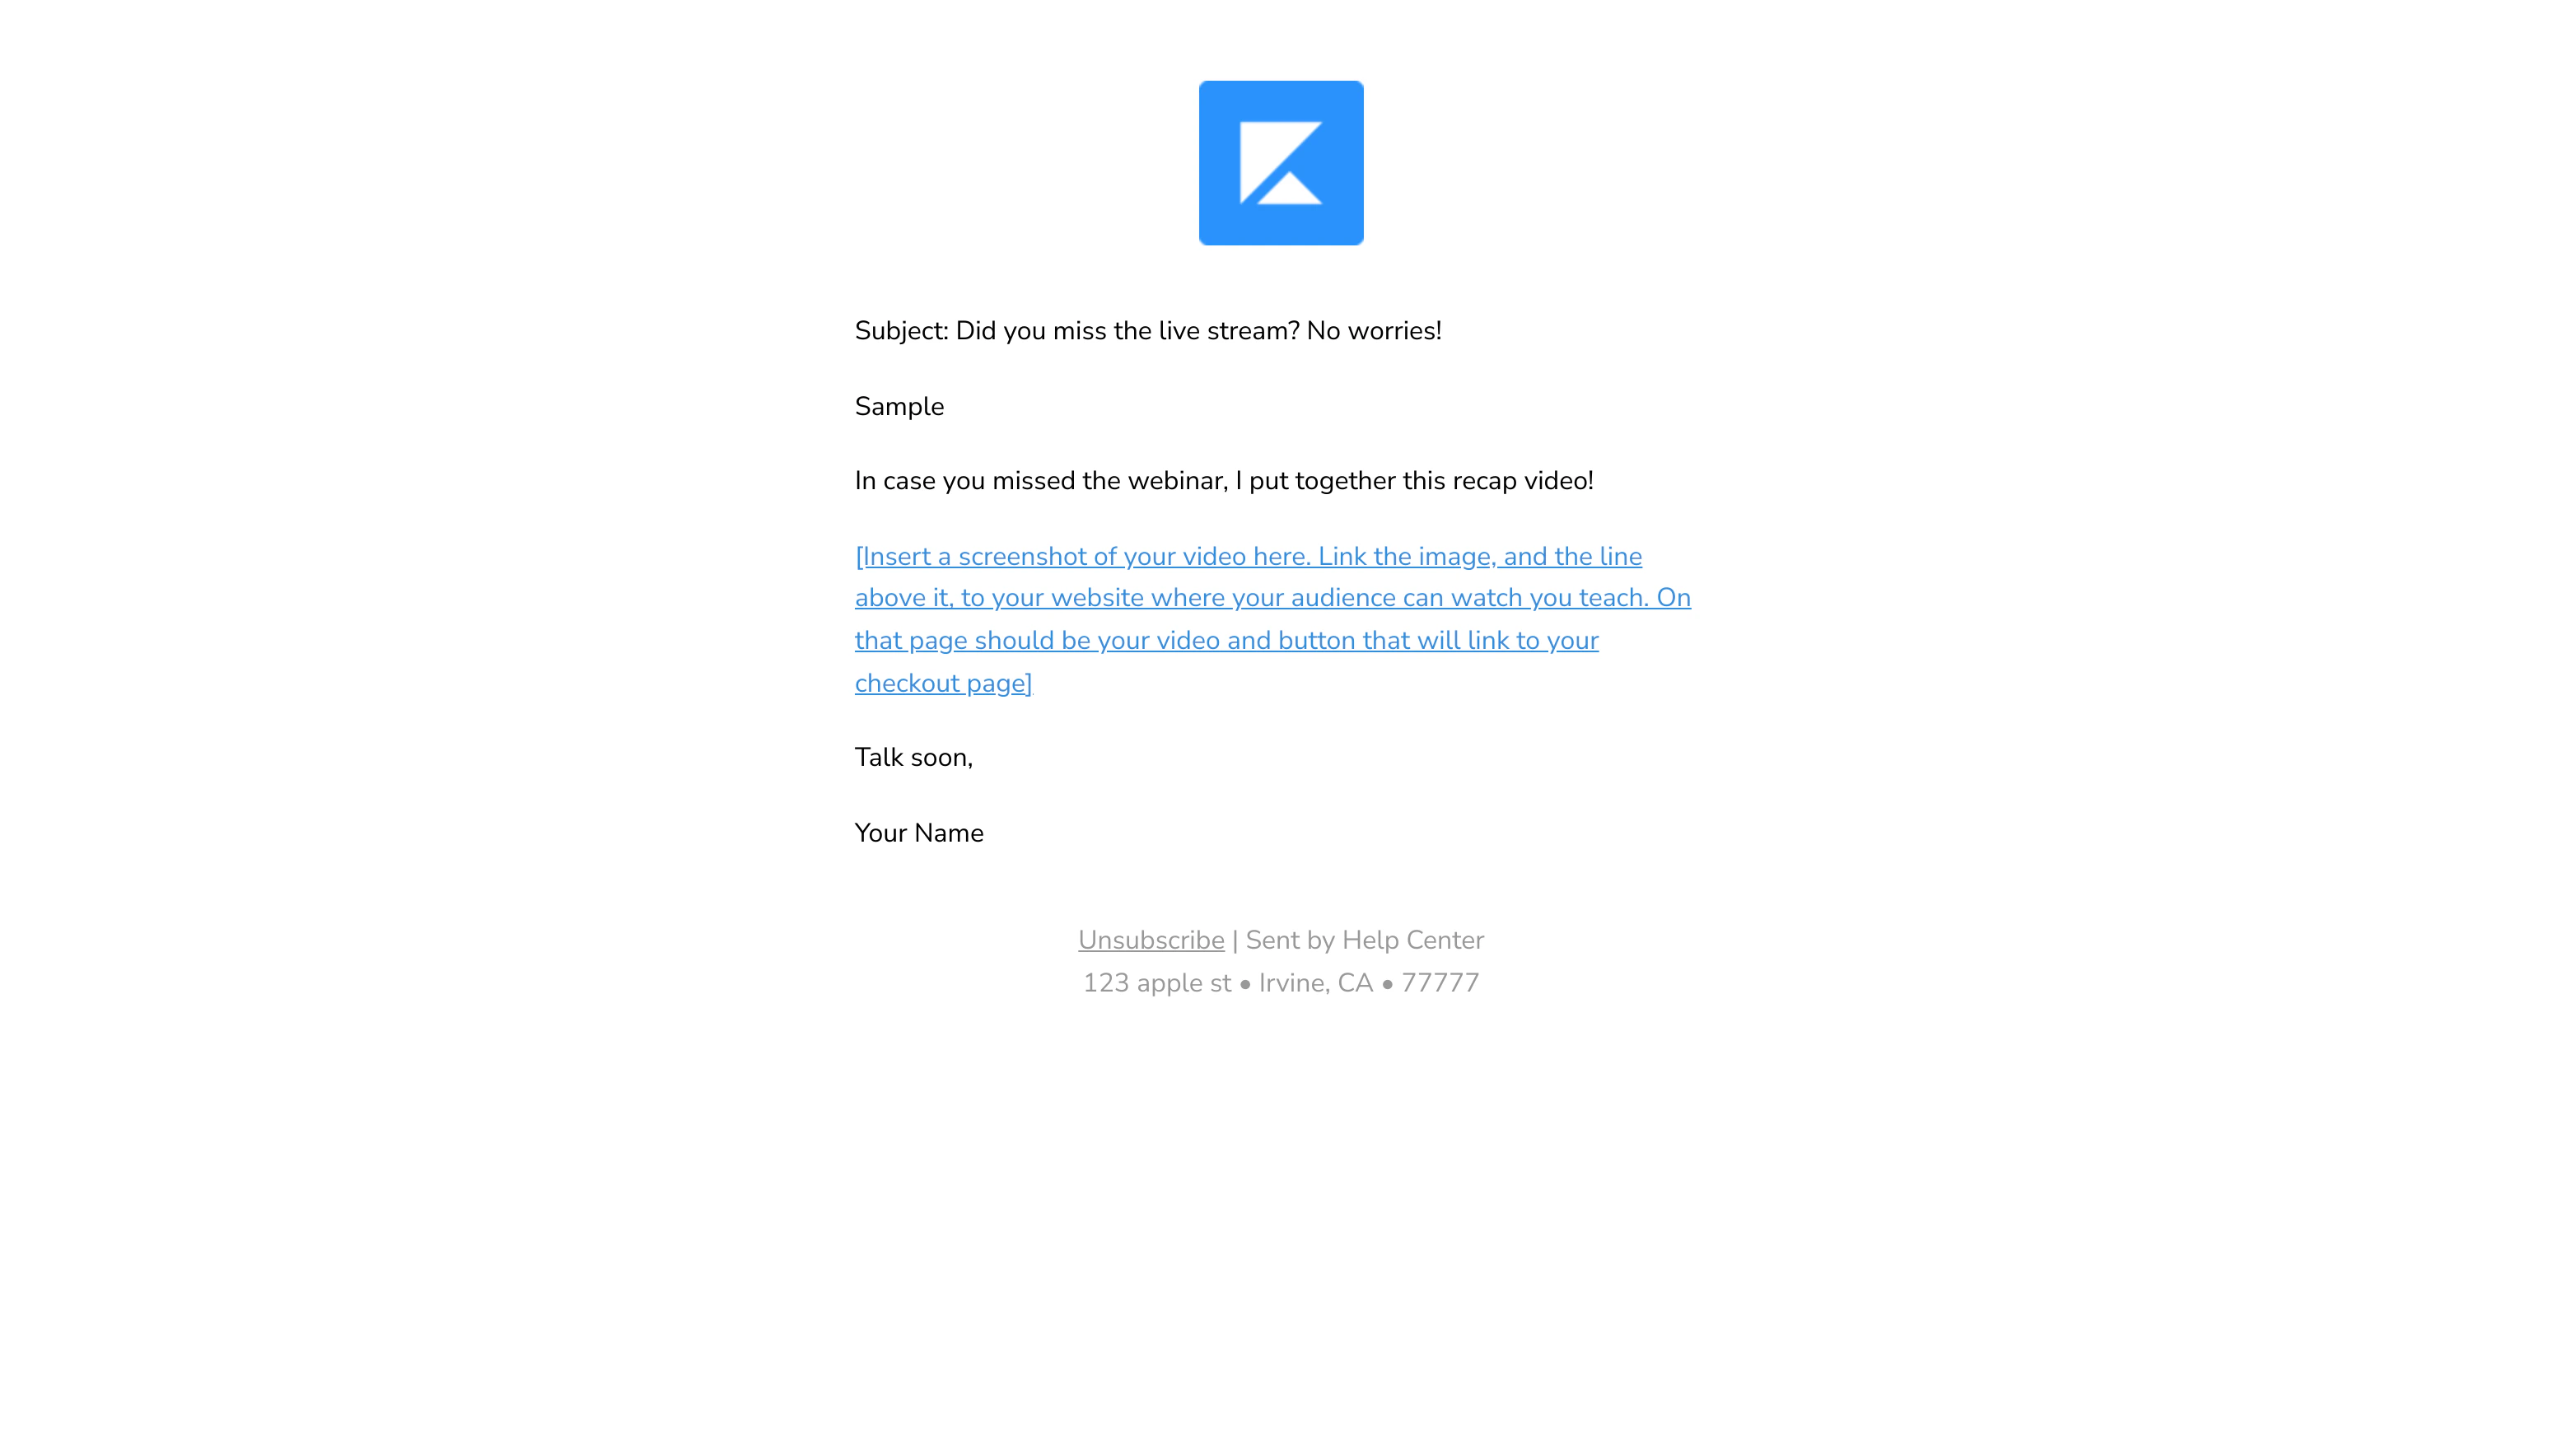
Copy and share your session link and share with your course customers. With your session link, you can create email campaigns for your course customers leading up to your session and include your session link to help your customers join your live session:
Disable live session
Want to disable and shut down your course live video? Open more details in your live session and select Disable live. This will open your Course Settings. Simply toggle off Provide a live video session for this course to disable it.