

Add a file
- Go to Products > Courses and click on a Course
- Click the lesson you want to edit to open the lesson editor page
- Scroll down to locate the Downloads section within the lesson editor
- Click Add Files to open the upload interface
- Upload your file(s) using the upload modal
Rename a file
- Open a lesson
- Click the Edit icon to rename the uploaded file in the Downloads section
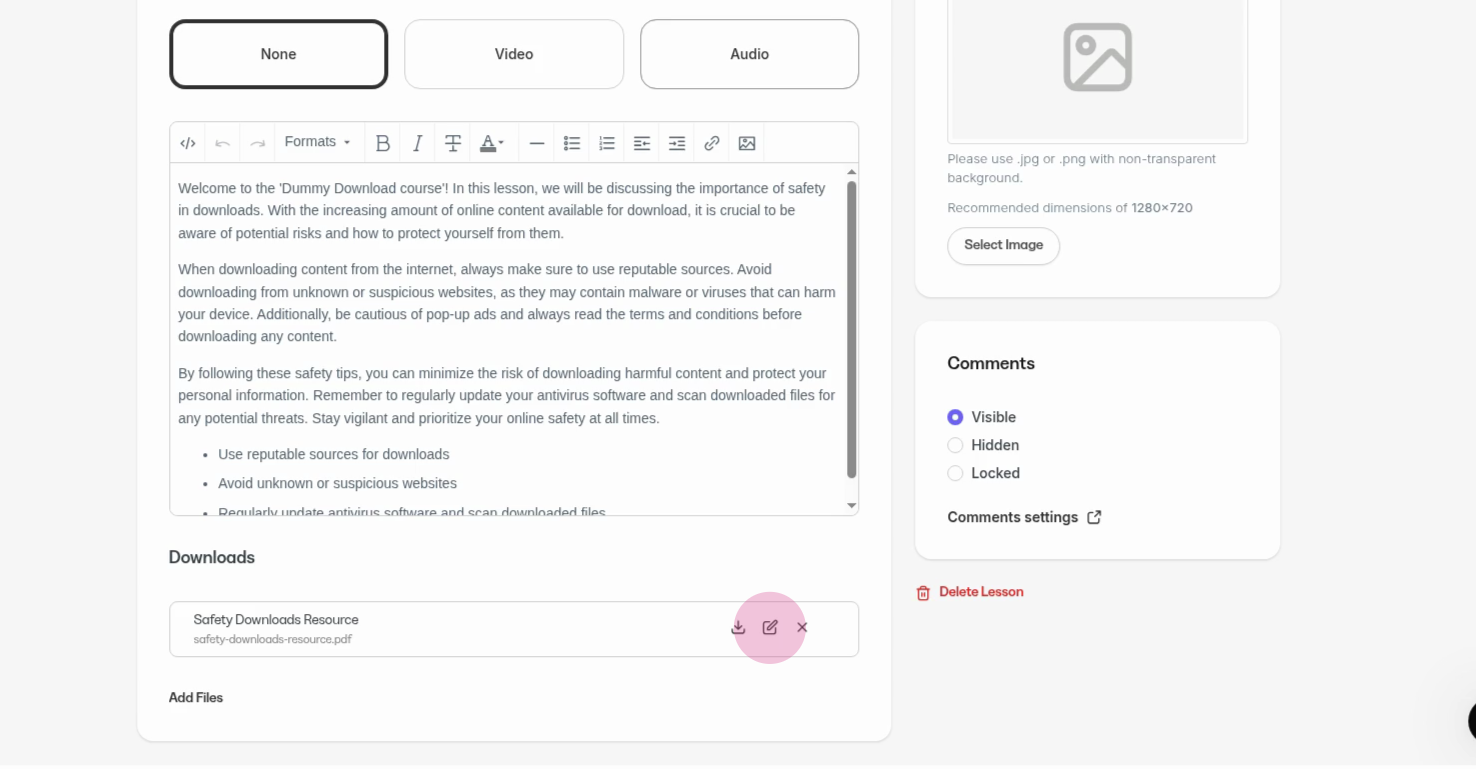
- Enter a new display name for the file and click Save to complete the rename step
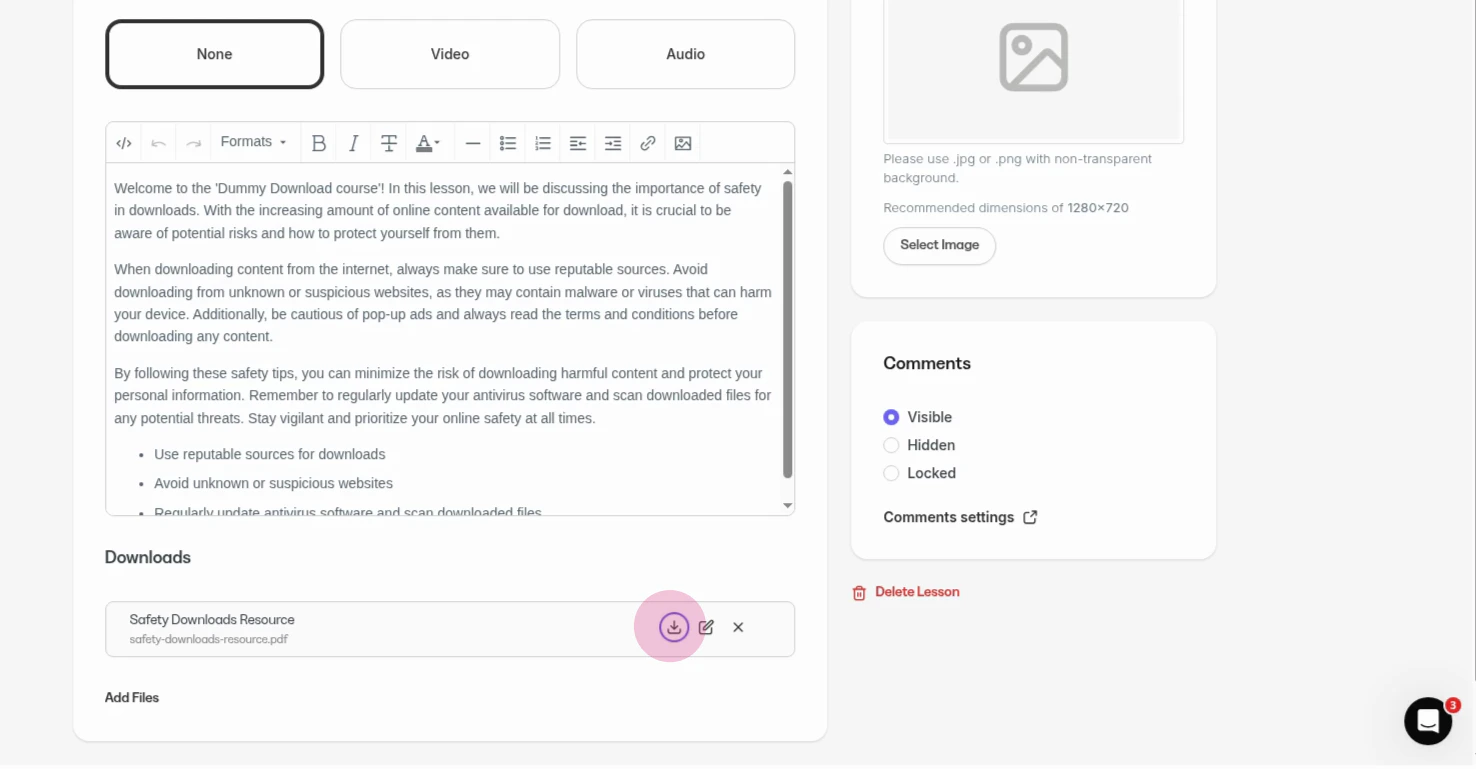
Download a file
- Open a lesson
- Click the Download icon under the Downloads section
Delete a file
- Click the Delete icon in the Downloads section
- Click Delete again to confirm and remove the file
Notes:
- There is a 1GB file limit for a downloadable file within a course lesson.
- The following downloadable file types are allowed for course lessons:
- 3g2, 3gp, avi, csv, doc, docx, epub, flv, gif, jpeg, jpg, key, m4a, mov, mp3, mp4, mpg, mobi, odt, ogg, ogv, pdf, png, ppt, pptx, rtf, srt, txt, wav, wma, wmv, xls, xlsx, zip