

Embed a Channel
Note:
Only Public Channels can be embedded into Courses at this time. It is not currently possible to embed a Private Channel.
Note:
The Channel widget is currently only available for the updated Premier and Momentum templates. If you’re using a different Course template, or an older template version, you’ll need to switch to the latest version of either Premier or Momentum before you can embed a Channel in your Course. If you embed a Channel and later change your Course template, you’ll need to add the Channel widget to your new template manually. Learn to install and activate a new Course template.
Note:
Embedded Channels in Courses will only appear on the web at this time. This feature is not currently available for the Kajabi mobile app.
Link an Access Group to a Course
To embed a Channel, first link the Channel’s Access Group in your Course settings and ensure that the Access Group is added to your Course Offer(s).Note:
There are two requirements for linking to an Access Group from your Course: (1) Your Course Theme must be Momentum 6.3.0, Premier 7.3.0, or newer and (2) There must be a Kajabi Community Product created on the same site as your Course.
Set up the link
- From your dashboard, select Products.
- Open the Course product where you want to link your Community.
- Click the Settings tab.
- Navigate to the Community settings.
- Click to toggle on “Enable community for this course.”
- Then, select your Community Access Group from the drop-down menu.
- Click Save:
Add a Channel Widget to a Course template
Once you’ve linked your Course to a Community Access Group, you must embed the Community widget in your Course template to make it viewable directly inside of your Course.Important:
Before you proceed, make sure you’ve updated to the latest version of the Premier or Momentum template.
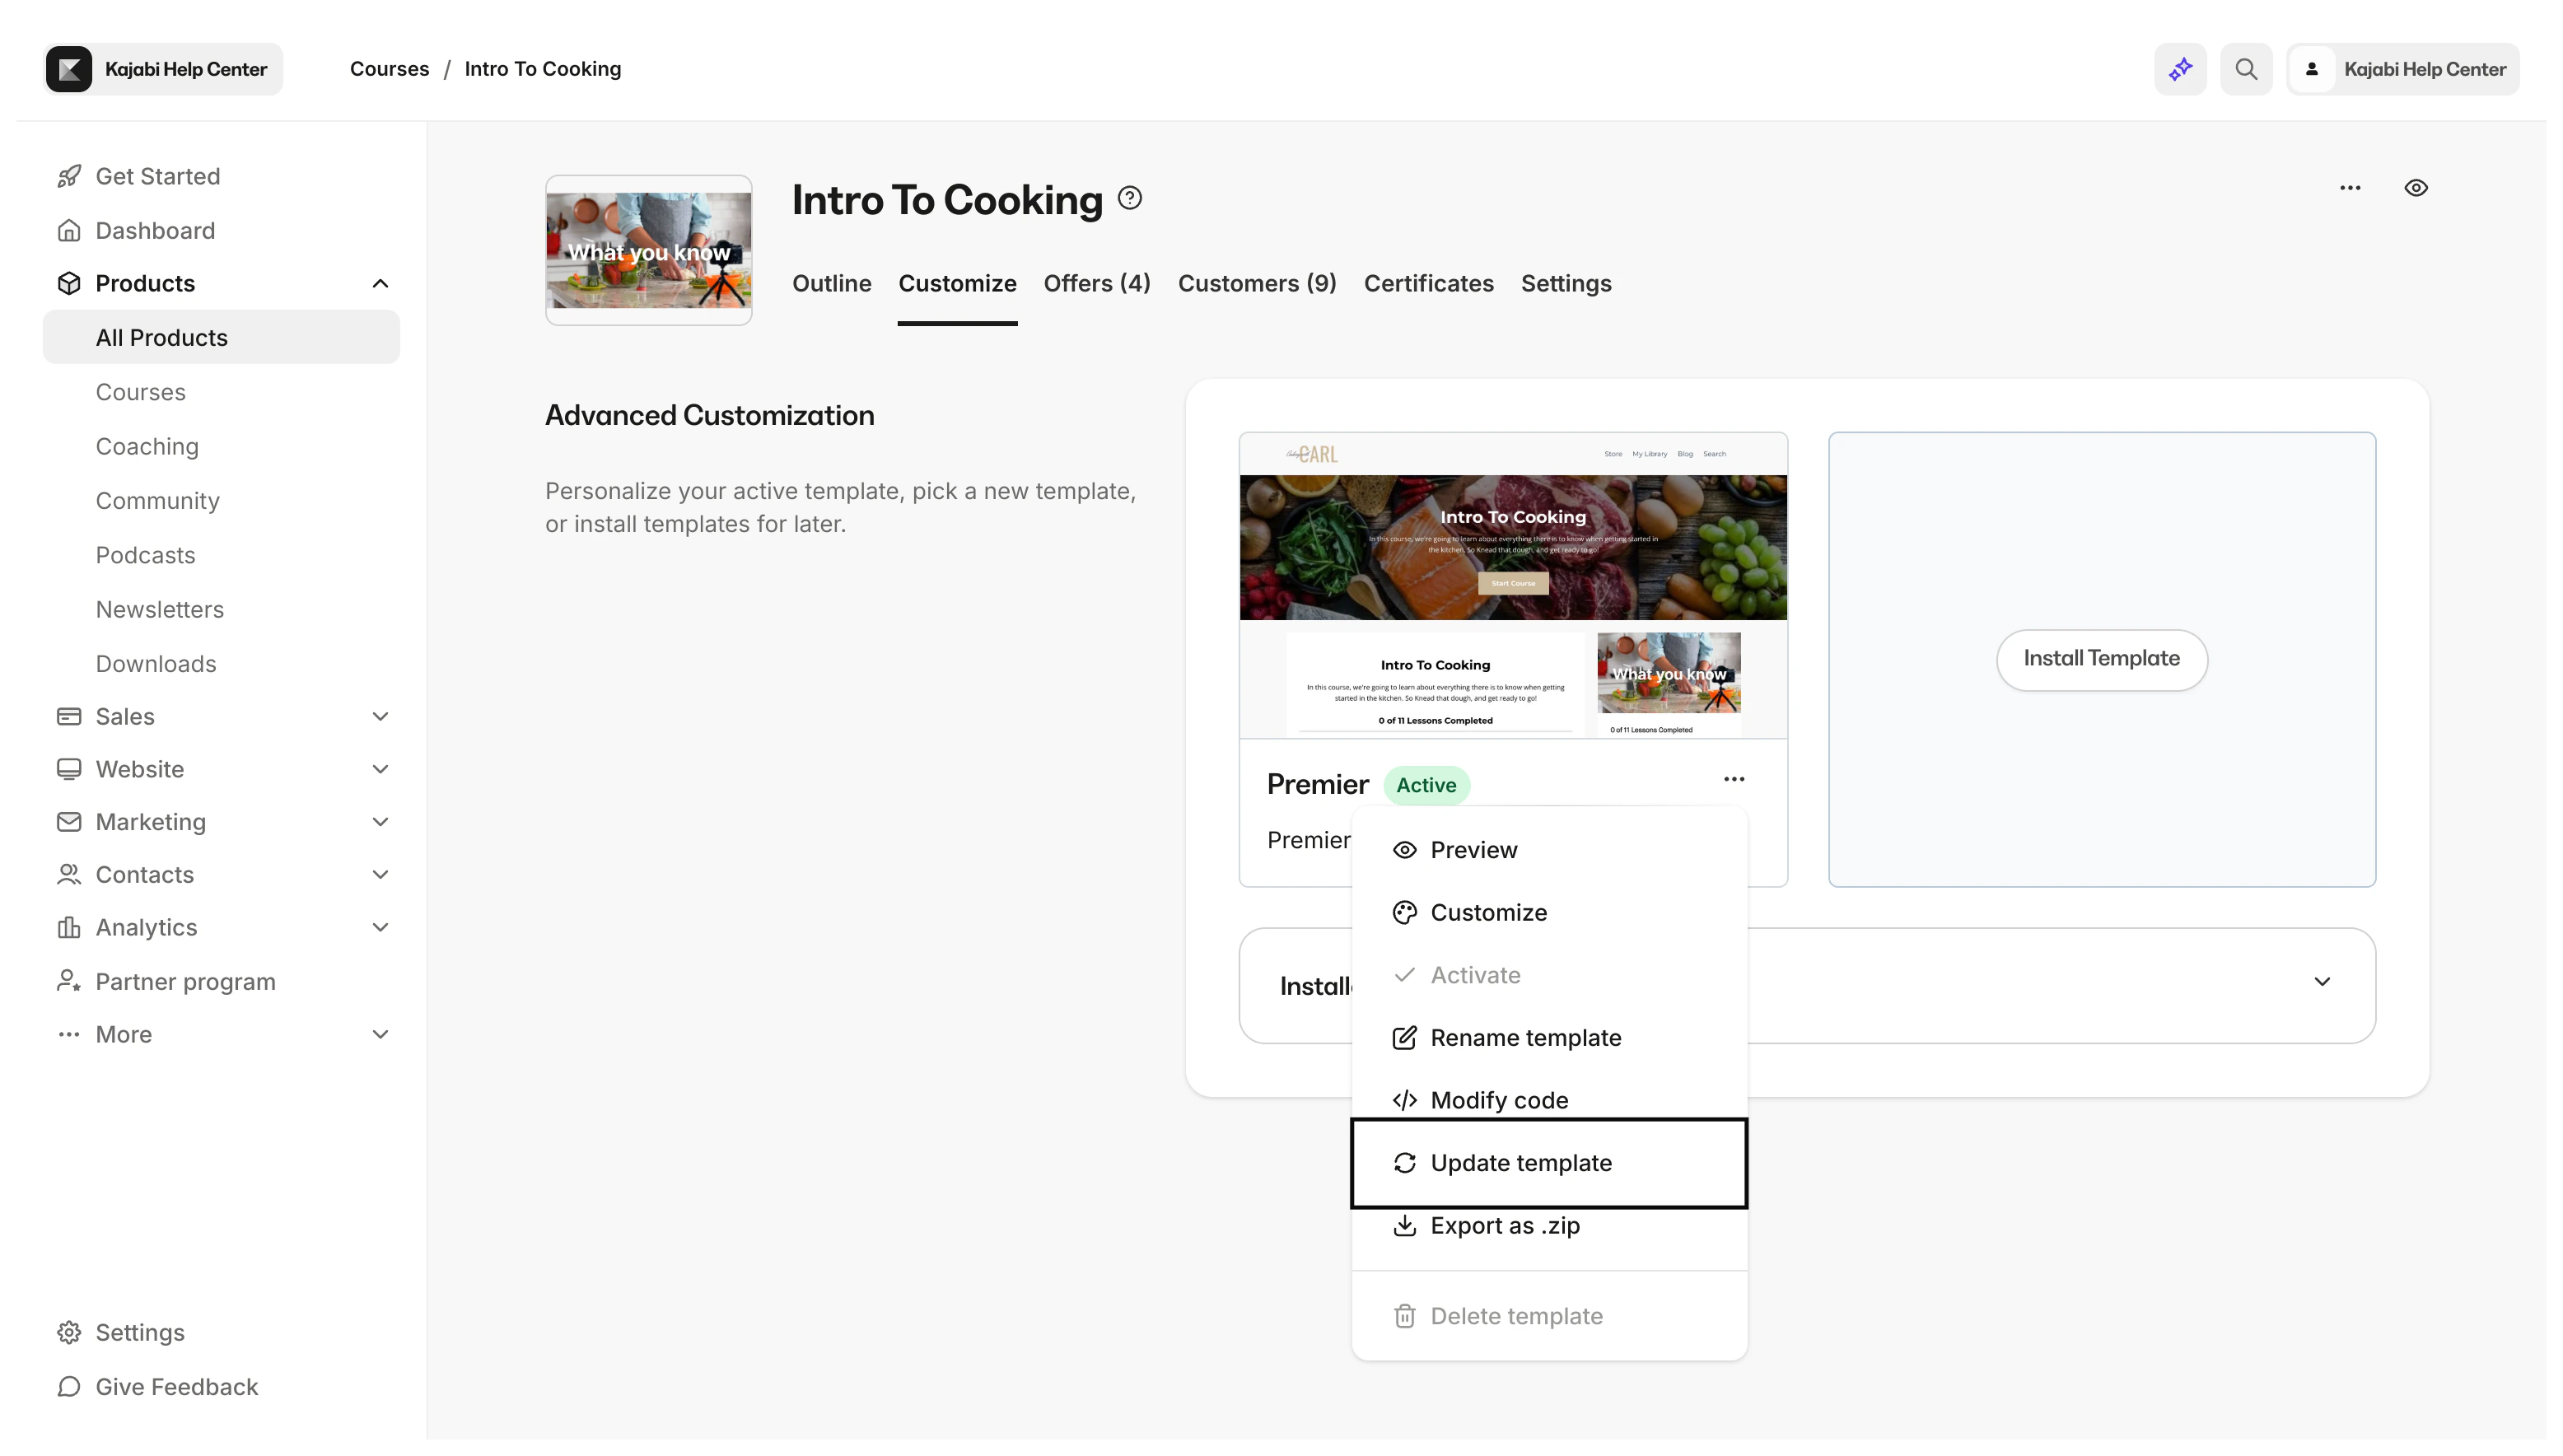
Update the template
- From inside your Course product, click the Customize tab.
- Click … on your active Course template to open the options menu.
- Select Update template:
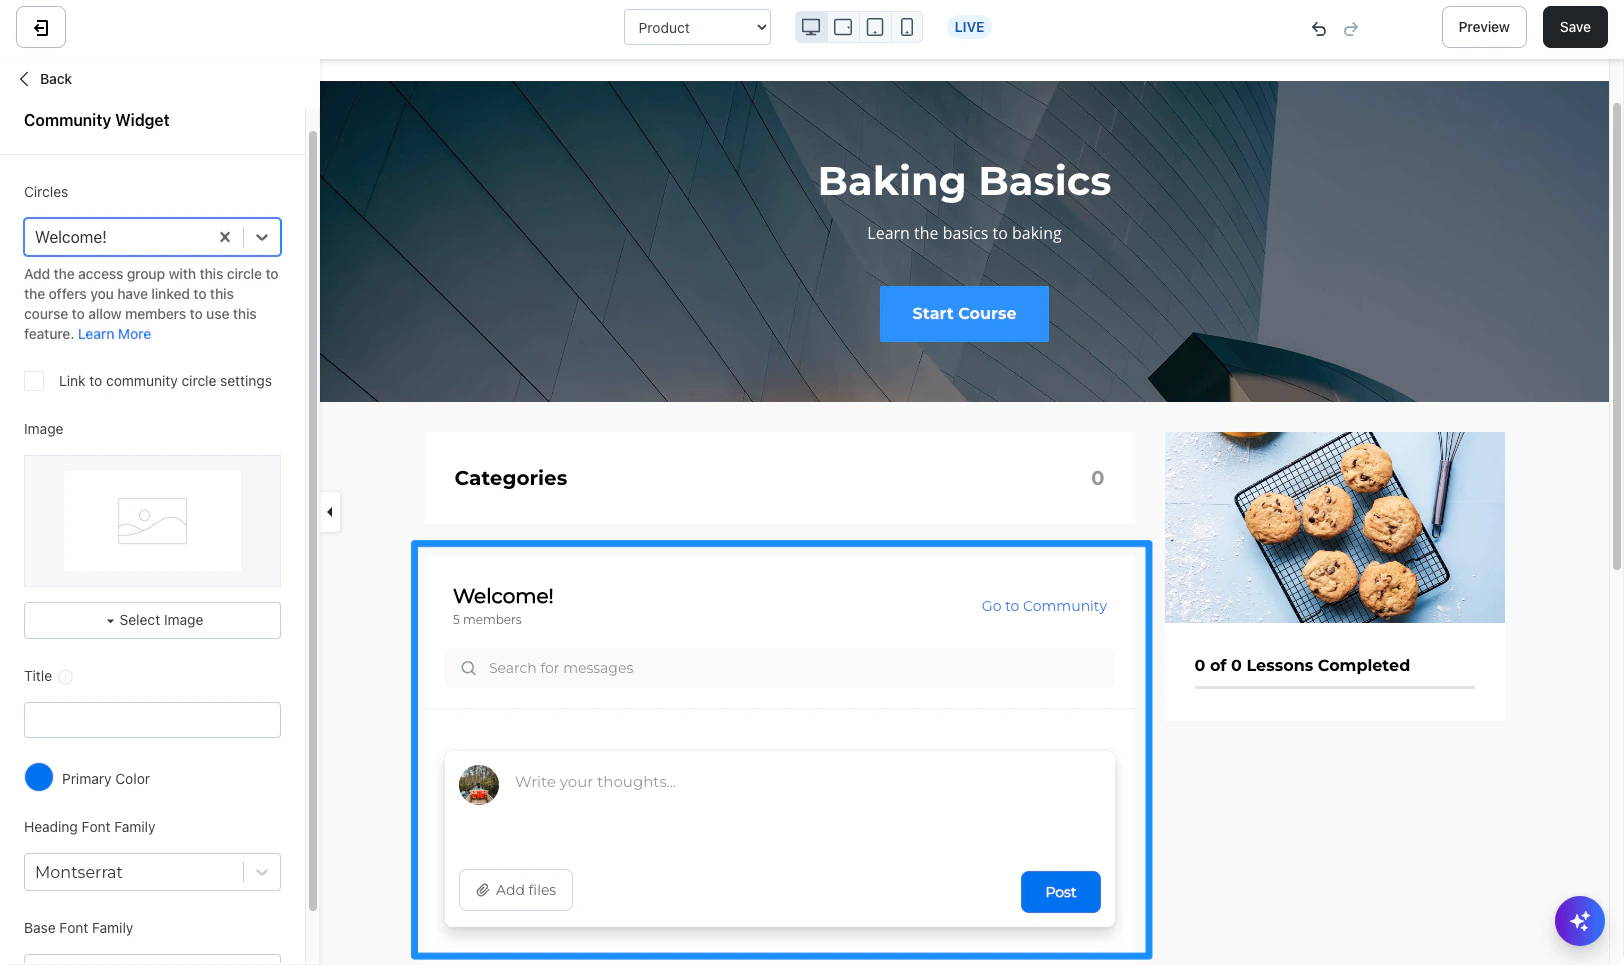
Add a Channel widget
- From inside your Course product, click the Customize tab.
- Place your cursor over your active Course template and click Customize.
- Navigate to the left sidebar editor Sections tab and select Community widget.
- Then, choose the Channel you want to embed from the Channel’s drop-down menu:
Choose Channel branding
Finally, choose to either apply the branding settings from your Community to your Channel widget or manually select your branding choices. To choose your branding:- Option 1: Check the Link to community Channel settings checkbox to import your Community branding settings.
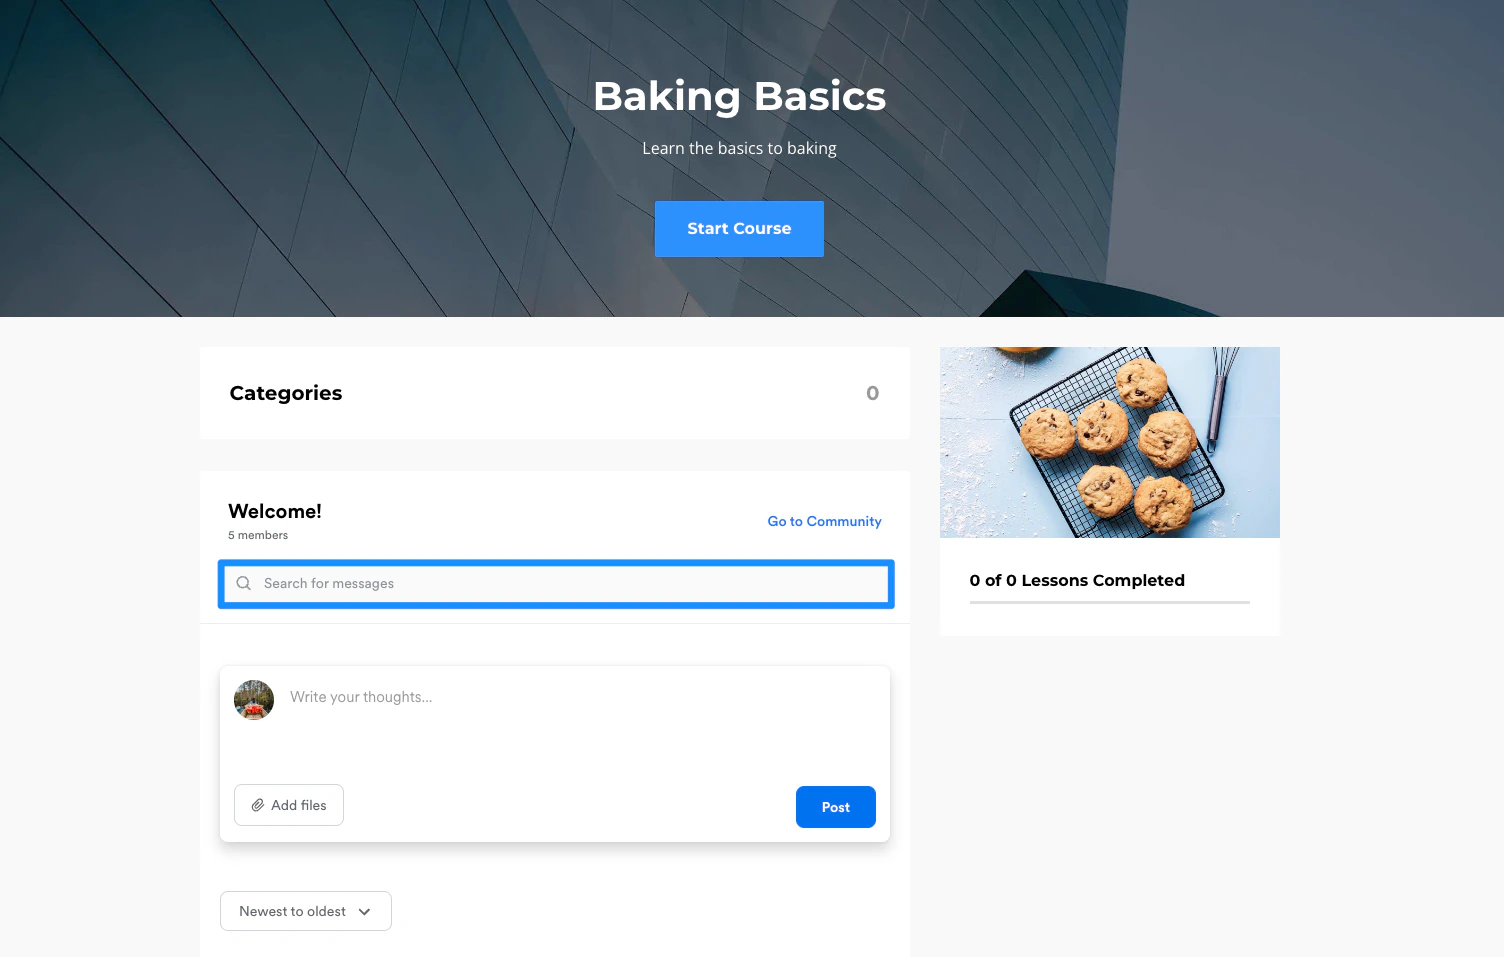
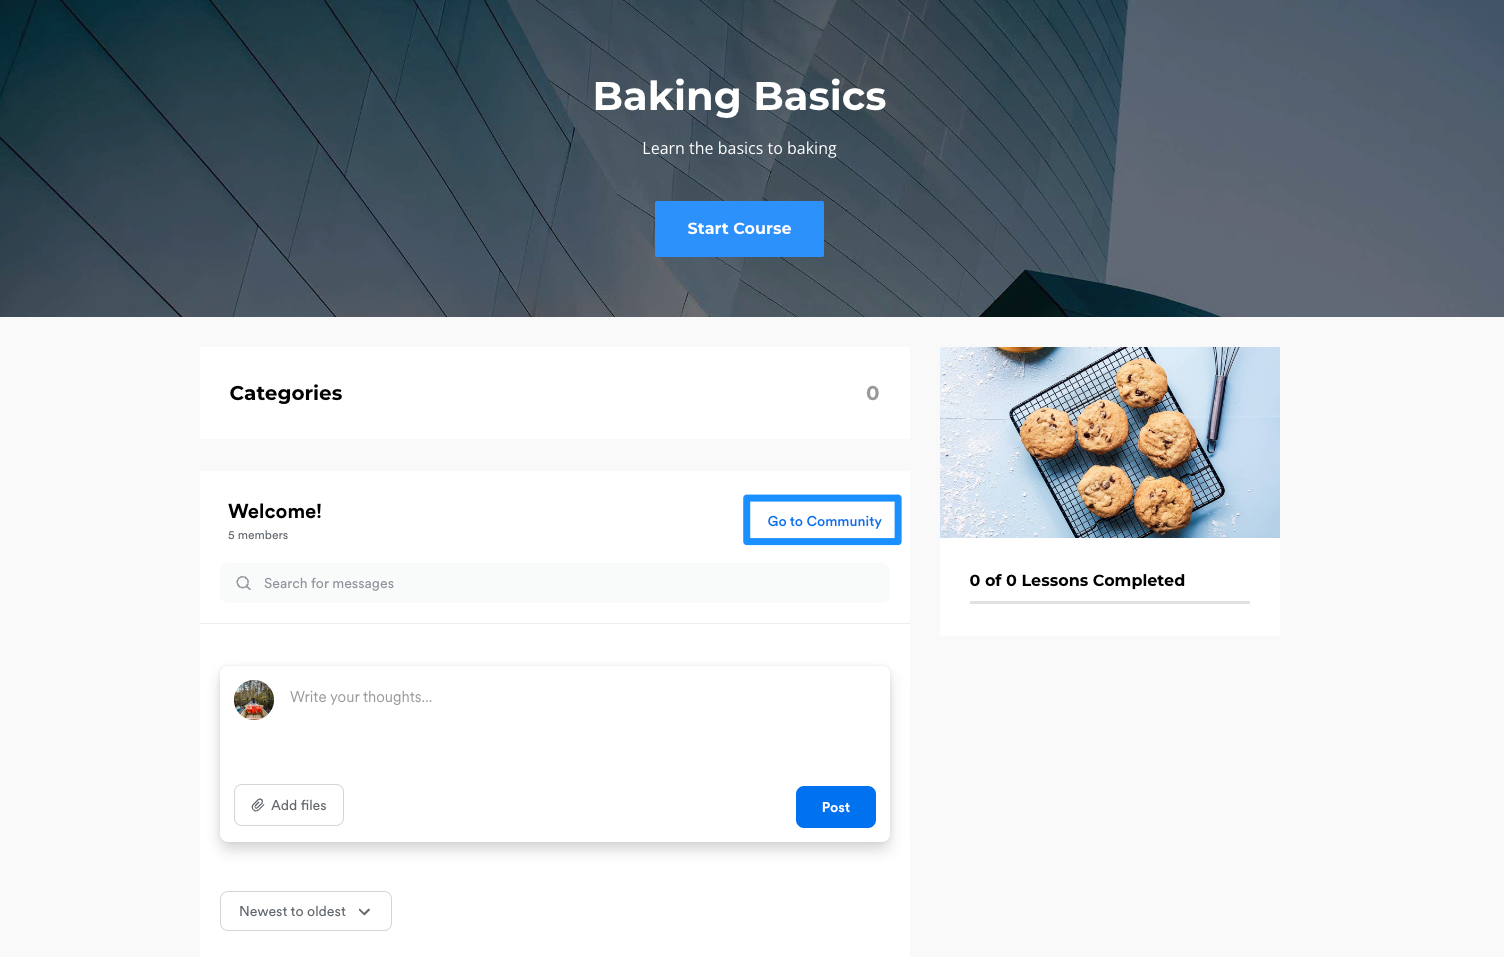
- Click Preview to view your changes. (Important note: If you submit a Channel post on the Preview page, your post will appear in your live Community Channel).
- Once you’re satisfied with your branding, click Save: