

What is segmenting?
Segmenting your contacts is a method of dividing your list into small groups based on similar attributes (e.g., subscription status):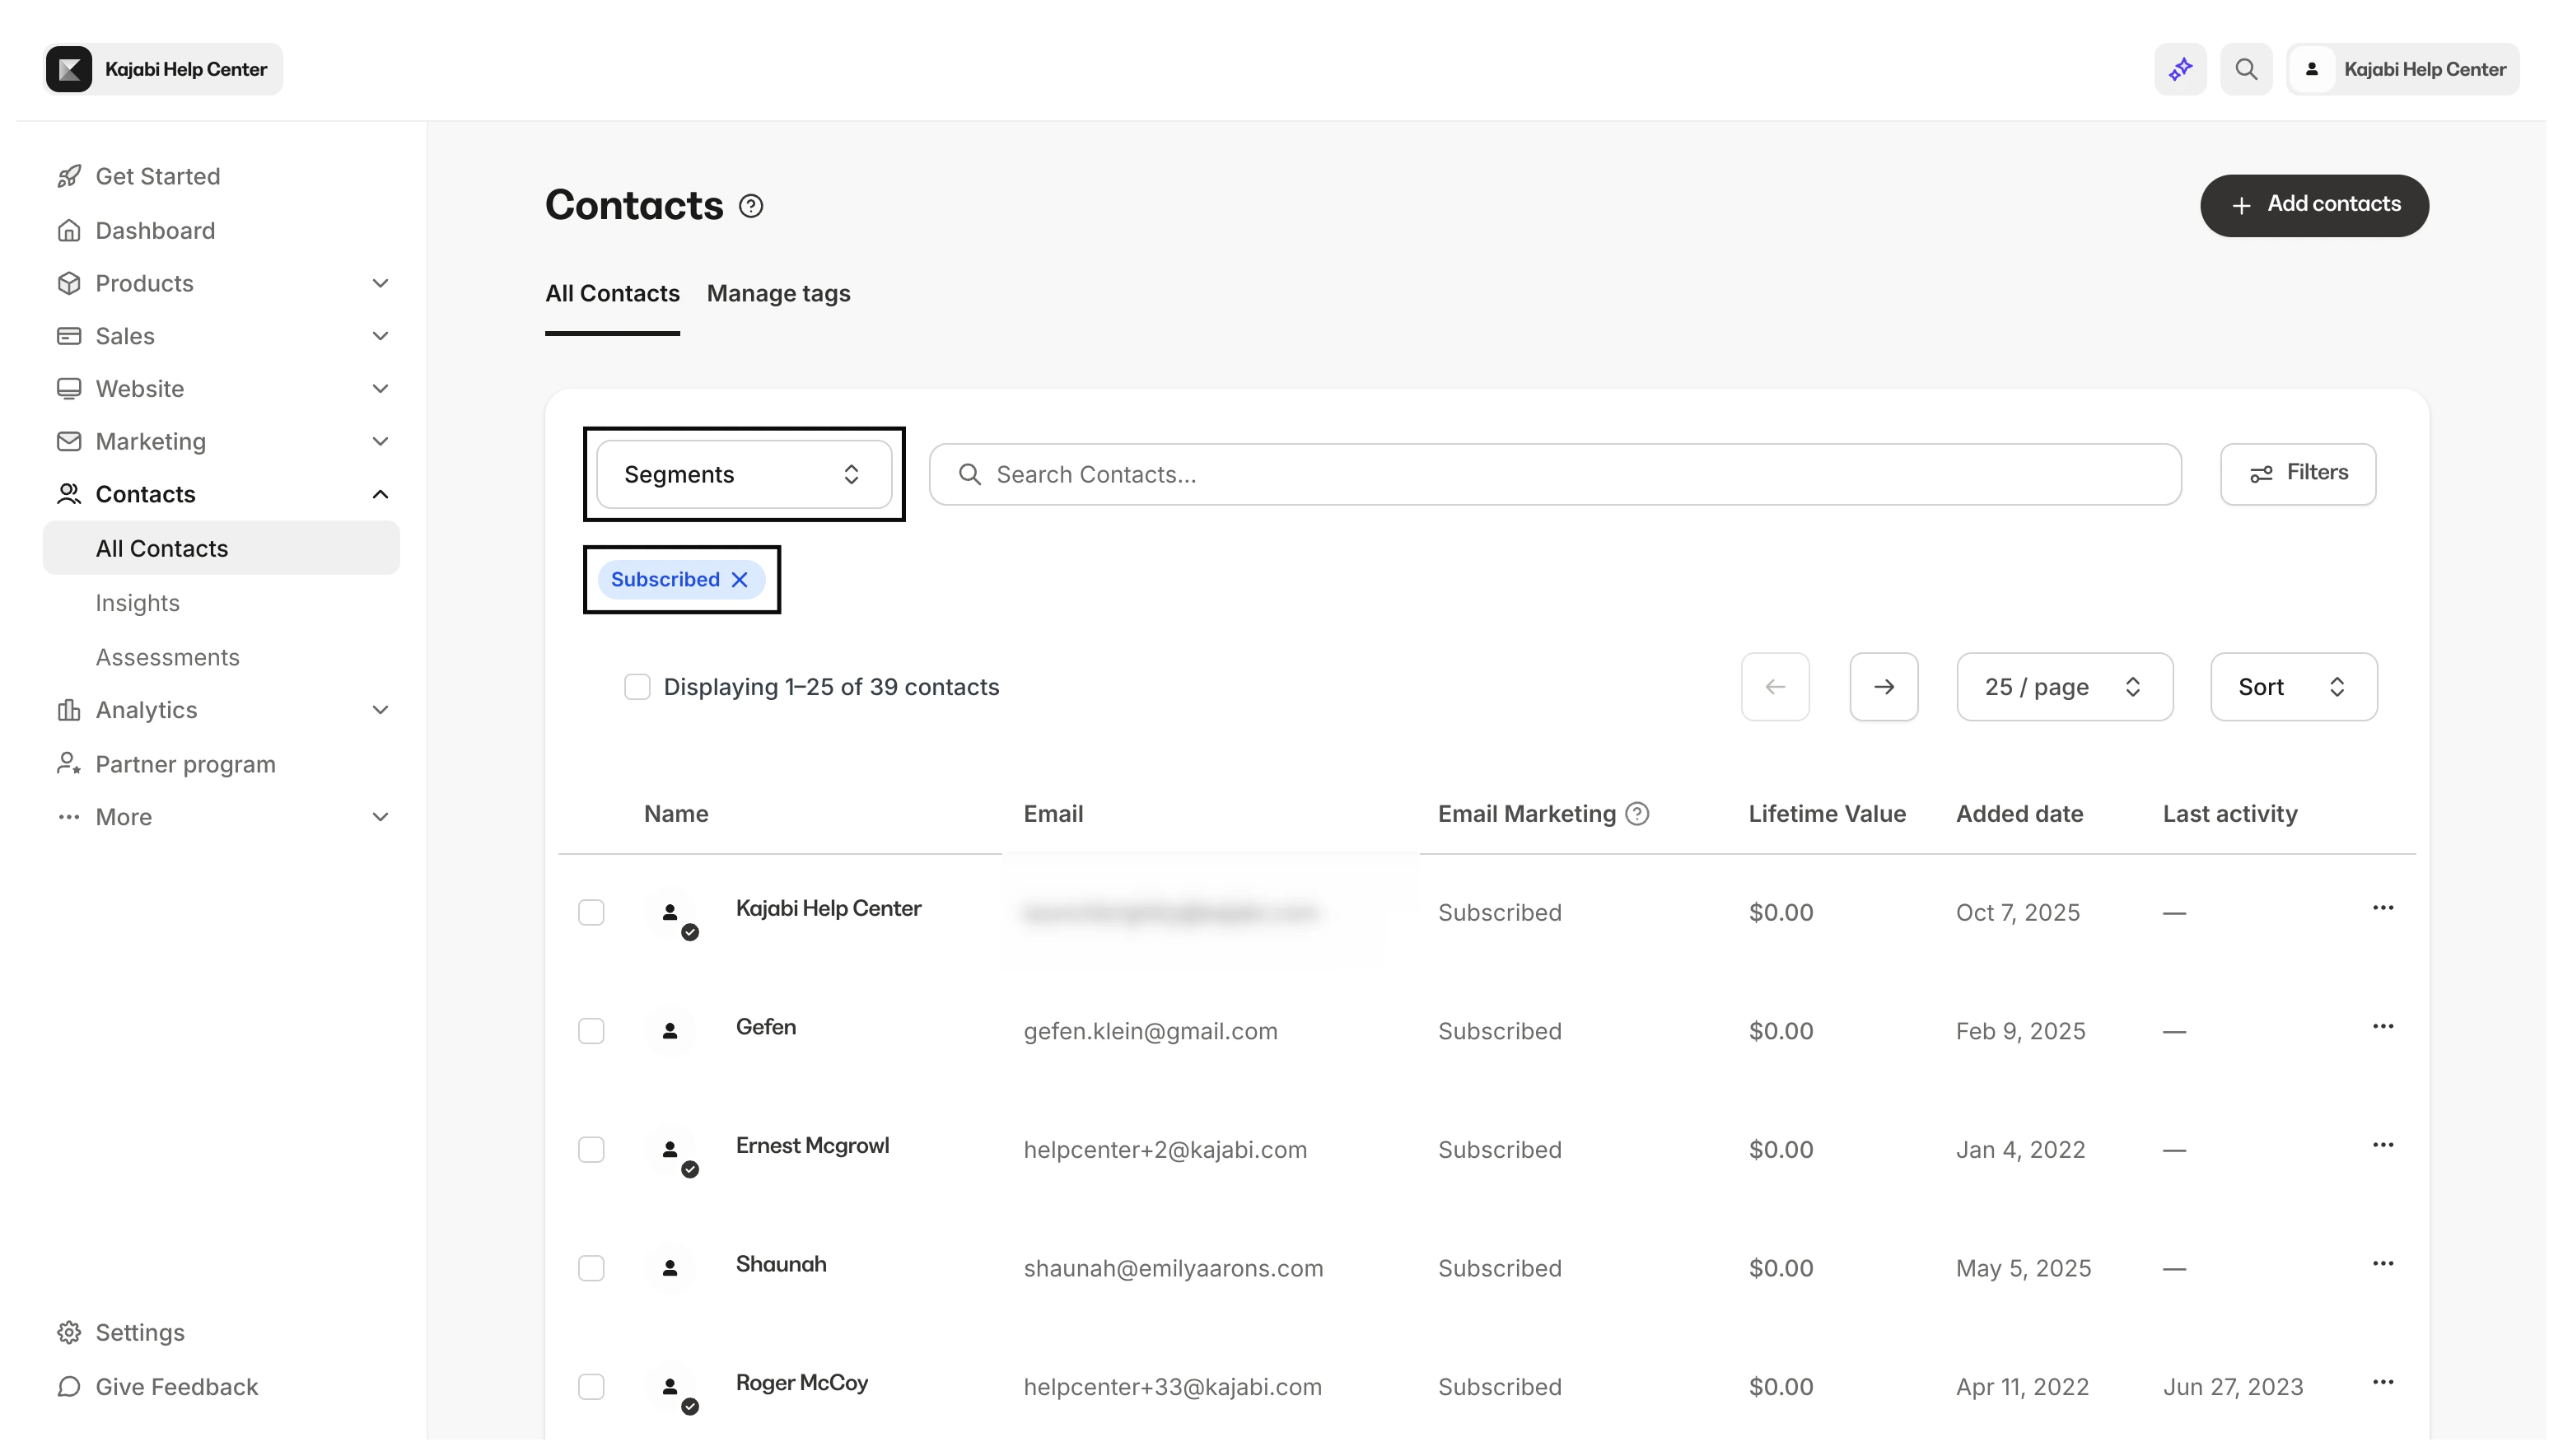
Commonly segmented groups include
- Purchasing habits
- Needs
- Lifestyle
- Age
- Interests
Why segment contacts?
In short, segmenting your contacts greatly improves your ability to manage your list efficiently and design personalized marketing to better communicate with your contacts. Creating generalized marketing to attempt to reach all of your contacts typically results in mixed responses. Some contacts may respond positively to one campaign while others may not. Regardless of how effective or creative your marketing efforts are for some, they may not reach others as intended. This can result in contacts unsubscribing or even blocking you.Segmenting contacts can help you
- Increase engagement by designing marketing campaigns specific to groups of contacts based on various similar attributes such as products owned, emails received, custom tags and more
- Gain insight into the patterns and trends of your contacts with automations and tags and assigning each to a custom segment
- Review your Customer’s Product Progress and bring focus to your stats
- Efficiently manage the Contacts tab by quickly navigating between specified Segments
Note: Looking to segment your contacts upon form submission or purchase? Set up Tag Automations to automate this process.
Default segments
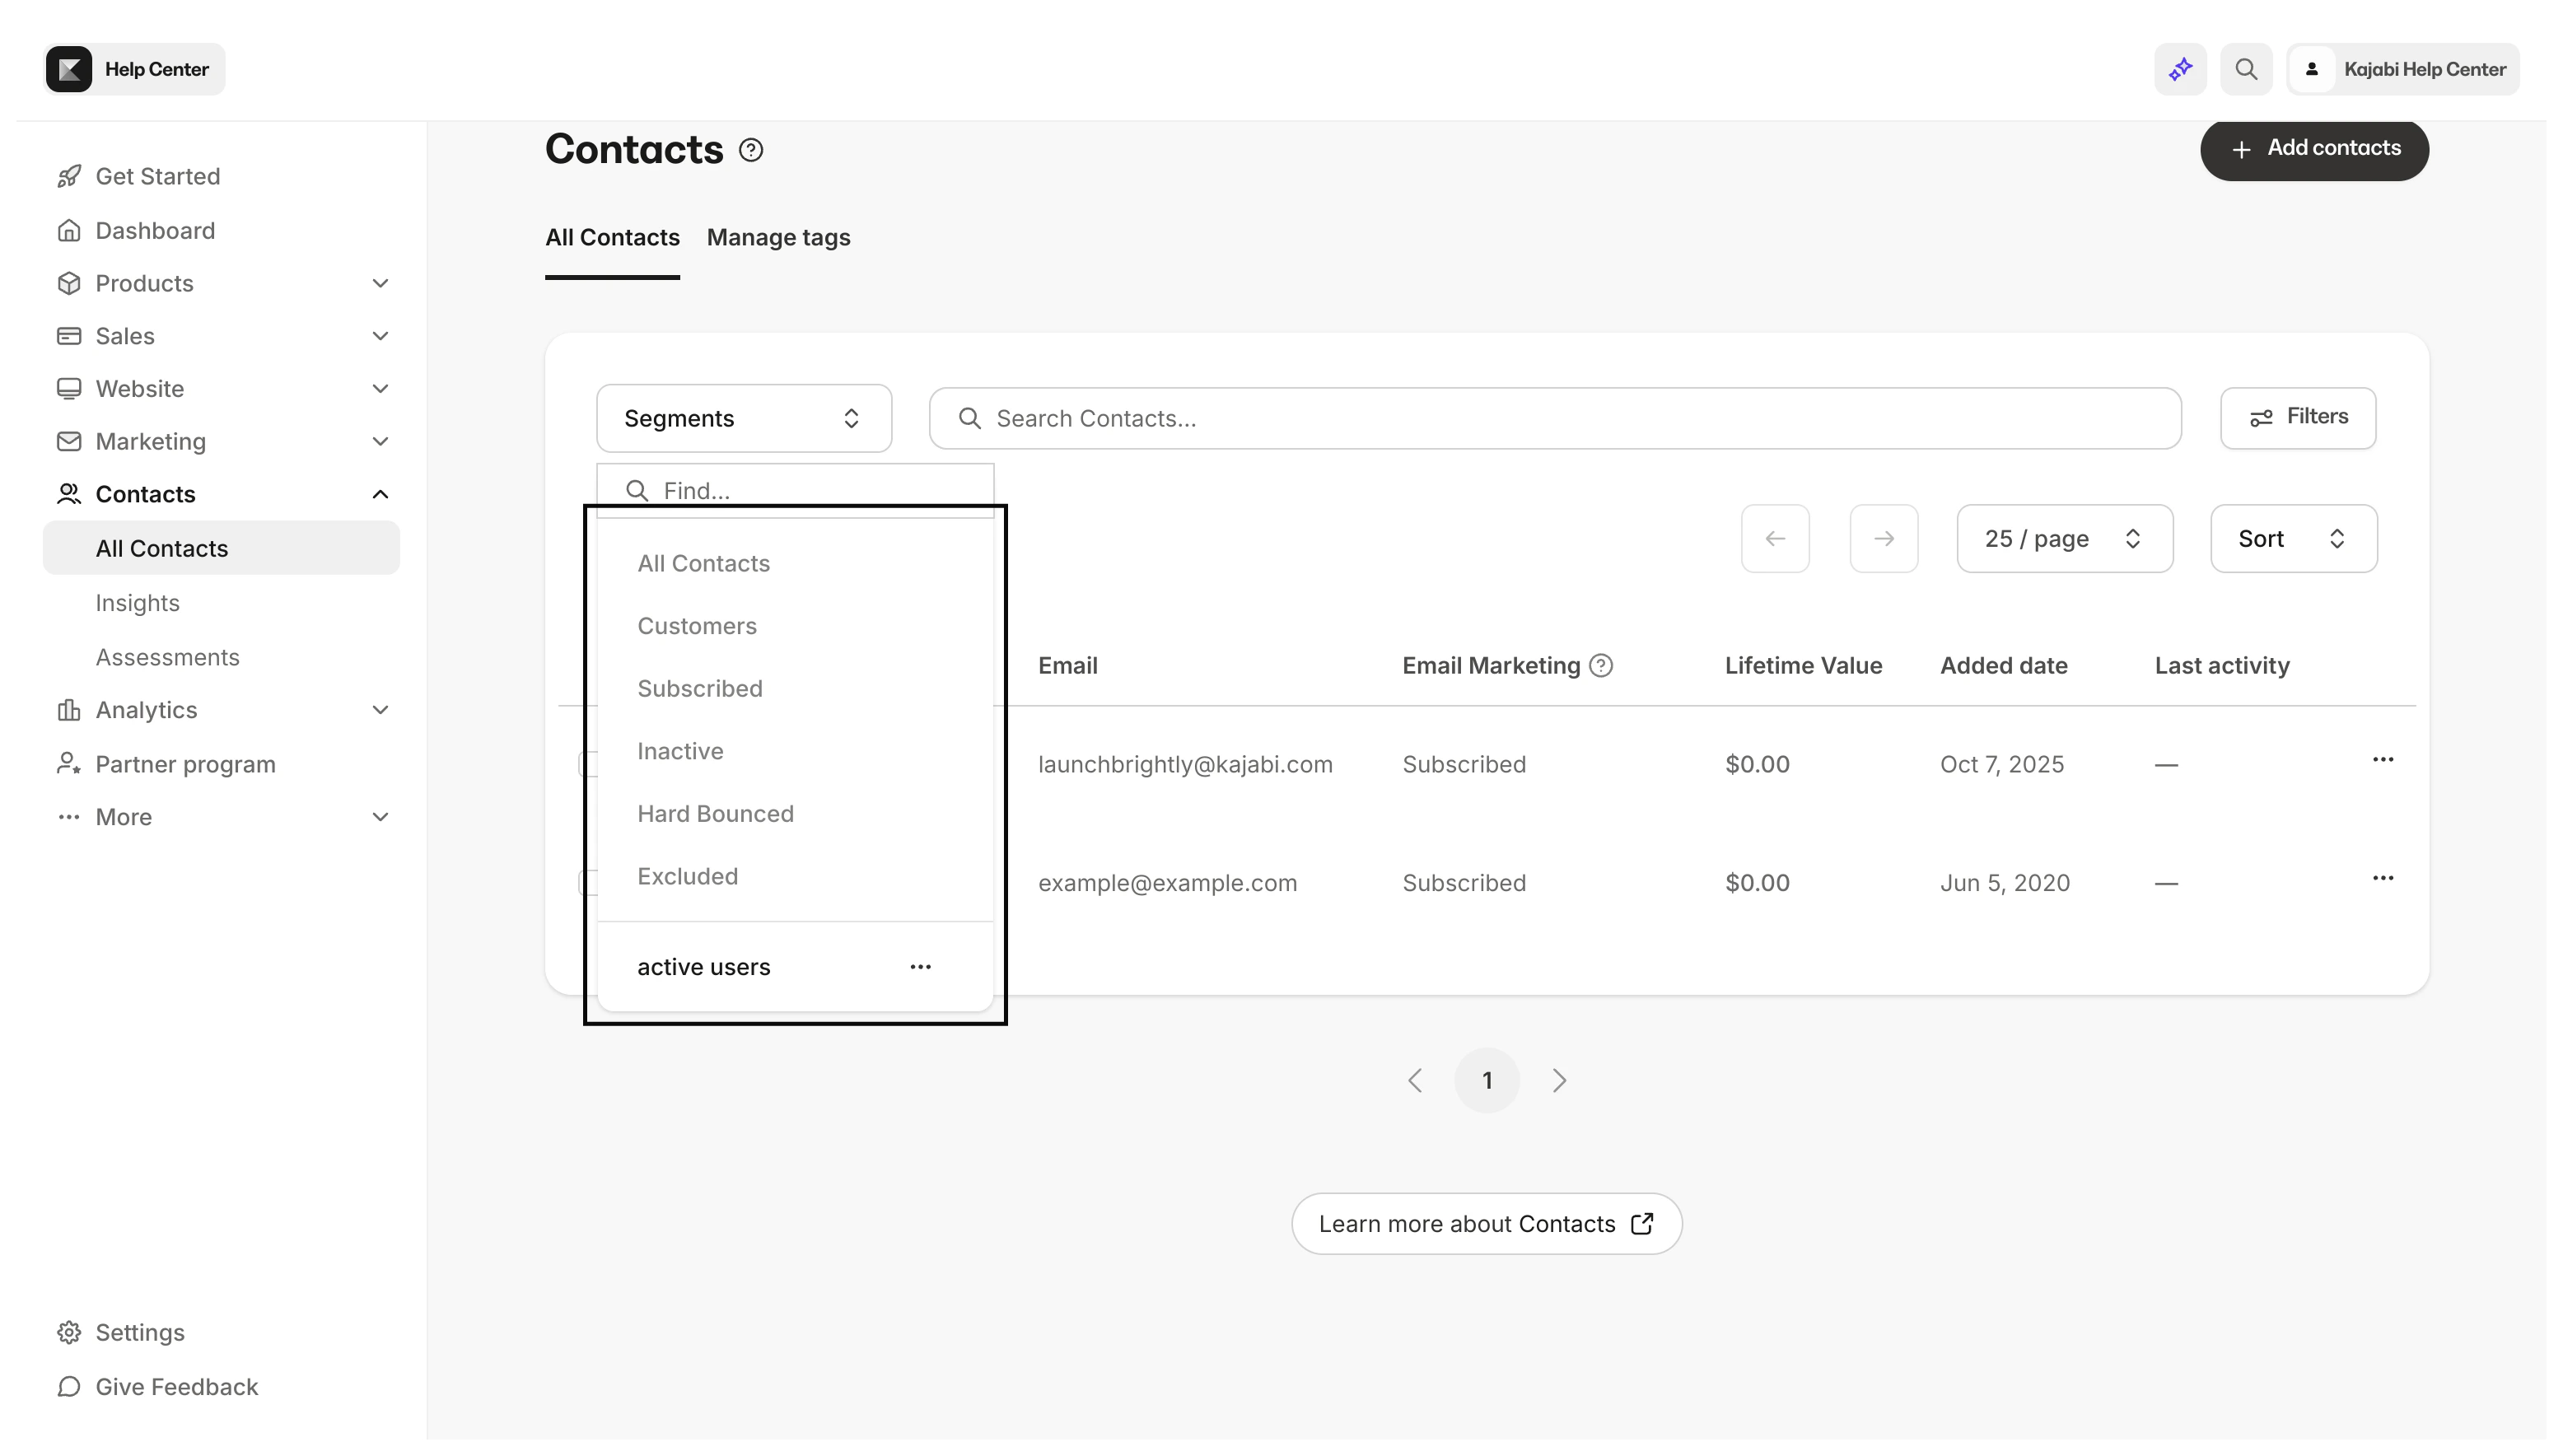
There are default segments added to the Contacts tab that will always be visible for ease of use: All Contacts, Customers, Subscribed, Inactive, and Excluded.- All Contacts: A view of all of your Contacts — this includes both Customers and Contacts. Understand the difference between Customers and Contacts.
- Customers: A Customer view for only users who have purchased something from your site or have been granted an Offer.
- Subscribed: A subscriber view of those that have opted-in to receive any type of emails from you.
- Inactive: A subscriber view of those that have not opened your emails in the last 90 days.
- Hard Bounced: A contact that experienced a permanent error that can be caused by invalid emails, disabled inboxes, or if the domain doesn’t exist. Understand hard bounces
- Excluded: A contact that subscribed to your marketing emails, but are identified as high-risk and inactive. Understand contact exclusions
Custom segments
Create custom segments based on similar attributes to better organize and design marketing campaigns for your contacts.Create and save a custom segment
- Open the Contacts tab from your Dashboard.
- Click Filters.
- Select your Category, Conditional, and Value.
- Click Apply.
- After selecting your filter(s) save your filtered list into a Segment by clicking Save as Segment.
- Create a title for your Custom Segment.
- Click Save:
Remove a custom segment
- Open the Contacts tab from your Dashboard.
- Select Segments.
- Navigate to your custom Segment.
- Click the
…menu. - Select Delete.
- Complete the pop-up prompt.
- Click Delete again to confirm the action (this action cannot be undone).