

Note: Kajabi Communities supports the addition of multiple custom pages up to 50 pages. Other login-protected Kajabi pages (i.e. course page, coaching product page) can be added as a custom page, but you’ll need to create a test member account to view the logged-in end-user experience.
Set a custom page as the primary page
If you set a custom page as your primary page, this means it will be the page your members land on when they access the Community. If you don’t set this as your primary page, your members will land on the Challenge page.- In the left sidebar, click the ellipsis icon beside the search bar.
- Click Customization.
- Navigate to the Home Page section.
- Click the Dropdown menu.
- Select the custom page you want to make as primary page:
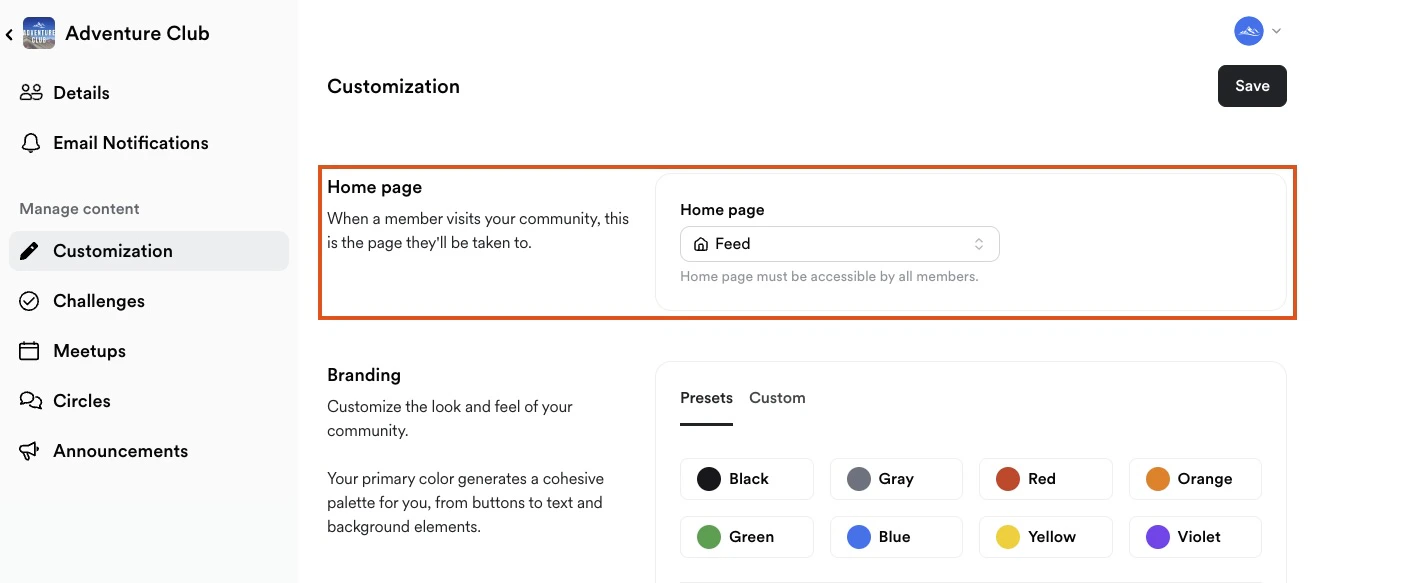
Note: Only pages set to “All members” can be set as a primary page.
Add a custom page
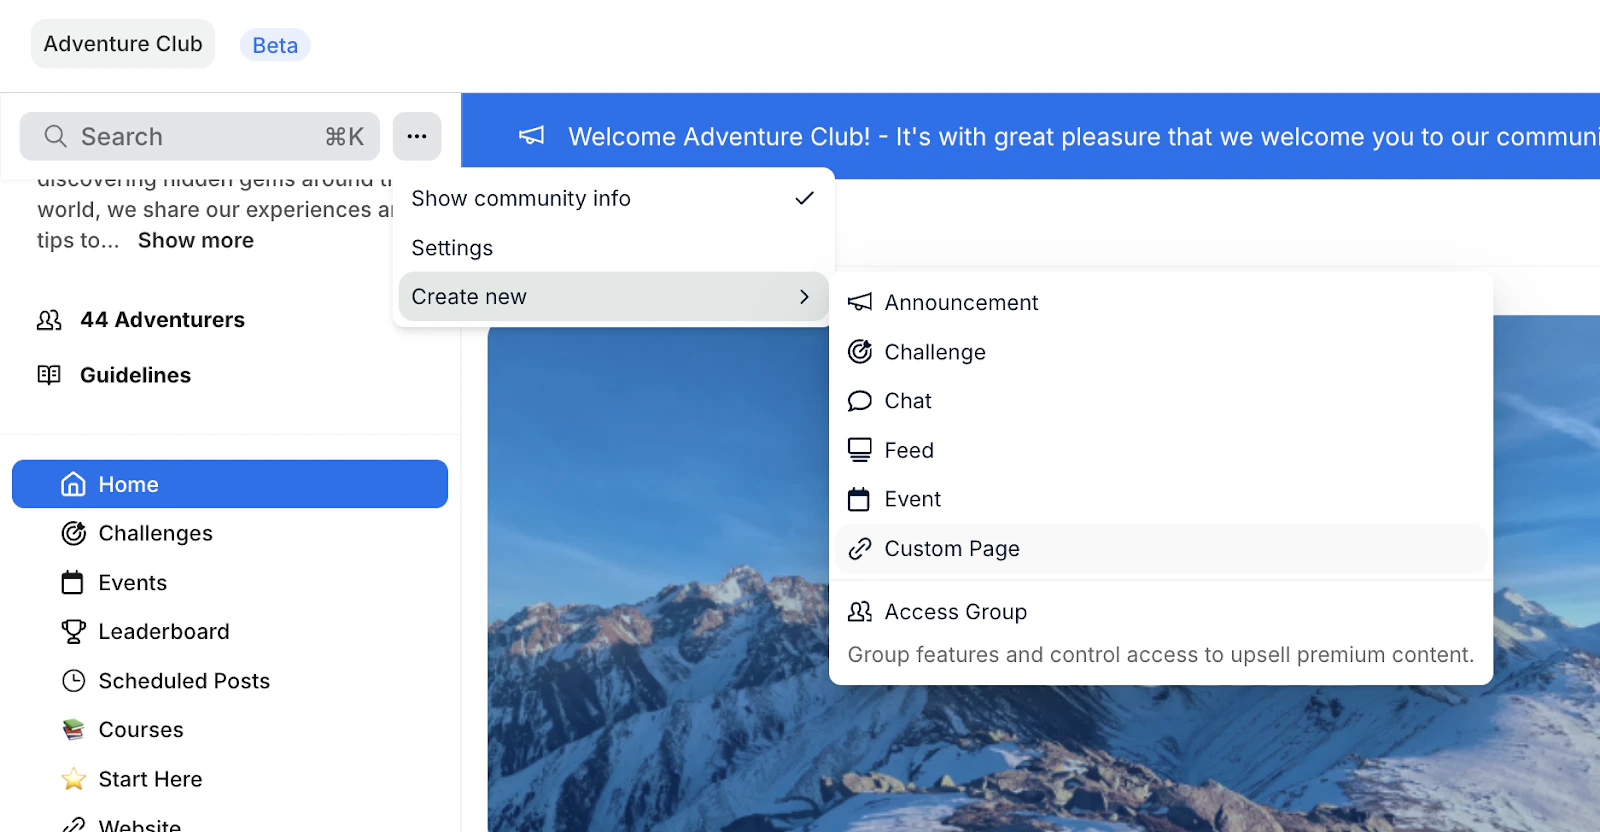
To add a custom page:- In the right sidebar, click the ellipsis icon beside the search bar.
- Click Create New.
- In the dropdown menu, select Custom Page:
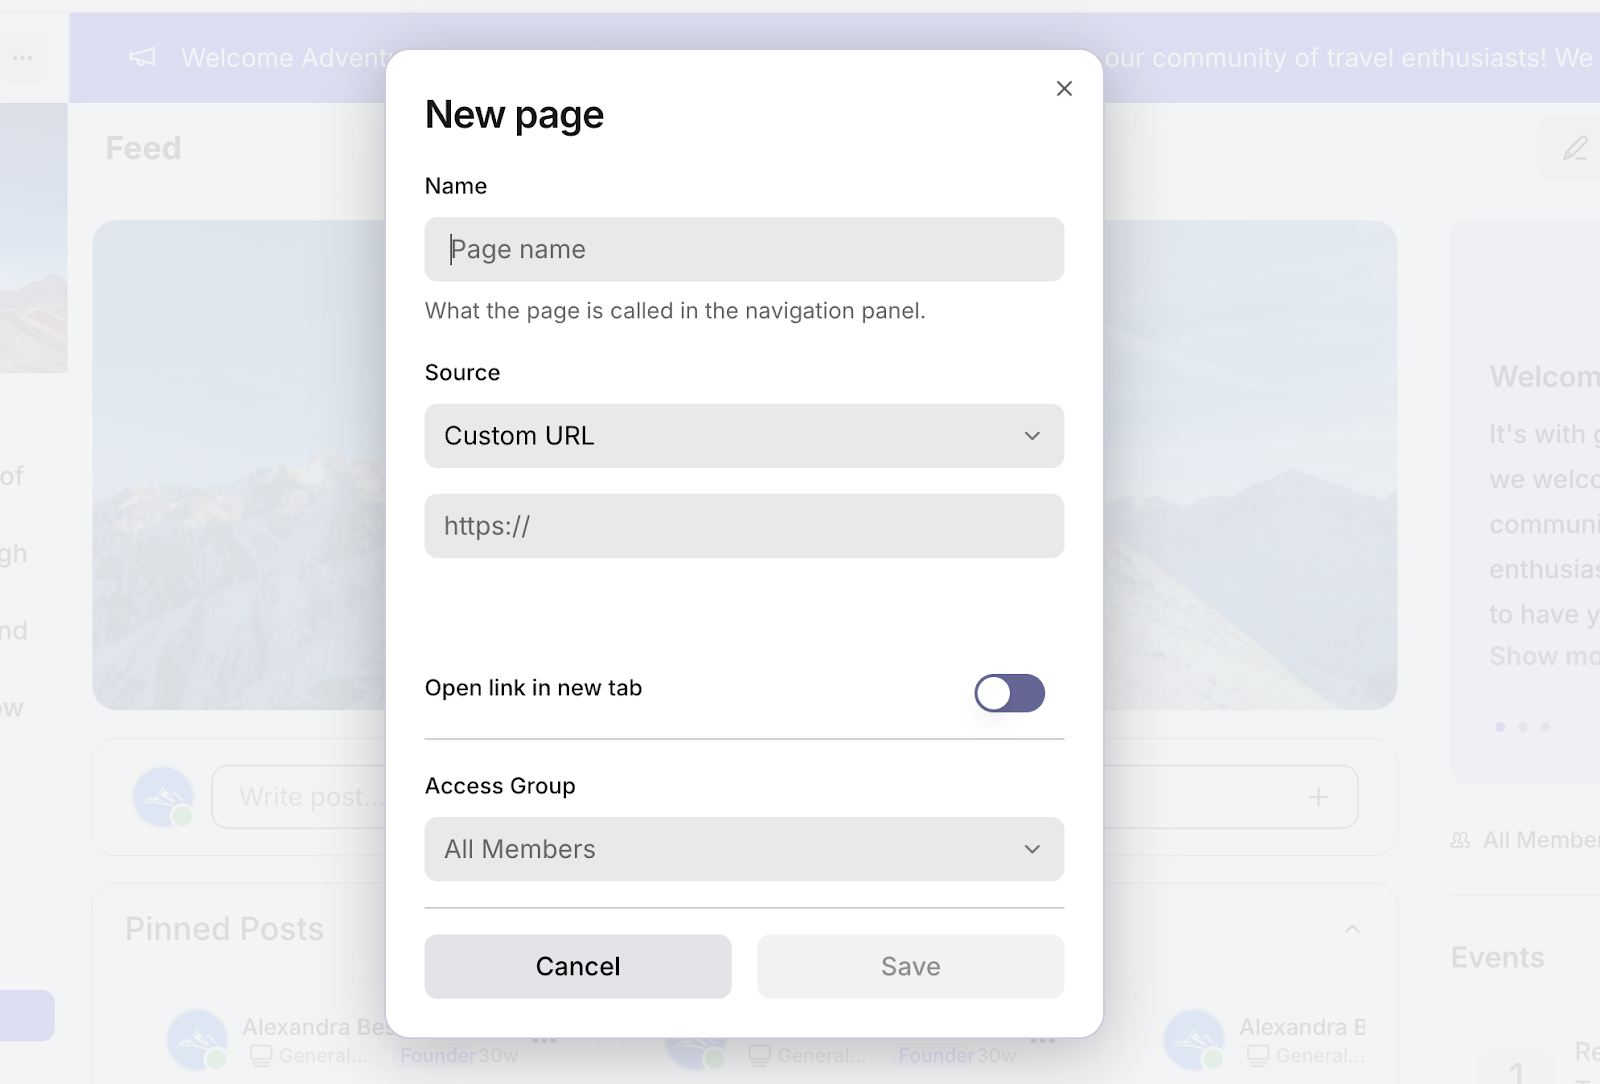
- Add Name
- Under Source, choose one of the following:
- Custom URL – Paste the external link in the field provided.
- Kajabi Page – Select from the dropdown options (Products, Offers, Landing Pages, Website Pages, Blogs, or Forms), then choose the specific item you want to display.
- (Optional) Toggle “Open link in new tab” on or off based on your preference.
- Set the Access Group
- Click Save:
Edit or delete a custom page
- In the left sidebar, find the custom page you want to modify.
- Hover over the custom page and an icon will appear.
- Click the icon:
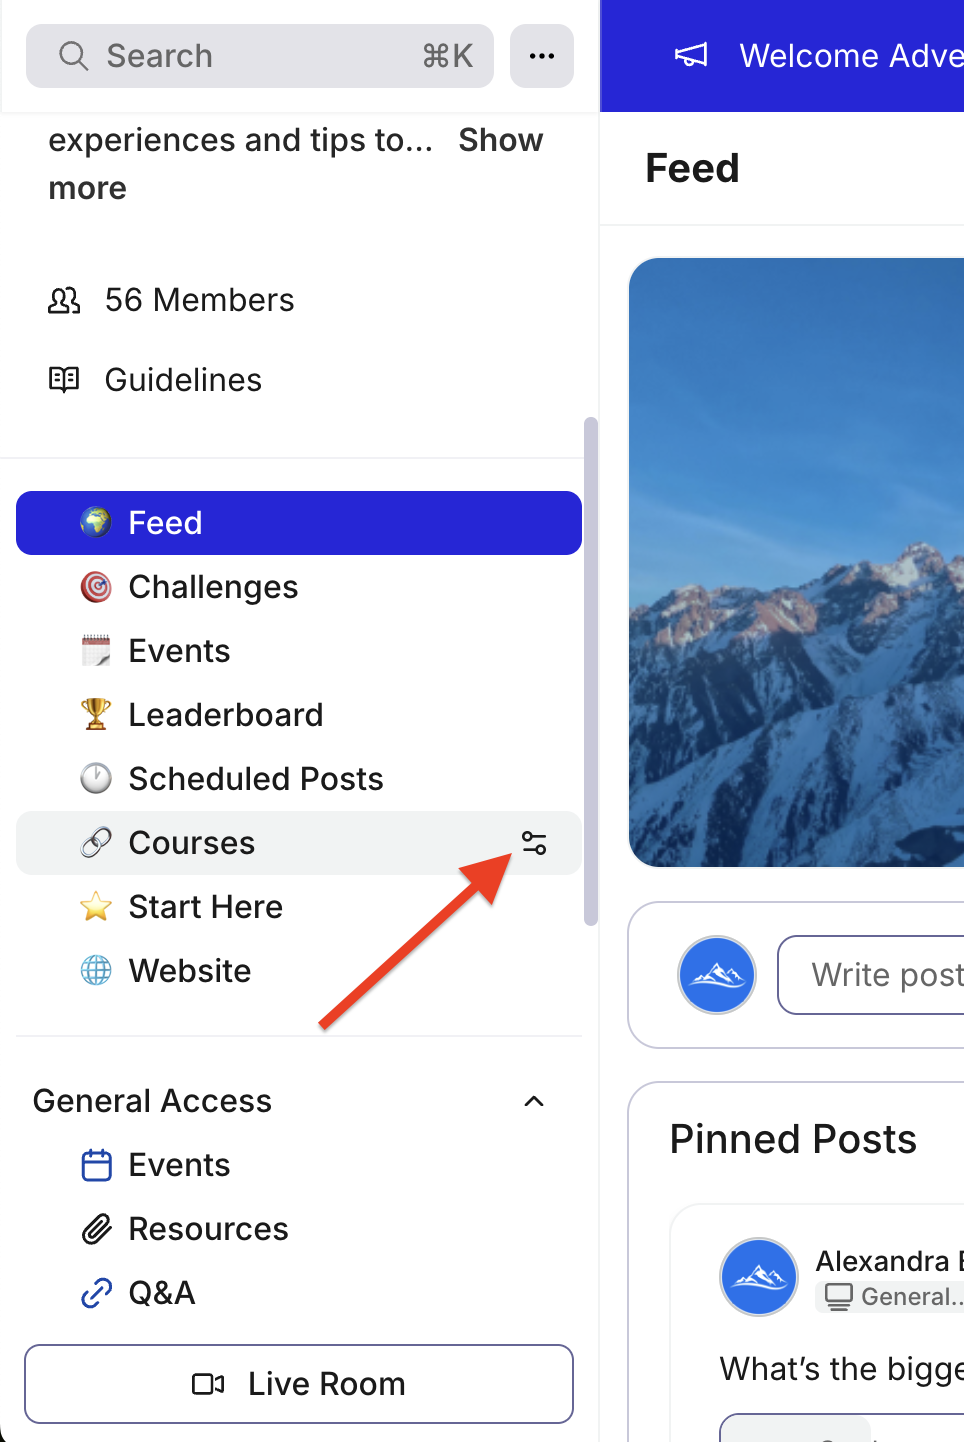
- From there, you’ll have the option to edit the icon, name, source link, and access group. At the bottom, you’ll also see the option to delete the page.
- Don’t forget to click Save to apply your changes.