Double opt-in
A Double Opt-In automatically sends a confirmation email to the address submitted on the Form: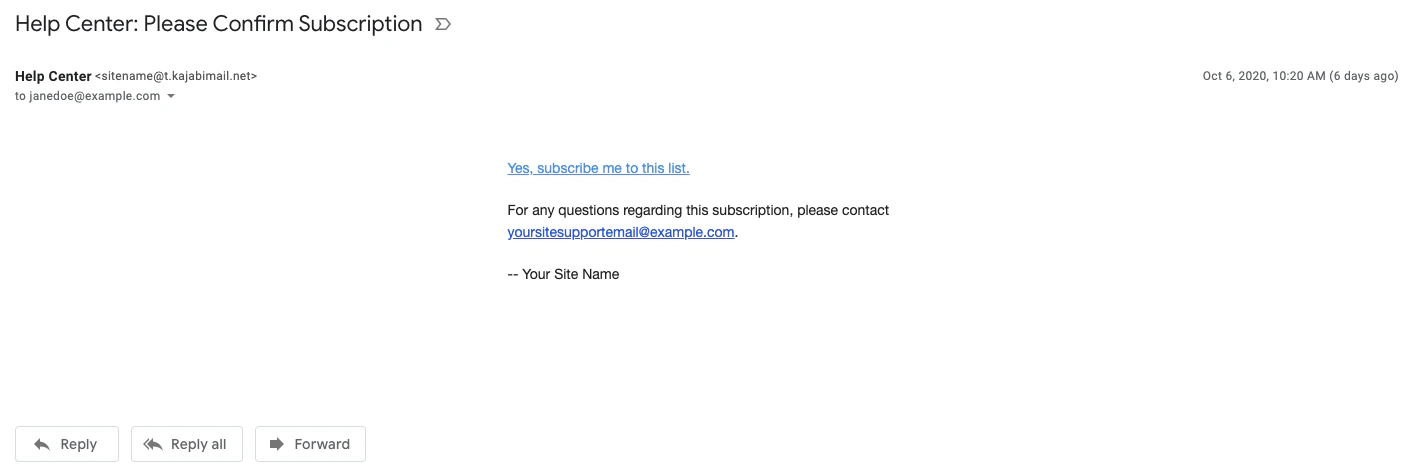
Benefits of double opt-in
When a lead confirms they want to remain a contact on your list, it shows they are interested in your business and will have a much higher likelihood of becoming a customer. Making a Double Opt-In a requirement also reduces the chances of your marketing emails being flagged as spam and can help you comply with various laws (e.g., the GDPR).Note:
By default, Forms are set up as a Double Opt-In. Learn to enable and disable Double Opt-Ins for your Forms below.
Enable or disable Double Opt-In
- Open the Marketing tab from your Dashboard.
- Select Forms.
- Create a Form or edit an existing one.
- Select Double Opt-In (Recommended) to enable or select Single Opt-In to disable.
- Configure any additional opt-in settings if applicable.
- Click Save to keep and apply your changes:
Customize Double Opt-In confirmation
Customize your Double Opt-In confirmation email and confirmation page by configuring your Double Opt-In Additional Option settings.- Open the Marketing tab from your Dashboard.
- Select Forms.
- Click the Form you wish to edit or create a Form.
- Select Double Opt-In (Recommended).
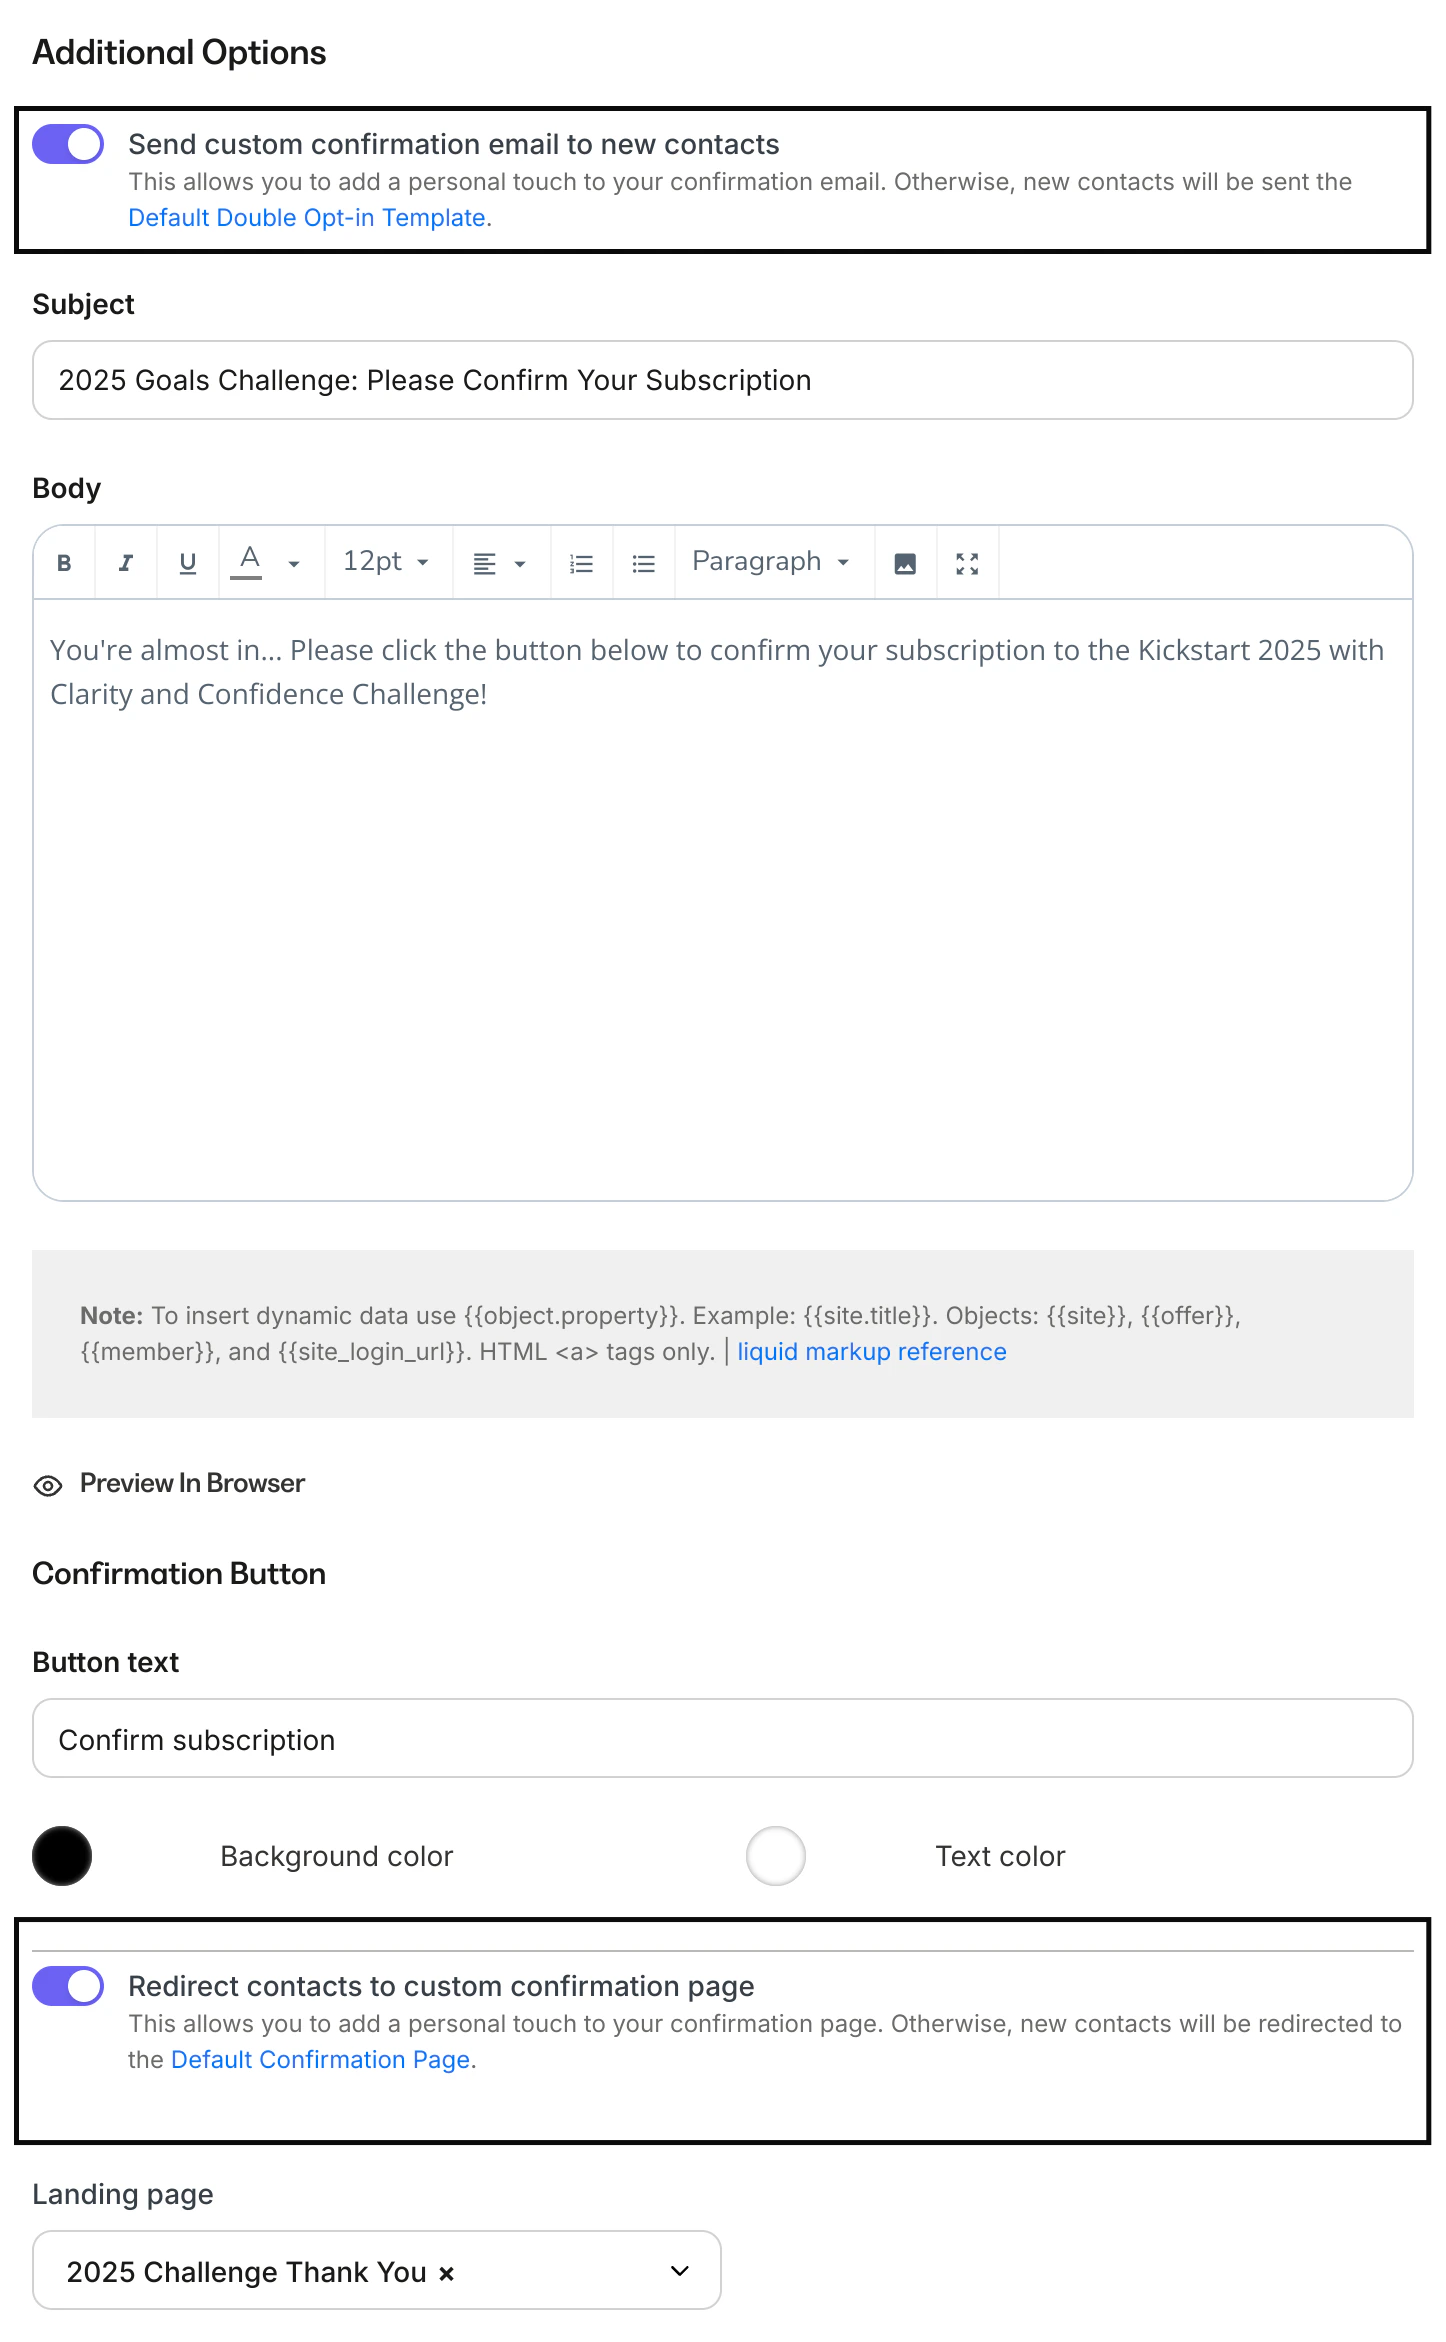
- Enable your desired Additional Options settings:
- Select Send custom confirmation email to new contacts to craft a custom email to encourage your Form submitters to confirm their intent to subscribe to your marketing emails. If the setting is left unselected, your Form submitters receive the default Double Opt-In email template.
- Select Redirect contacts to custom confirmation page to design a custom confirmation page that displays after they have confirmed their desire to subscribe to your marketing emails. If left unselected, your Form submitters receive the default confirmation page.
- Click Save to keep and apply your changes:
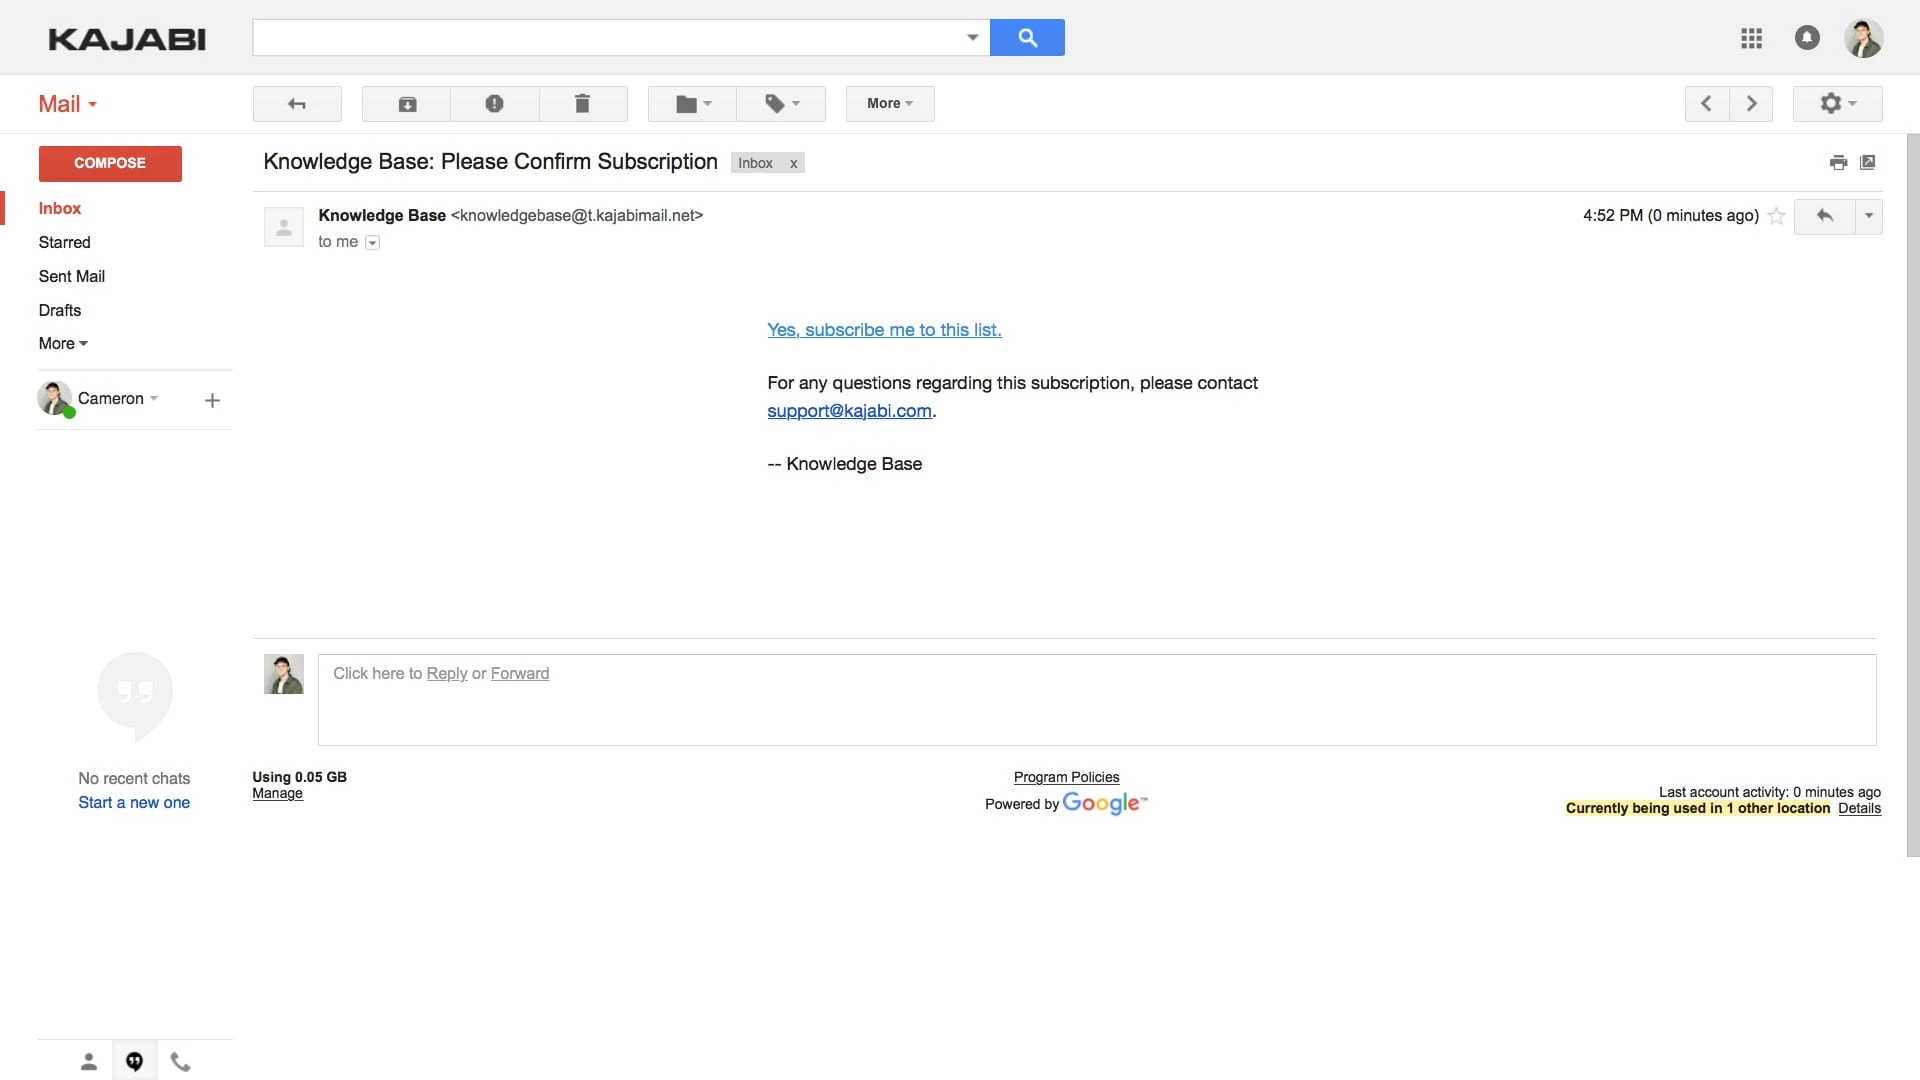
Default Double Opt-In email
If you choose to send the default Double Opt-In email after a contact submits a Double Opt-In Form, they receive the default Double Opt-In email template sent by your site: