

Note:
Without custom coding, the data sent with this feature will not be captured to display on your page.
Set up autofill Forms with custom coding
Setting up a Form to lead to another Form lets you collect a simple submission before asking more detailed questions, or have your users complete a Form before getting access to your application. This setup redirects users to an auto-filled Form after submitting the first Form. The second Form autofills their name and email by pulling the data from the first Form submission:Before you begin
For this setup, you need two Forms and two Pages (one Form per Page). If you have already prepared your landing pages with your Forms, continue to the first step.Enable pass submission data
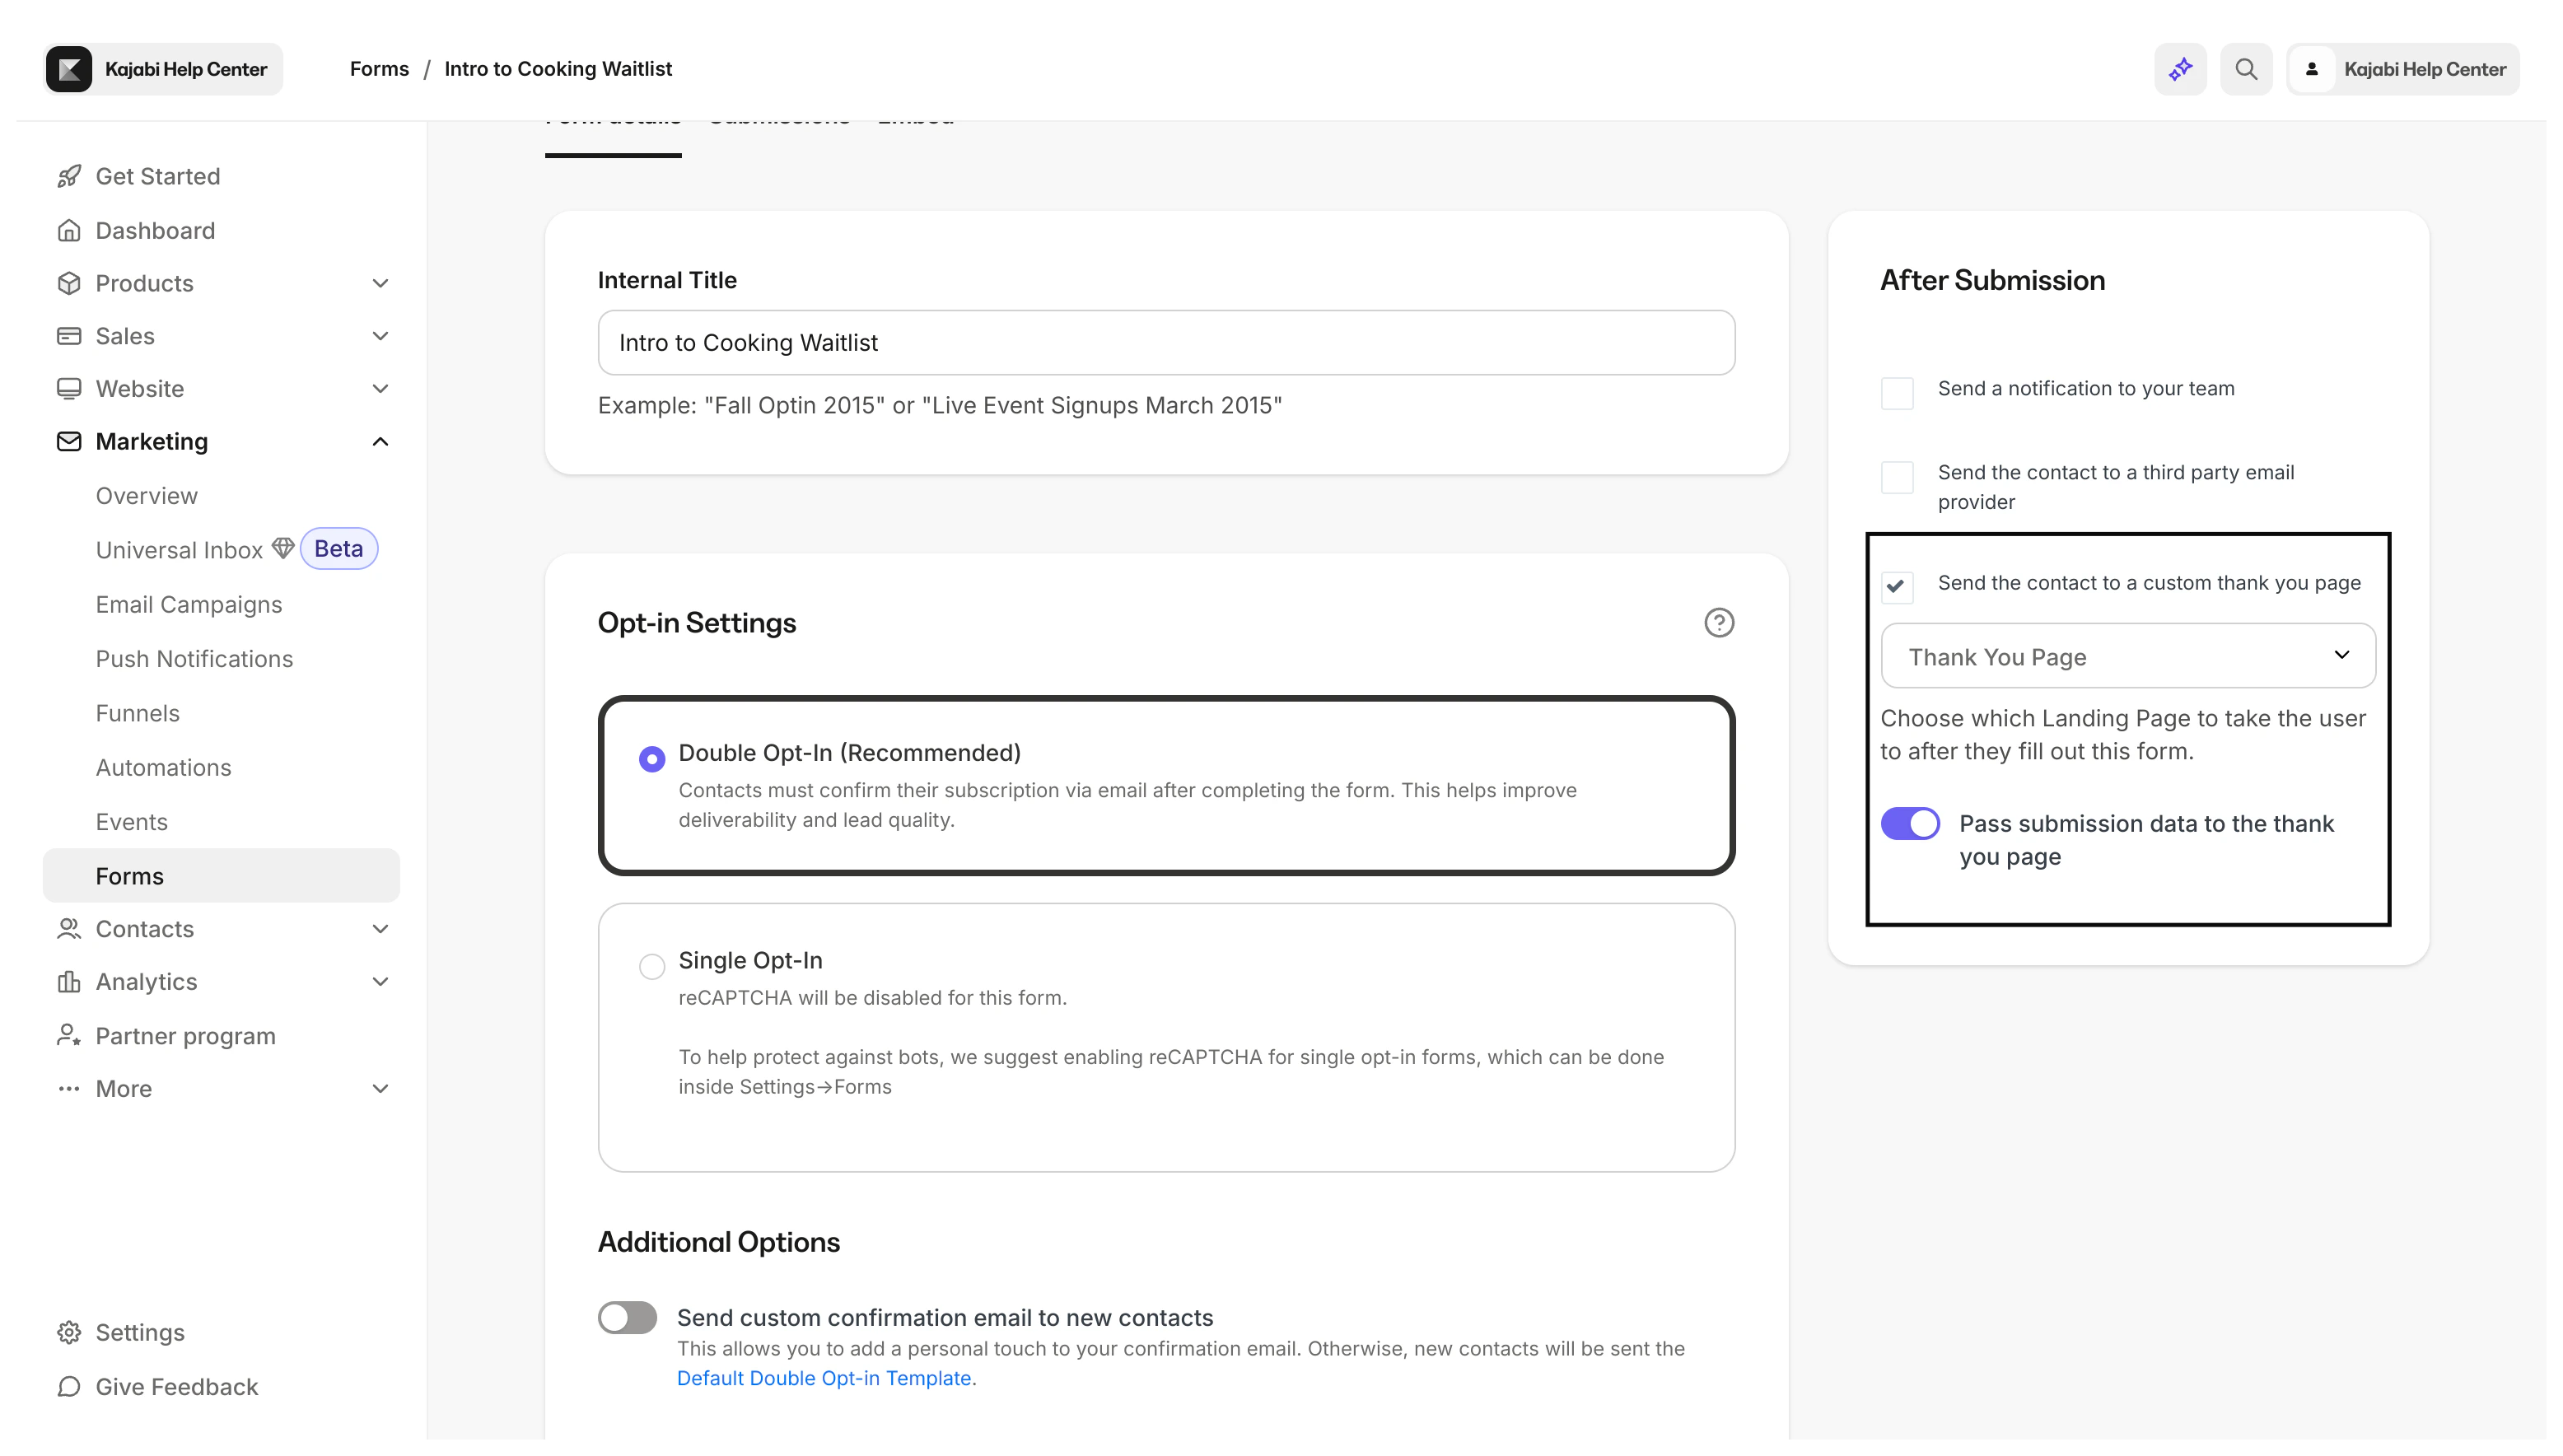
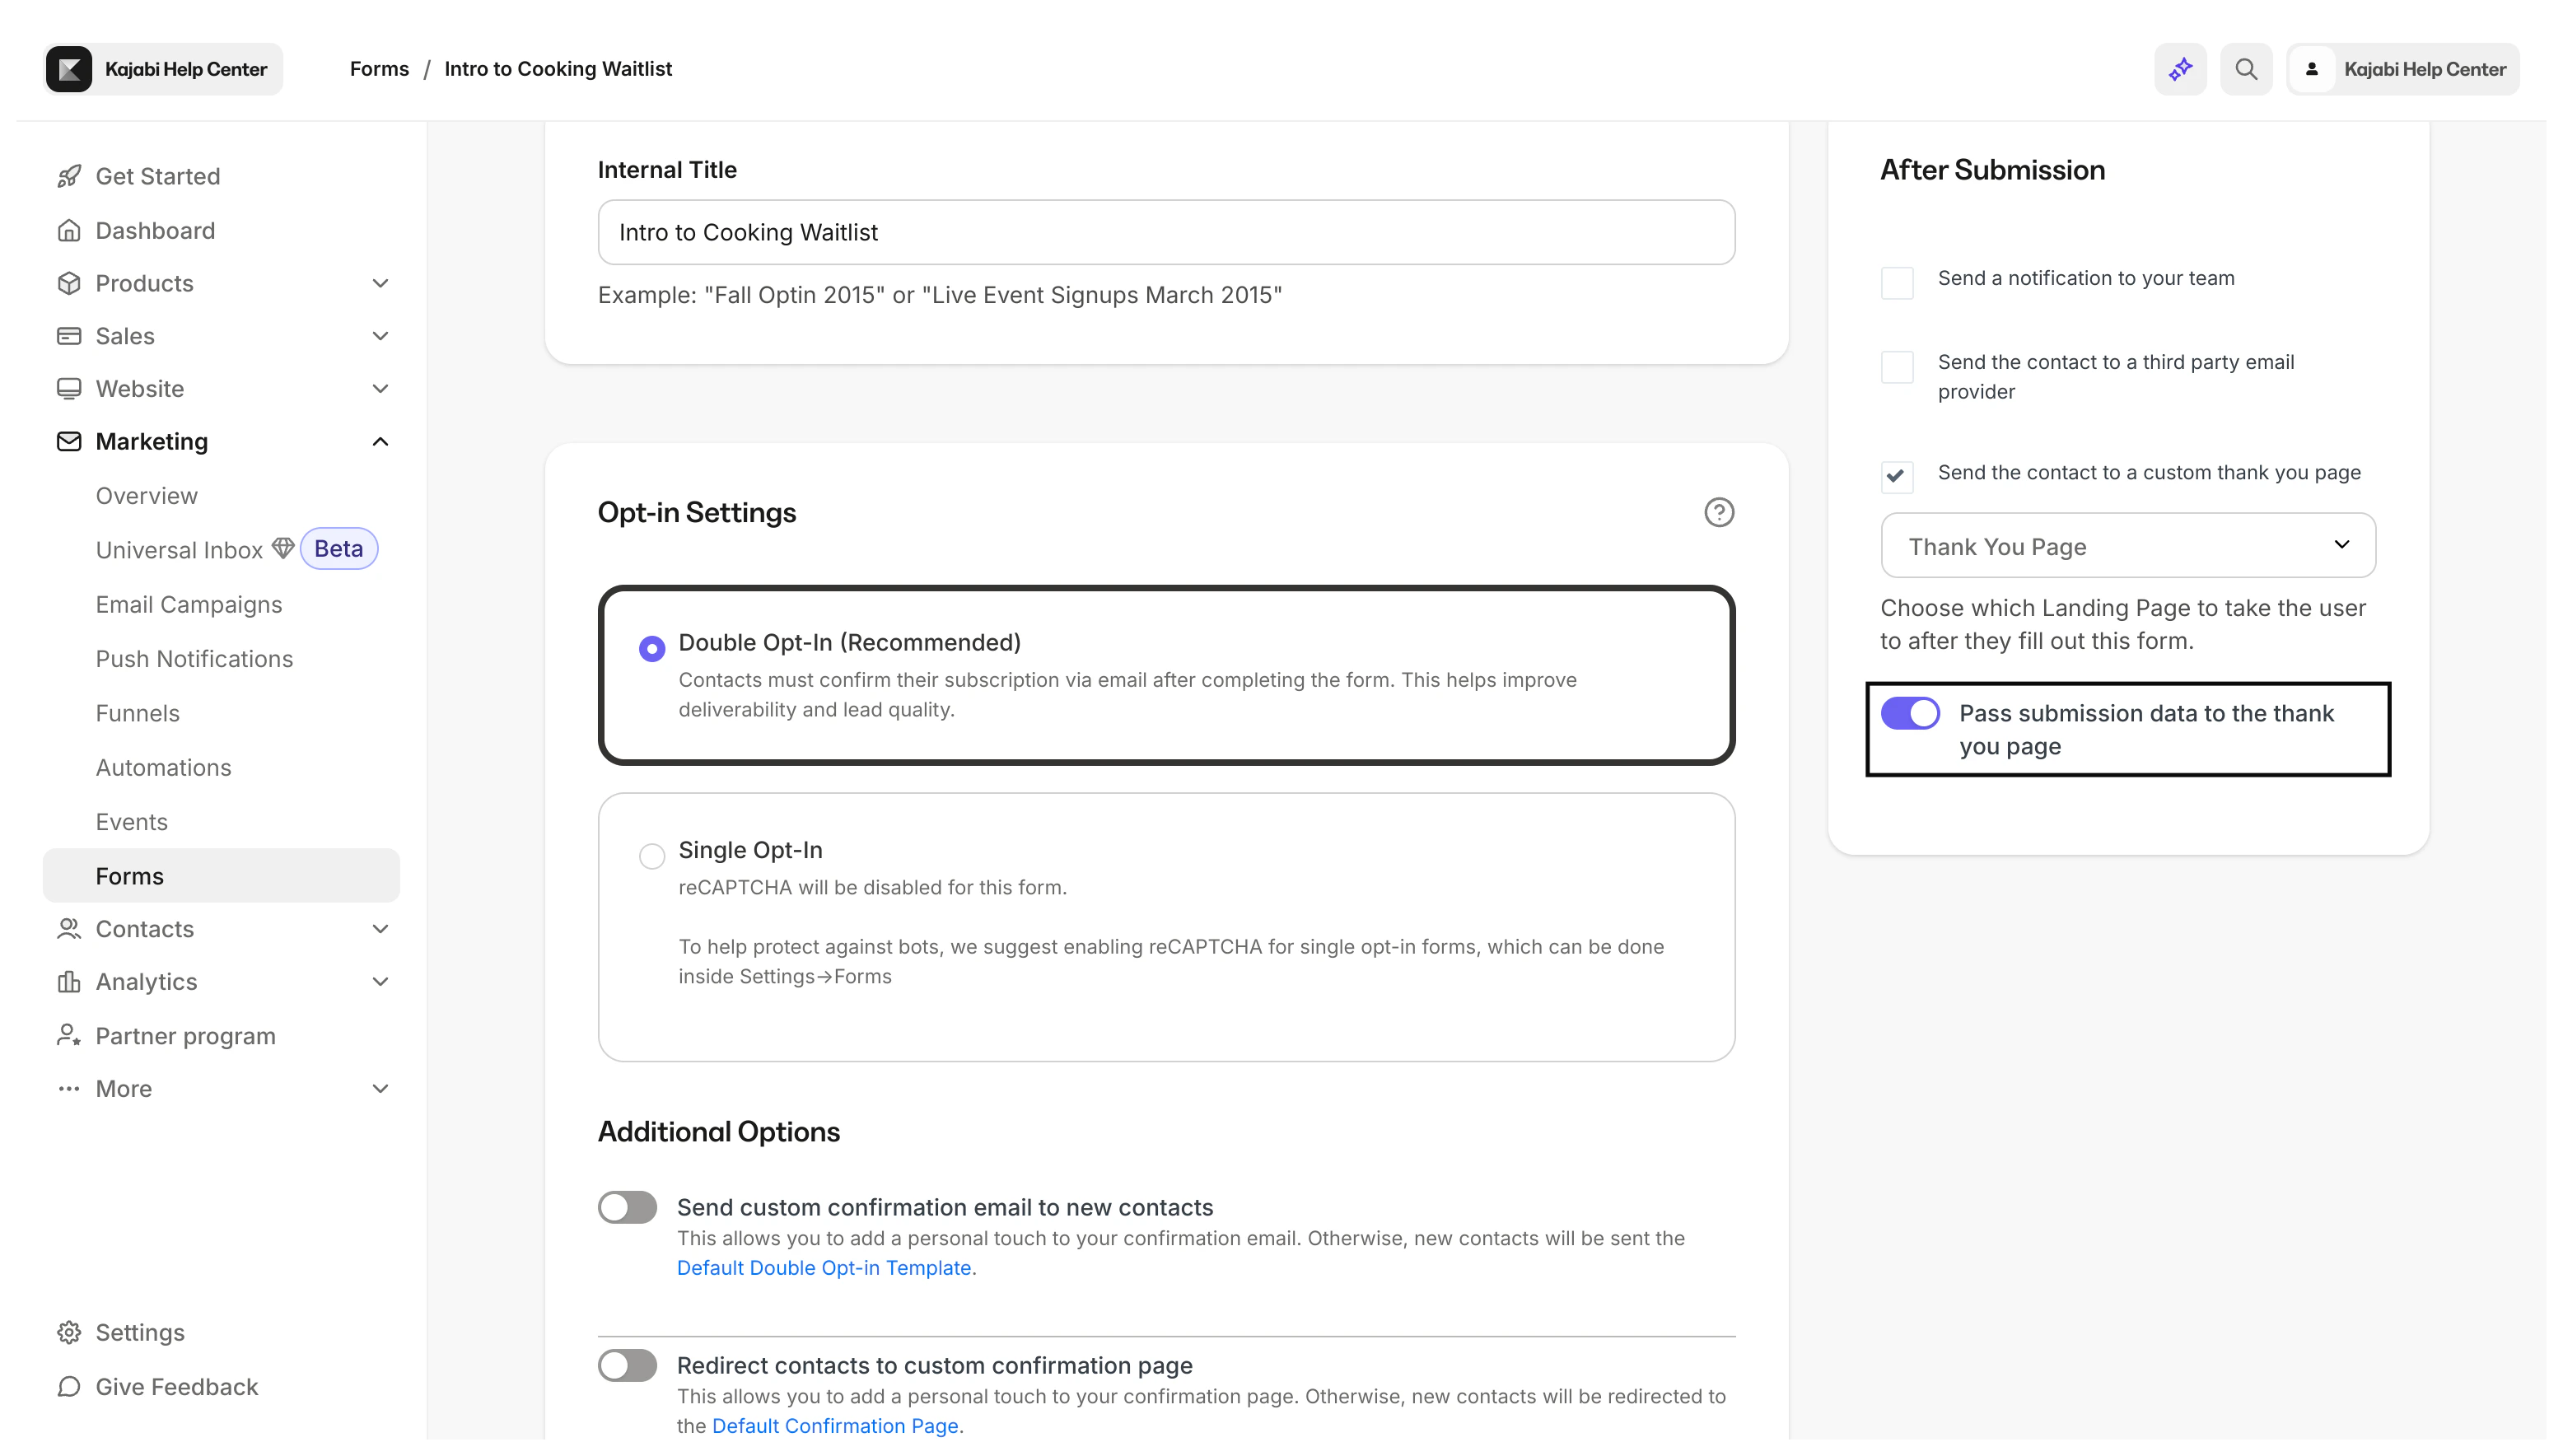
Enable pass submission data for the first Form your users will submit. First, enable Send the contact to a custom thank you page. Your “custom thank you page” is the second page containing the second Form:- Open the Marketing tab from the Dashboard.
- Click Forms.
- Select the first Form your users will complete.
- Navigate to the After Submission settings.
- Enable Send the contact to a custom thank you page.
- Select the second page with your second Form from the dropdown:
Add custom code to the page
After enabling the After Submission settings, add custom code to your second page to enable the autofill. This step varies depending on the editor used to build your pages. Select the editor used to create your page below to learn how to add the custom code:- Kajabi Pages
- Premier
Kajabi Pages
With Kajabi Pages, you can add the custom code directly from your page editor. First, copy the custom code above.Note:
When copying the code, leave out the opening and closing
<script> tags (i.e., <script> and </script>) if you are using Kajabi Pages.- Open the Website tab from the Dashboard.
- Click Pages.
- Select the second page containing the Form you want autofilled.
- Click Settings in the editor.
- Open Custom Code.
- Paste the Javascript code into the Javascript box.
- Click Save to keep and apply your changes:
Premier
If you are using Premier, you need access to the Code Editor only available with the Pro Plan. Check out kajabi.com/pricing to learn more about the features available with your pricing plan. First, copy the entire custom code above (including the opening and closing<script> tags; <script> and </script>).
Then, navigate to your Kajabi account to access the Code Editor for your page built with Premier. Learn to access the code editor for your page.
In the code editor, add the custom code to your page template:
- Open the Templates folder.
- Select the index.liquid file.
- Scroll to the bottom of the file.
- Place your cursor before the closing body tag (i.e.,
</body>). - Click the
enterkey on your keyboard to create an empty line. - Paste your custom Javascript code into the line directly above the closing body tag (i.e.,
</body>). - Click Save to keep and apply your changes: