

Note:
The Calendly plan with webhooks is required to integrate your Calendly with your Coaching Product on Kajabi successfully.
Create a Calendly Event
Get started with your Calendly integration by first creating your Calendly event. If you haven’t created a Calendly account, create one now. Keep in mind that a Calendly account with webhooks is required to integrate your Calendly with your Coaching Product on Kajabi successfully.Note:
In order to connect Calendly with Kajabi, your Calendly account must have admin status.If your account does not currently have admin status, your role will need to be changed by a current admin: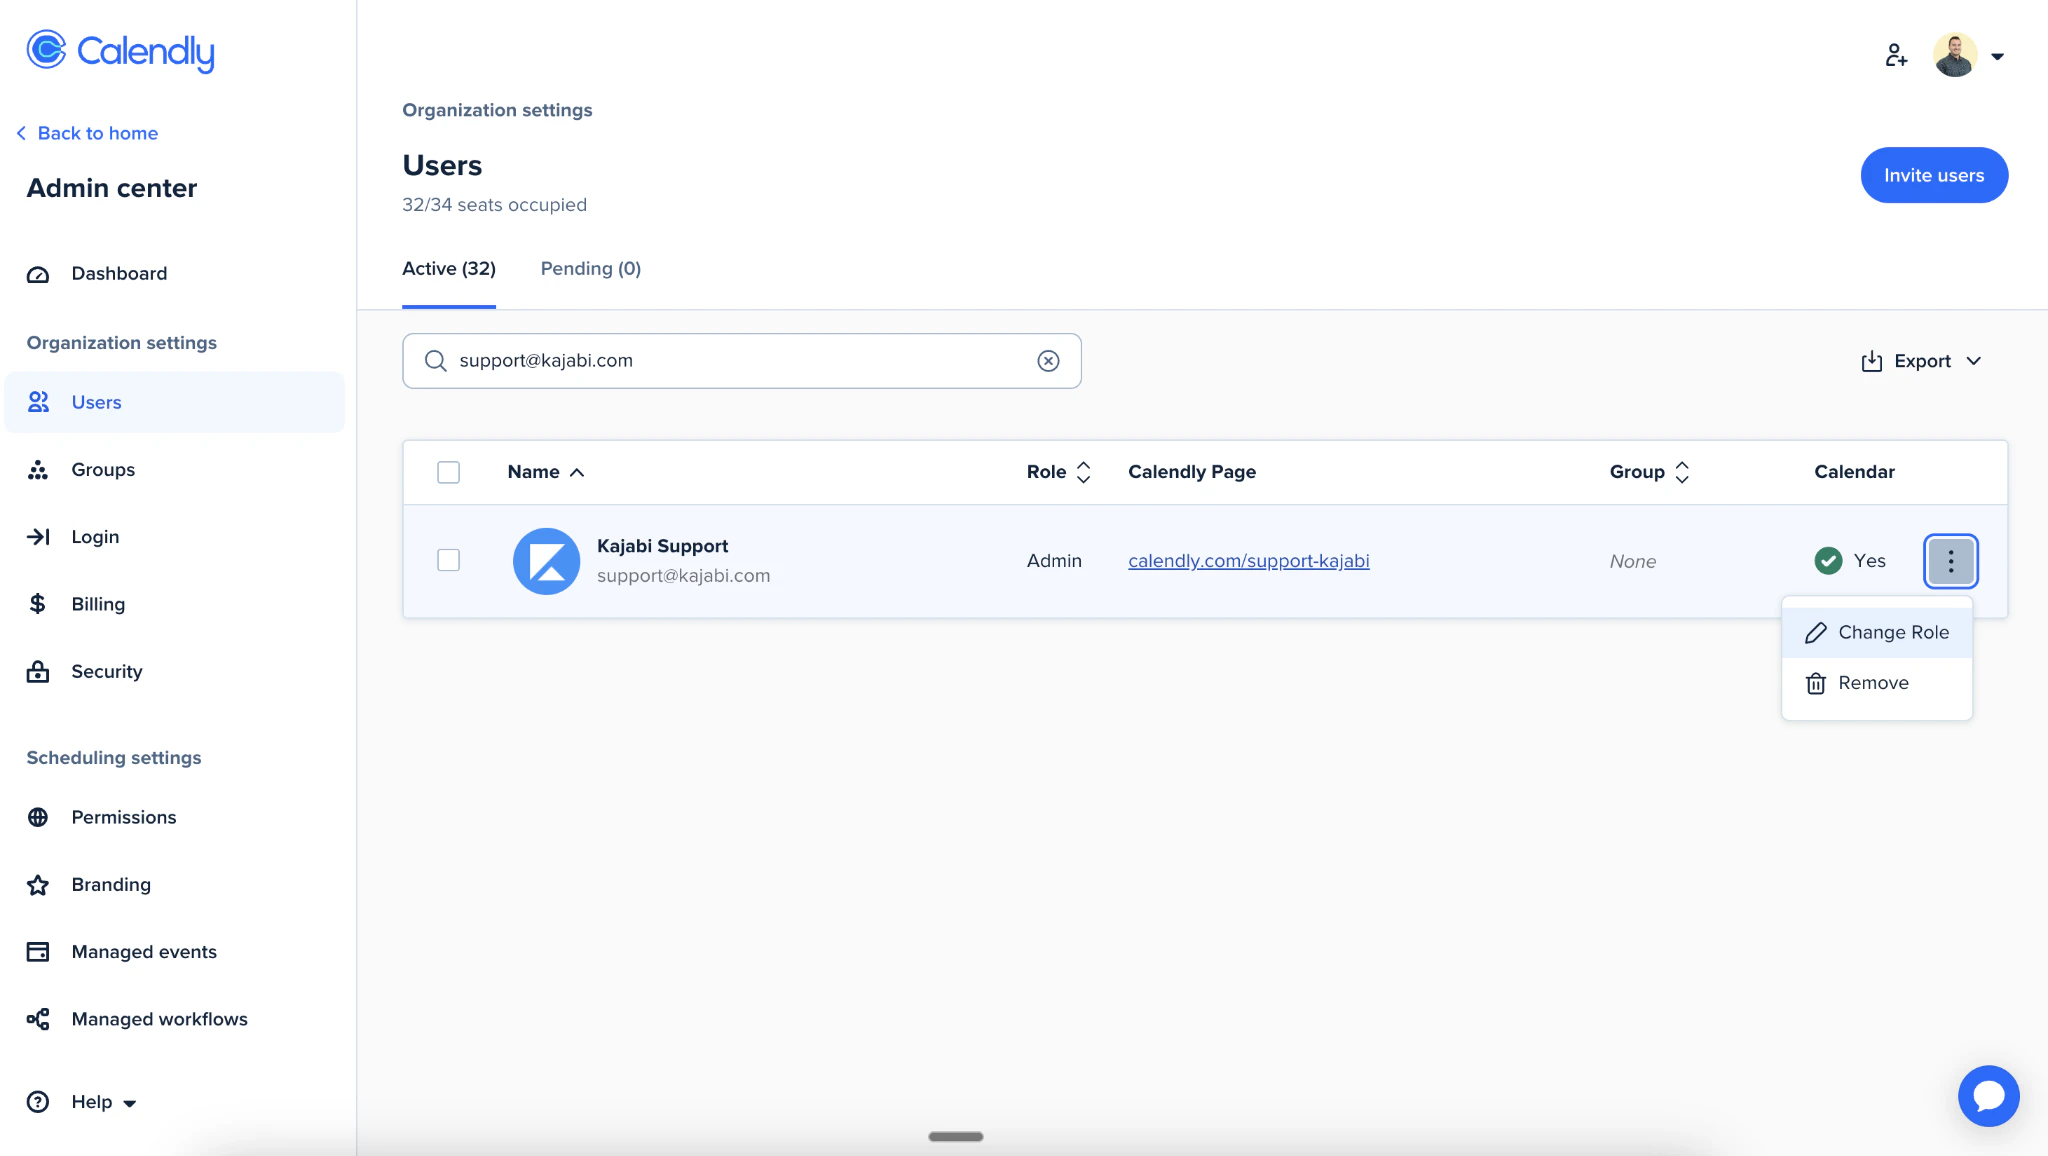
Create the event
After creating your account, log in to Calendly and:- Select + Create from your Calendly Dashboard
- Click Event Type
- Select Create for the One-on-One Event Type
Note:
Only one-on-one Calendly event types are supported at this time.
- Provide the following information for your Calendly Event:
- Event name
- Location
- Description/Instructions
- Event link
- Event color
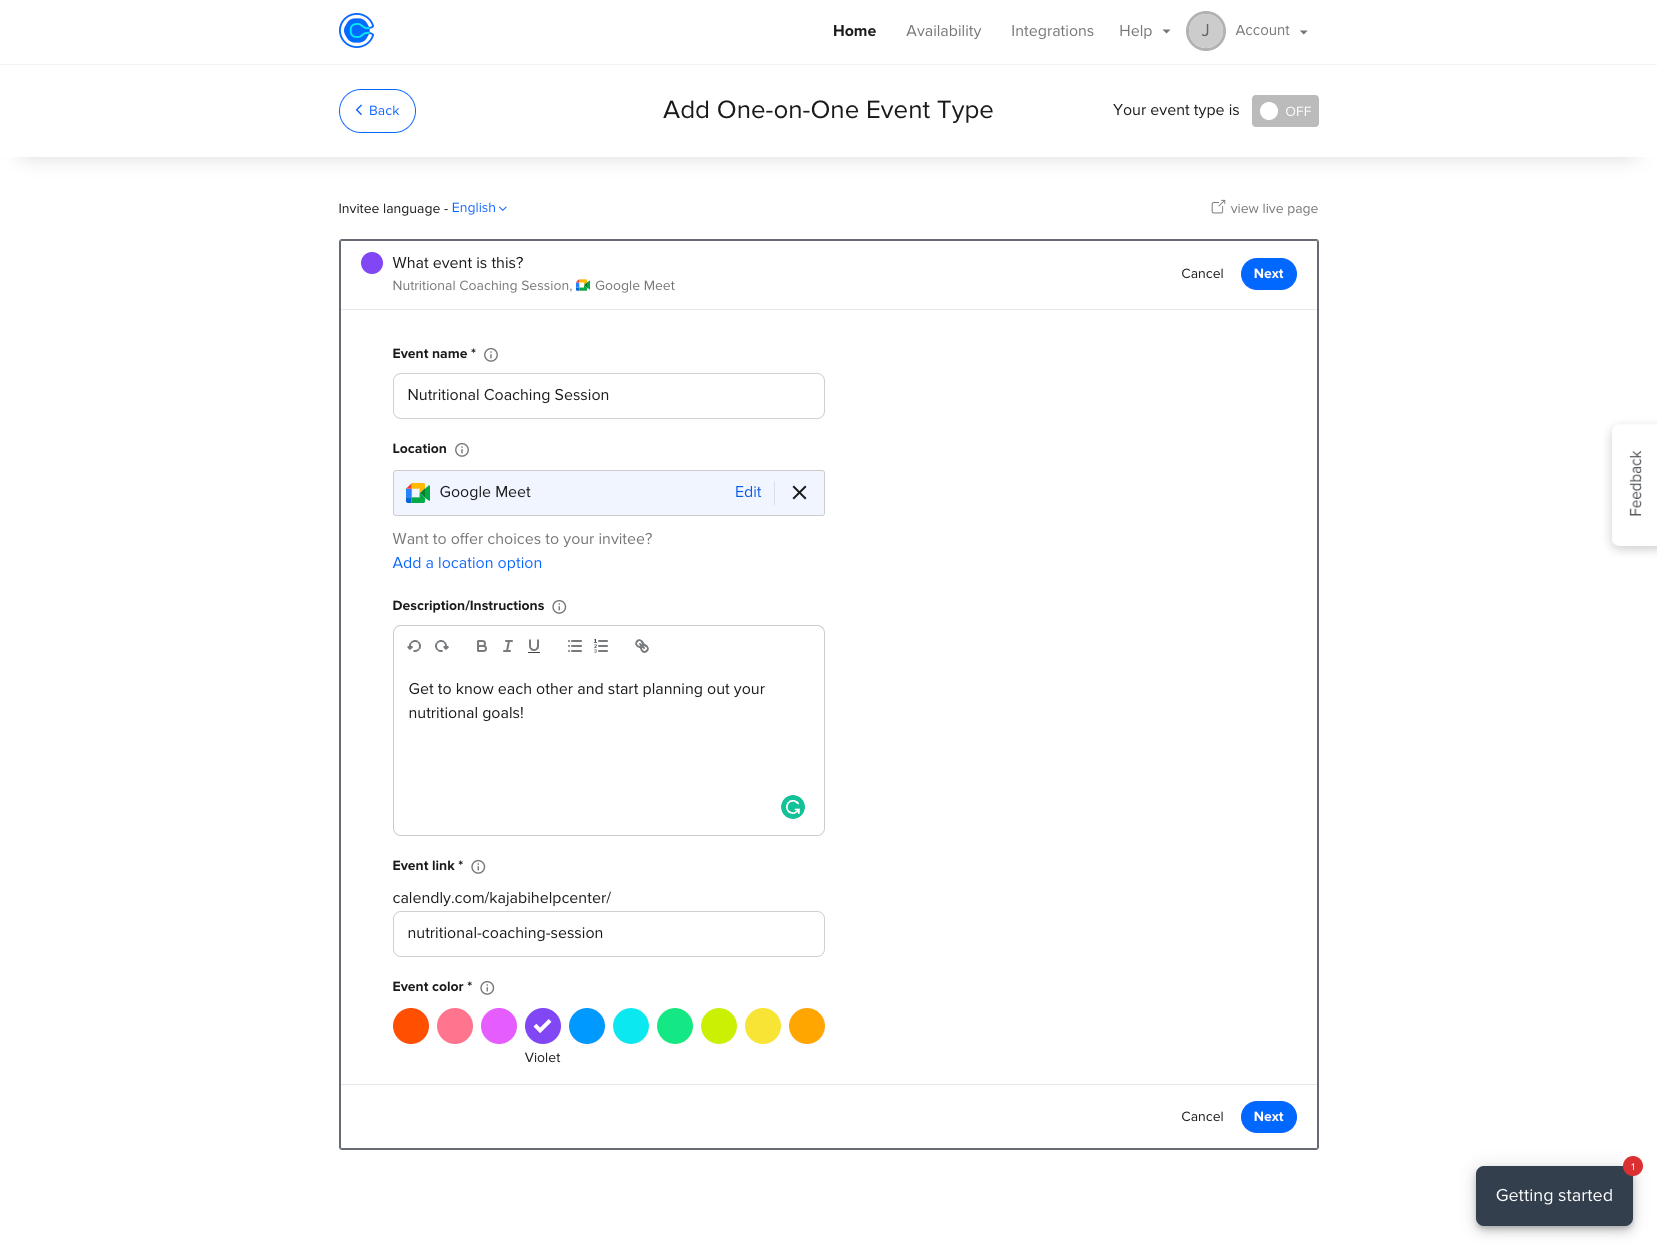
- Click Next when you are finished
- Complete your booking details:
- Date Range
- Duration
- Availability
- Click Additional rules for your availability
- Scroll to the bottom of the page and select Make this a secret event
- When you are finished creating your event, click Next
Connect Calendly to a Kajabi Coaching Product
After your event is live in Calendly, connect Calendly to your Kajabi Coaching Product.Connect Calendly
- Select Products from your Dashboard
- Select Coaching
- Click + New Coaching Program
- Click Get started
- Select Single session or Package for your Coaching program
- Enter your Coaching Program details:
- Title
- Coach name
- Product description
- Click Continue
- Open the Scheduling Preference dropdown menu
- Select Calendly
- Click Connect with Calendly
- Enter your Calendly login credentials and click Continue to be directed back to Kajabi
Re-enter Program details
- Click Get started
- Select Single session or Package for your Coaching program
- Enter your Coaching Program details:
- Title
- Coach name
- Product description
- Click Continue
- Select Calendly
- Choose the One-on-one Event Type from the dropdown
- Click Finish
Schedule a session on behalf of a client
You can book a session on behalf of your client after successfully connecting Calendly to your Coaching Product.- Navigate to your Products tab from your Dashboard
- Click Coaching
- Click Programs
- Select your Coaching Program
- Select your client’s Name
- Click Schedule session
- Select a Date and Time
- Click Confirm
- Edit the Session Details
- Click Schedule Event