

General instructions
The process of adding a DMARC record varies depending on your DNS provider, but the general setup is the same. For a specific DNS provider, please find your DNS provider in the next section. Add the following record to your DNS settings:| Field | Value |
|---|---|
| Type | TXT |
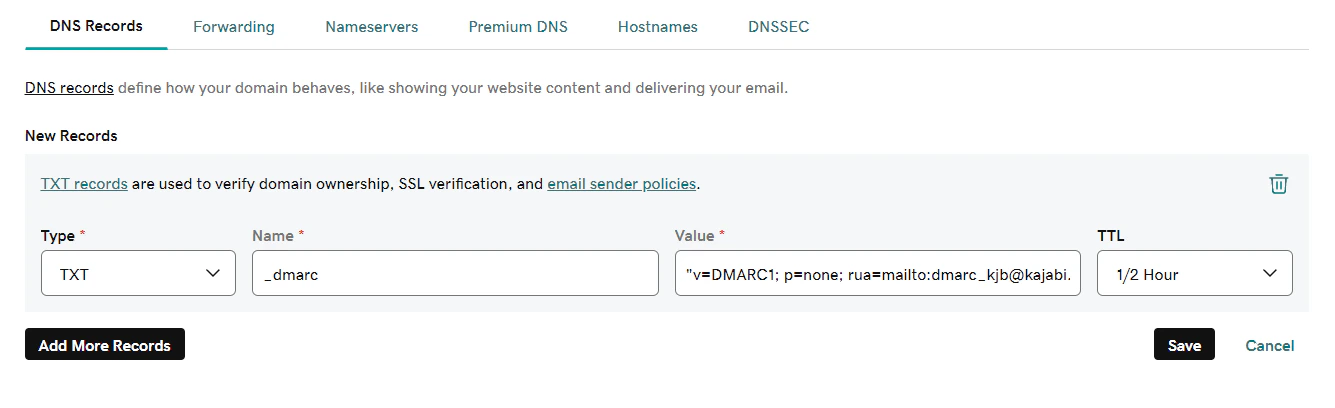
| Name | _dmarc.kjbm |
| Content (or Value) | "v=DMARC1; p=none; pct=100; fo=1; ri=3600; rua=mailto:ce4b0f5c@dmarc.mailgun.org,mailto:1be13cfa@inbox.ondmarc.com; ruf=mailto:ce4b0f5c@dmarc.mailgun.org,mailto:1be13cfa@inbox.ondmarc.com" |
Important:
Be sure to include all special characters, including quotation marks, apostrophes, and spaces. Copying and pasting the full value exactly as shown is recommended.
GoDaddy
To add a DMARC record in GoDaddy:- In your GoDaddy DNS Records, click Add and select TXT from the Type dropdown.
- Enter
_dmarc.kjbminto the Name field. - Paste the full value into the Value field.
- Keep the default TTL.
- Click Add record.
Cloudflare
To add a DMARC record in Cloudflare:- Log into your Cloudflare dashboard and select your active domain.
- Go to the DNS tab.
- Click + Add Record and select TXT as the type.
- Enter
_dmarc.kjbminto the Name field. - Paste the full value into the Content field.
- Keep the default TTL.
- Click Save.
Bluehost
To add a DMARC record in Bluehost:- In your Bluehost DNS Manager, scroll to the TXT section and click Add Record.
- Enter
_dmarc.kjbminto the Name field. - Paste the full value into the TXT Value field.
- Select 4 Hours in the TTL field.
- Click Save.
Namecheap
To add a DMARC record in Namecheap:- In your Namecheap Advanced DNS settings, locate your Host Records.
- Click + Add New Record and select TXT Record from the dropdown.
- Enter
_dmarc.kjbminto the Host field. - Paste the full value into the Value field.
- Keep the TTL set to Automatic.
- Click Save All Changes.
SiteGround
To add a DMARC record in SiteGround:- In your SiteGround Site Tools, navigate to Domain > DNS Zone Editor.
- Click Create New Record and select TXT as the type.
- Enter
_dmarc.kjbminto the Name field. - Paste the full value into the Value field.
- Click Create.