

Overview
All of your blog posts (both published and unpublished) can be found by navigating to the Blog tab nested under the Website tab of your Kajabi Dashboard. You can create, edit, schedule, and organize your posts all from one place.Add a post to your blog
To add a new post to your blog:- Open the Website tab from your Dashboard.
- Then, select the Blog tab.
- In the top right corner, click + New Post:
Note:
The slug “search” is reserved and cannot be used as a blog post URL slug. Blog post images are resized to 1280 x 720 pixels and have a maximum upload size of 5 MB.
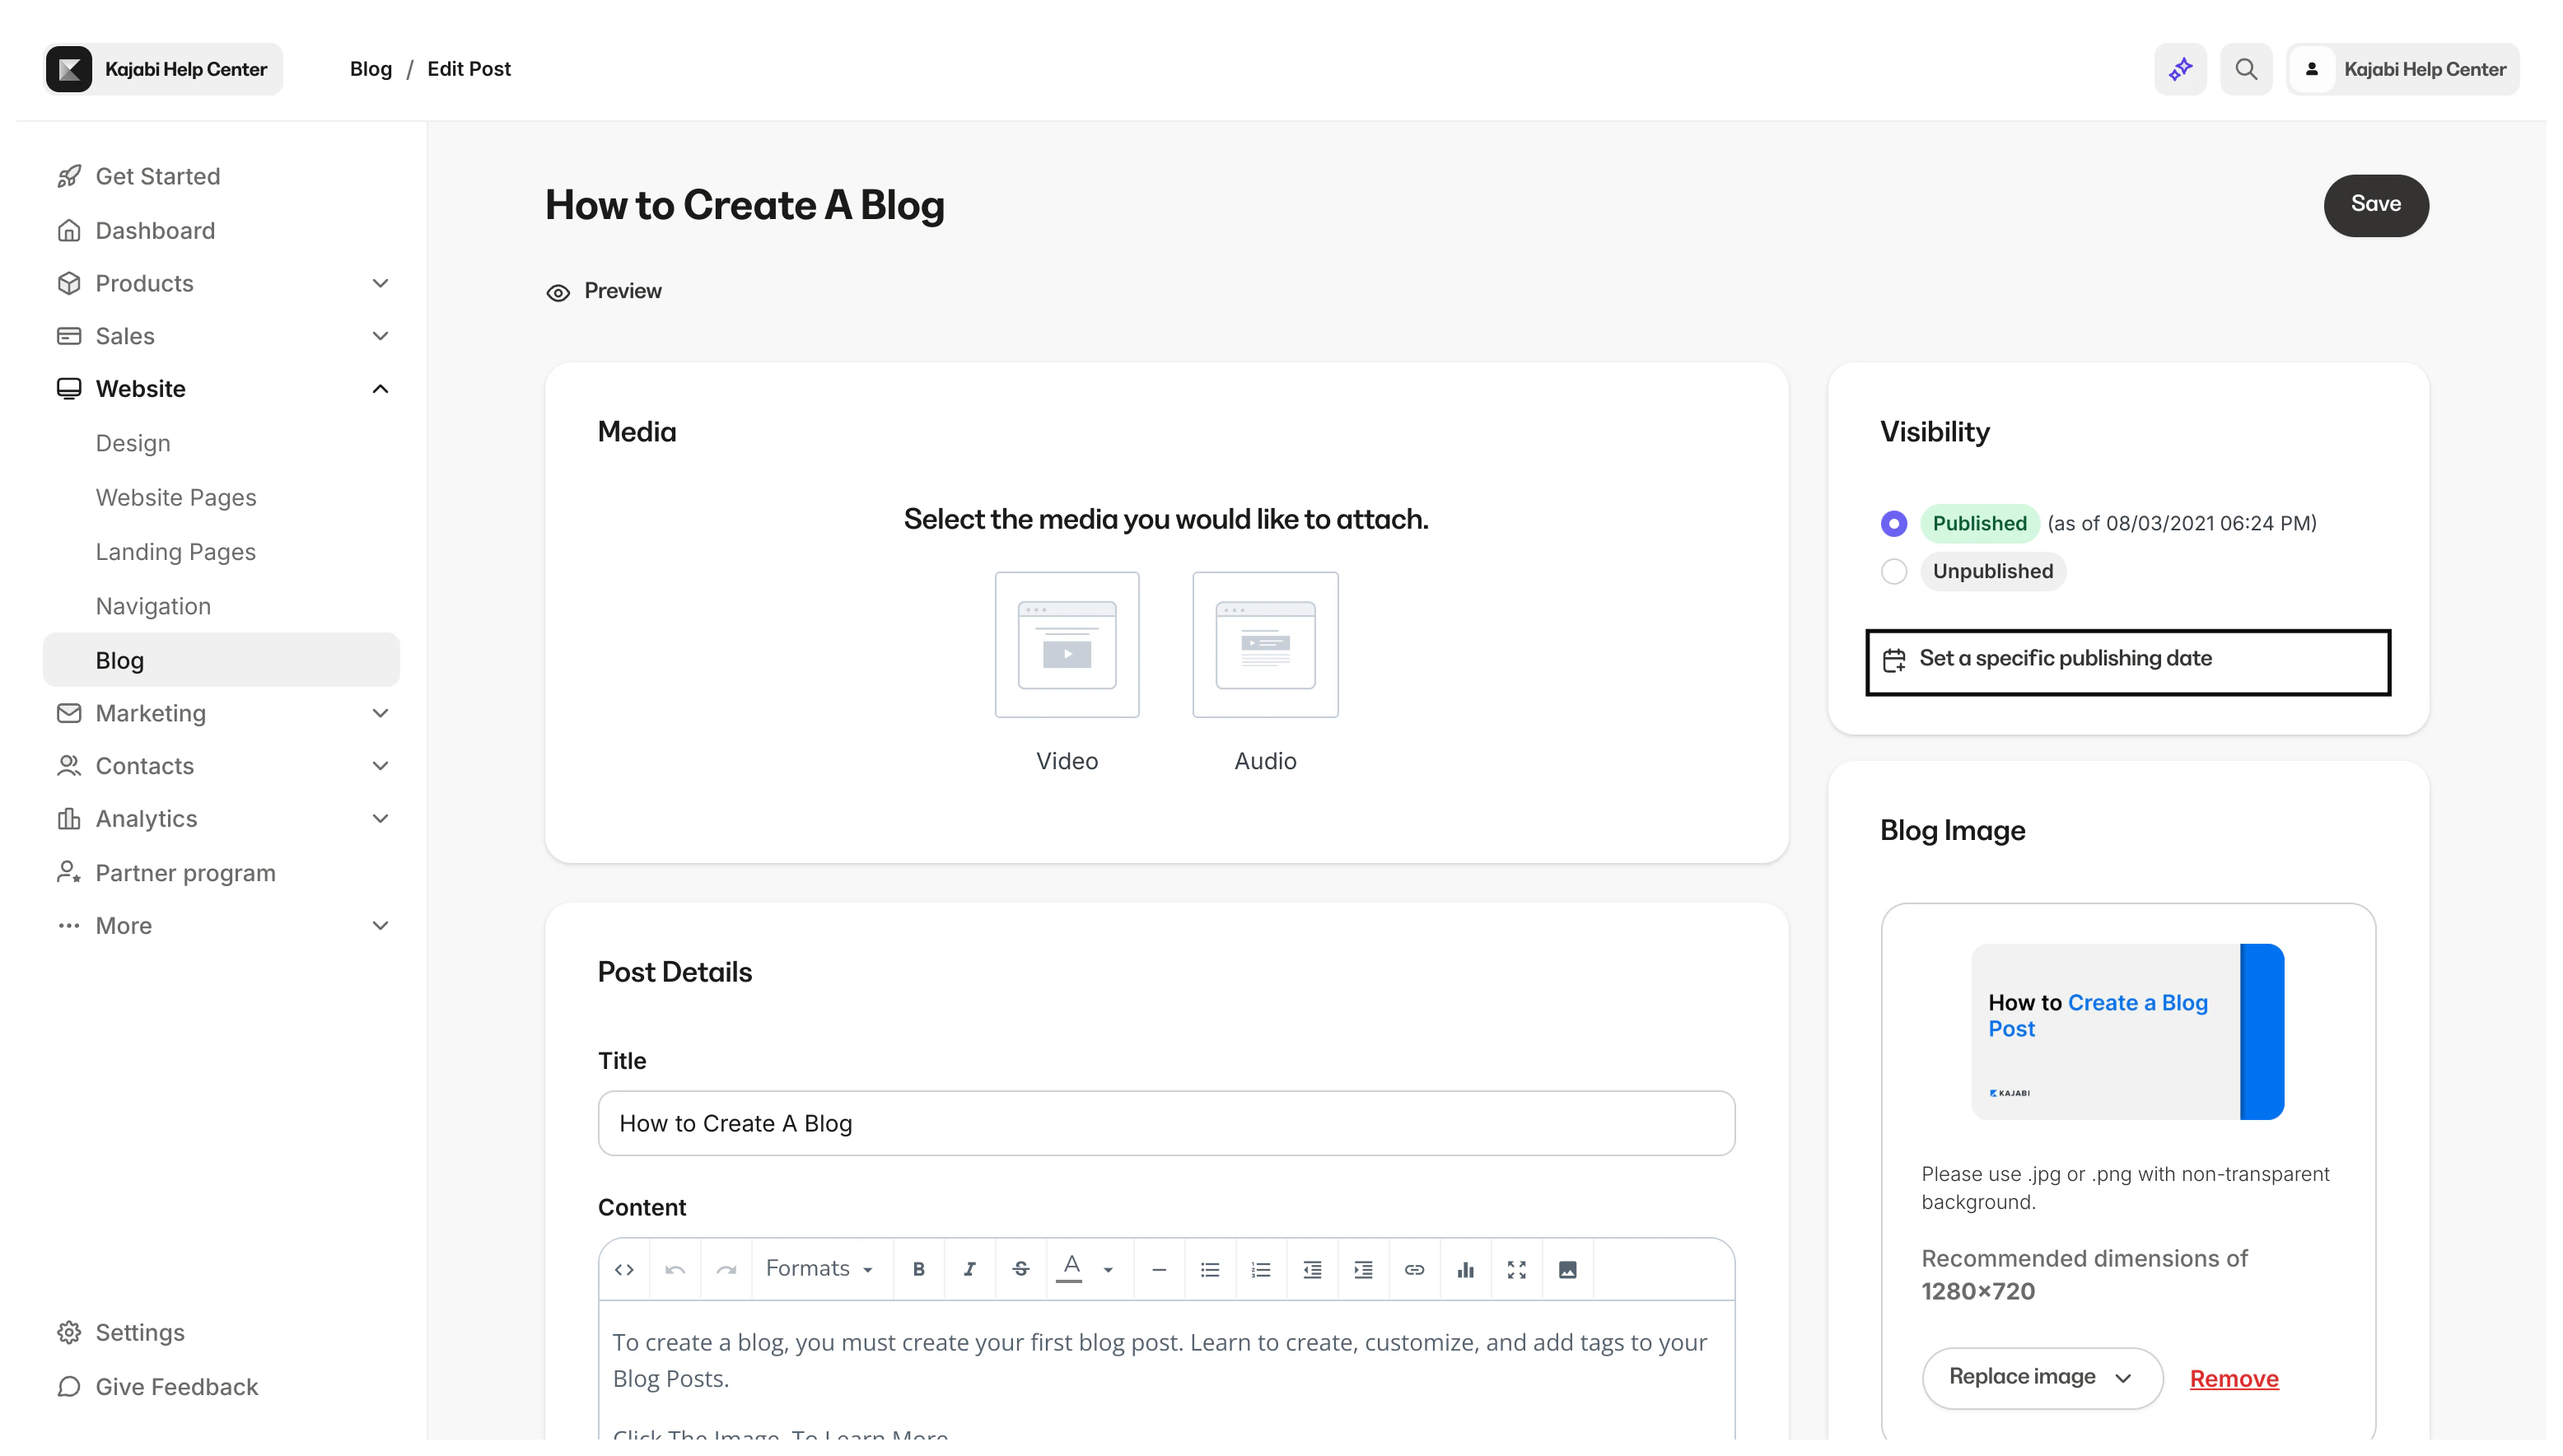
Set a publishing date
Do you like to work ahead on your blog? With Kajabi you can schedule a blog post to be published at a future date. This is also a great tool to use if you need to migrate your blog posts over to Kajabi from another platform like WordPress. You’ll be able to keep your publication dates consistent with your former blog dates, and schedule future posts with ease.Set a specific publishing date
- Open the Website tab from your Dashboard.
- Then, click Blog.
- Choose an existing Blog Post or create a new one.
- Click Set a specific publishing date.
- Select a date when your blog post will be published and click Apply:
Add tags to posts
Tagging your Blog Posts with category tags is a great way to keep them organized and easy to find. After adding your tags and saving your changes, the tags will be displayed as categories on your blog homepage.Note: Worried about reaching your Kajabi tag limit of 100 tags? Don’t be. Tags in your blog posts are only used for organization and are separate from the tags used in your Contacts tab. Your tag limit will only apply to the tags created for your Contacts.
Add tags to blog posts
- Open the Website tab from your Dashboard.
- Then, click Blog.
- Select an existing Blog Post or create a new one.
- Locate the Organization card in the right sidebar.
- Click into the Tags field.
- Select an existing tag from the dropdown or type the name of a new tag and press Enter.
- Then, click Save: