

What’s changing
Banner and upgrade prompt
When accessing Automations, you’ll see a banner inviting you to explore and upgrade to the enhanced version. Click Explore and Upgrade to begin:Note: Once upgraded, the Automations experience fully replaces the previous version. Rollbacks are not supported.
What to expect after upgrading
Visual Automations replace Automation rules
- Existing Automation rules are copied into the system; however, they no longer exist in their previous format
- If your current Automations share a trigger, they will not be combined into a single Automation. They appear as separate Automations
- For example, if you currently have one Automation that tags a contact and a separate Automation that sends an email when a form is submitted, those remain as two separate Automations after the upgrade
- Automations are created using a visual editor with nodes and branches
Automation Blueprints
When you create an Automation, you’ll see a modal with Automation Blueprints. This is where you begin building your Automation using a templated set of steps, or start from scratch.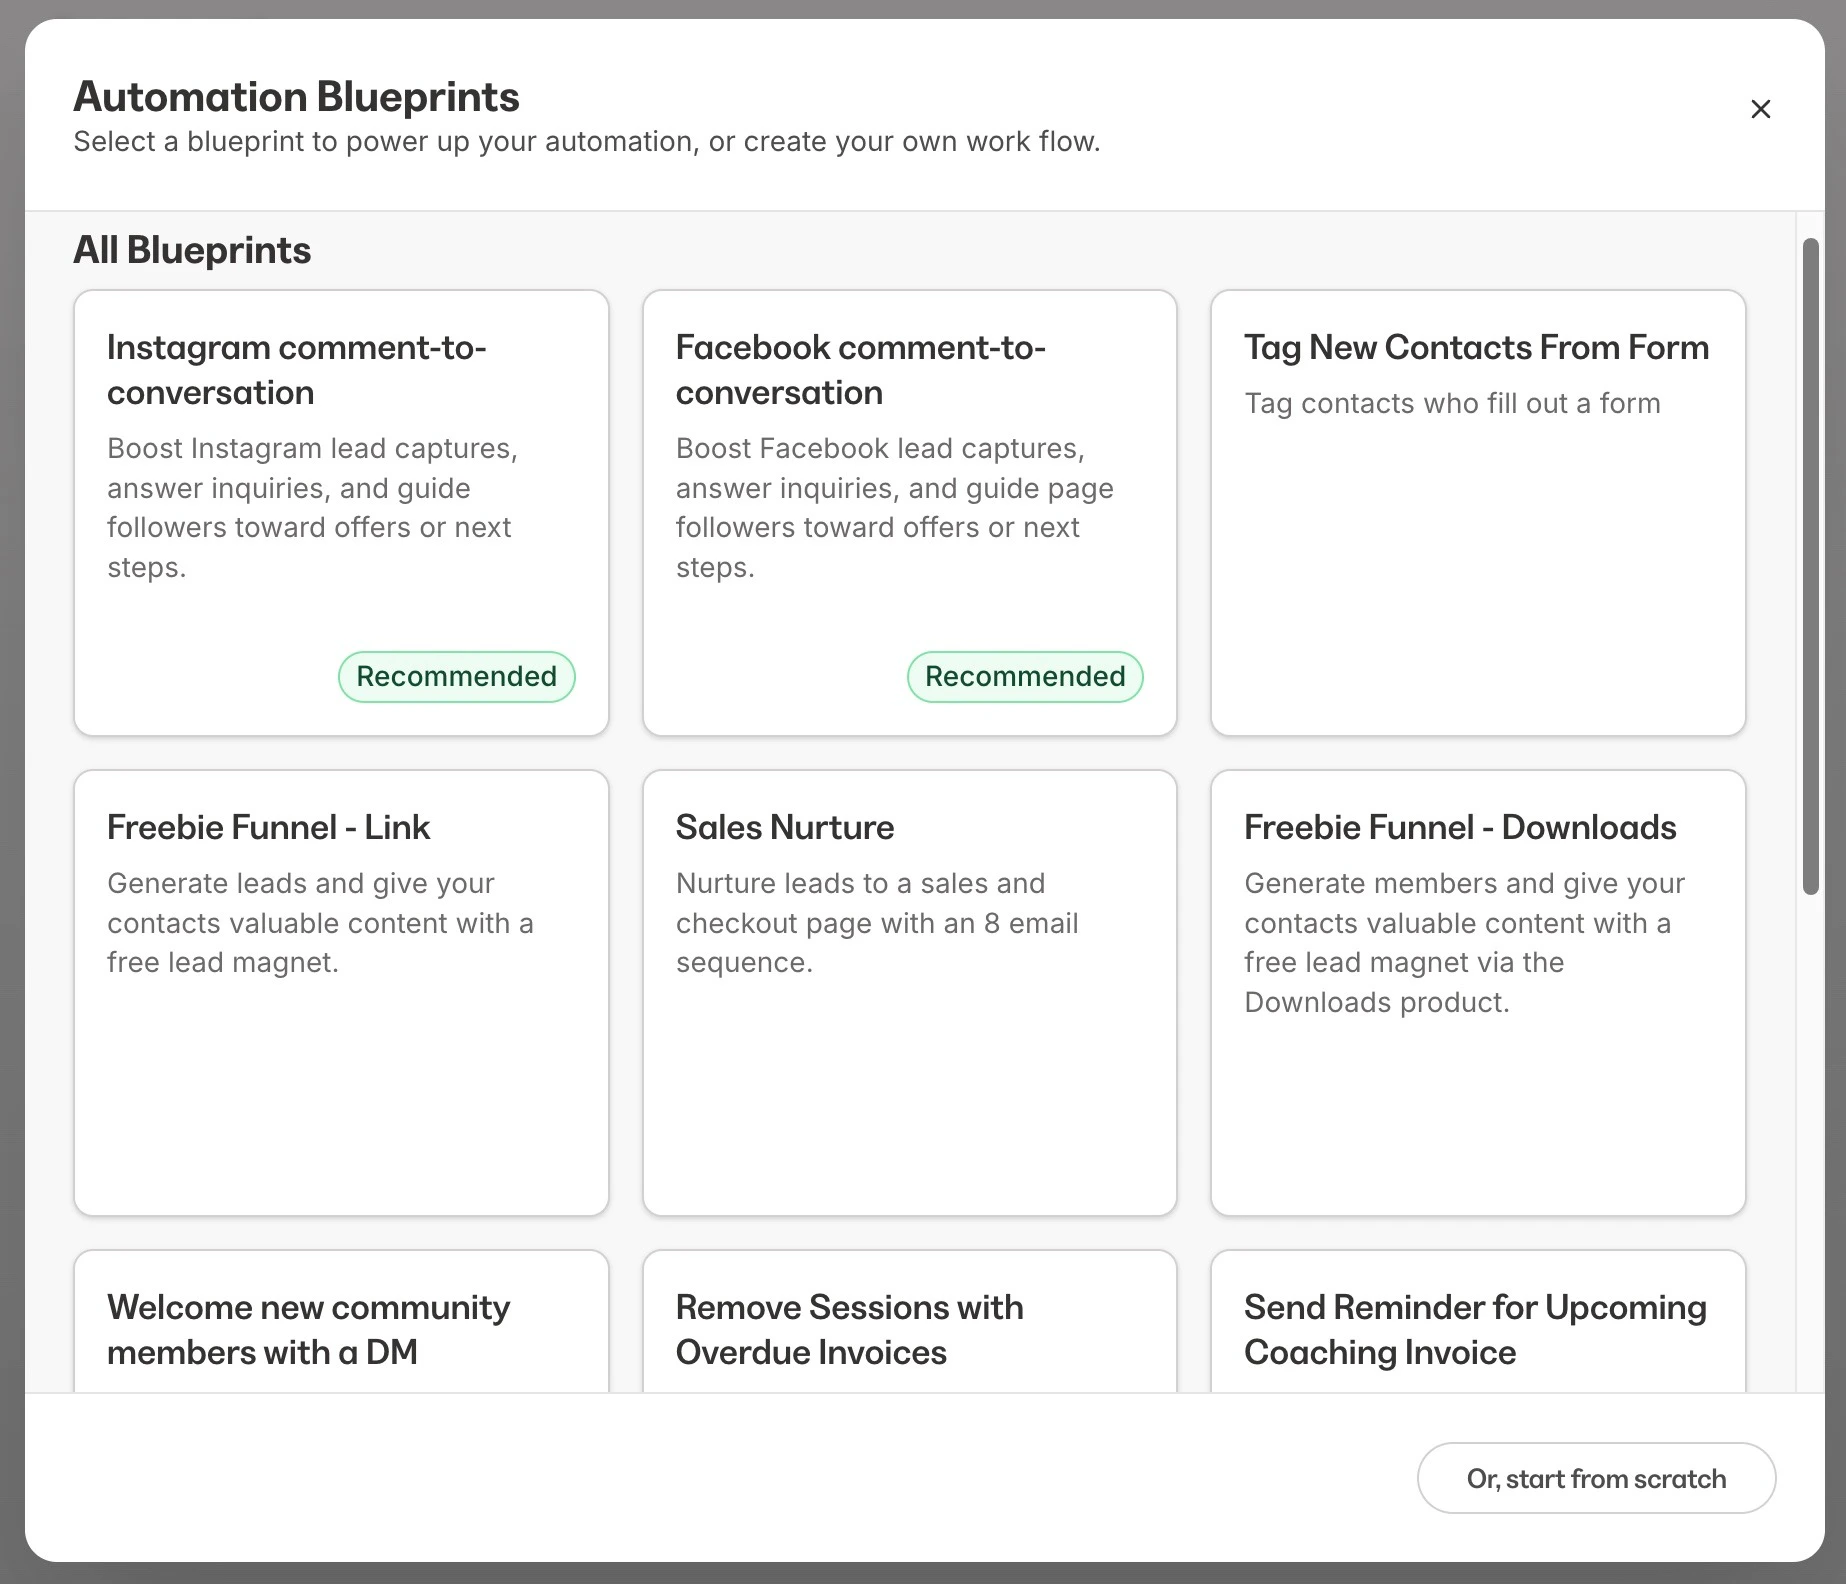
Automation basics
Triggers and actions (When / Then)
- Each Automation starts with a When trigger event
- You can then add one or more Then actions that follow
- The system allows multiple Then actions for a single trigger. Previously, only one Then action was allowed per Automation
Draft and publish status
- Automations are not automatically published when created
- You can set the Automation to Draft or Published when editing
- Automations must be published to run:
- Must have at least one lead node
- Must have at least one action node
- Email action limit reached
Features
Enhanced Automation editor
- Search bar: Find Automations quickly by name or keyword
- Custom naming: Organize your Automations with clear, descriptive names
- Total Enrolled: See how many times the Automation has run. This does not backfill historical data.
- Icon tooltips: Hover over icons in the editor for helpful explanations
- Editable When text: Modify trigger names directly in the editor
- None Branch: A fallback path when no conditions in a branch are met
- Remove Branch Warnings: A confirmation appears before deleting branches
Branching logic
The Automations editor supports branching logic, allowing you to create conditional paths within your Automation. If a contact meets the conditions set in a branch, they follow that path. If not, they follow the None branch instead.Community Automations
Automations offers Community Automations. An Automation Blueprint has been added to the existing Automation Blueprints, with additional Then community actions also added. The Welcome Community Members with a DM Automation Blueprint automatically sends a personalized message to Community members:- From the Kajabi Dashboard, click Marketing > Automations.
- Select + New Automation.
- Within the pop-up, choose Welcome Community Members with a DM.
- Customize the When trigger and click Save.
- Customize the message that will be sent when triggered. Click Save.
- (Optional) Choose a contact to send a test message to, then click Send Test.
- Click Publish and Save the Automation to activate.
- Send Community DM
- Add a member to a private channel
- Remove member from private channel
- Post in channel
Where to add Automations
Once upgraded, you can create Automations from multiple areas within Kajabi:- The Automations page
- Forms
- Offers
- Funnels (Automations tab)
- Courses
- Email Campaigns (both Broadcasts and Sequences)
- Events
- Quizzes
- Certificates of Completion