What happens after a customer completes the final Course Lesson with this setup?
After your customer reaches the final Lesson in your Course, they will be required to complete and submit a Form: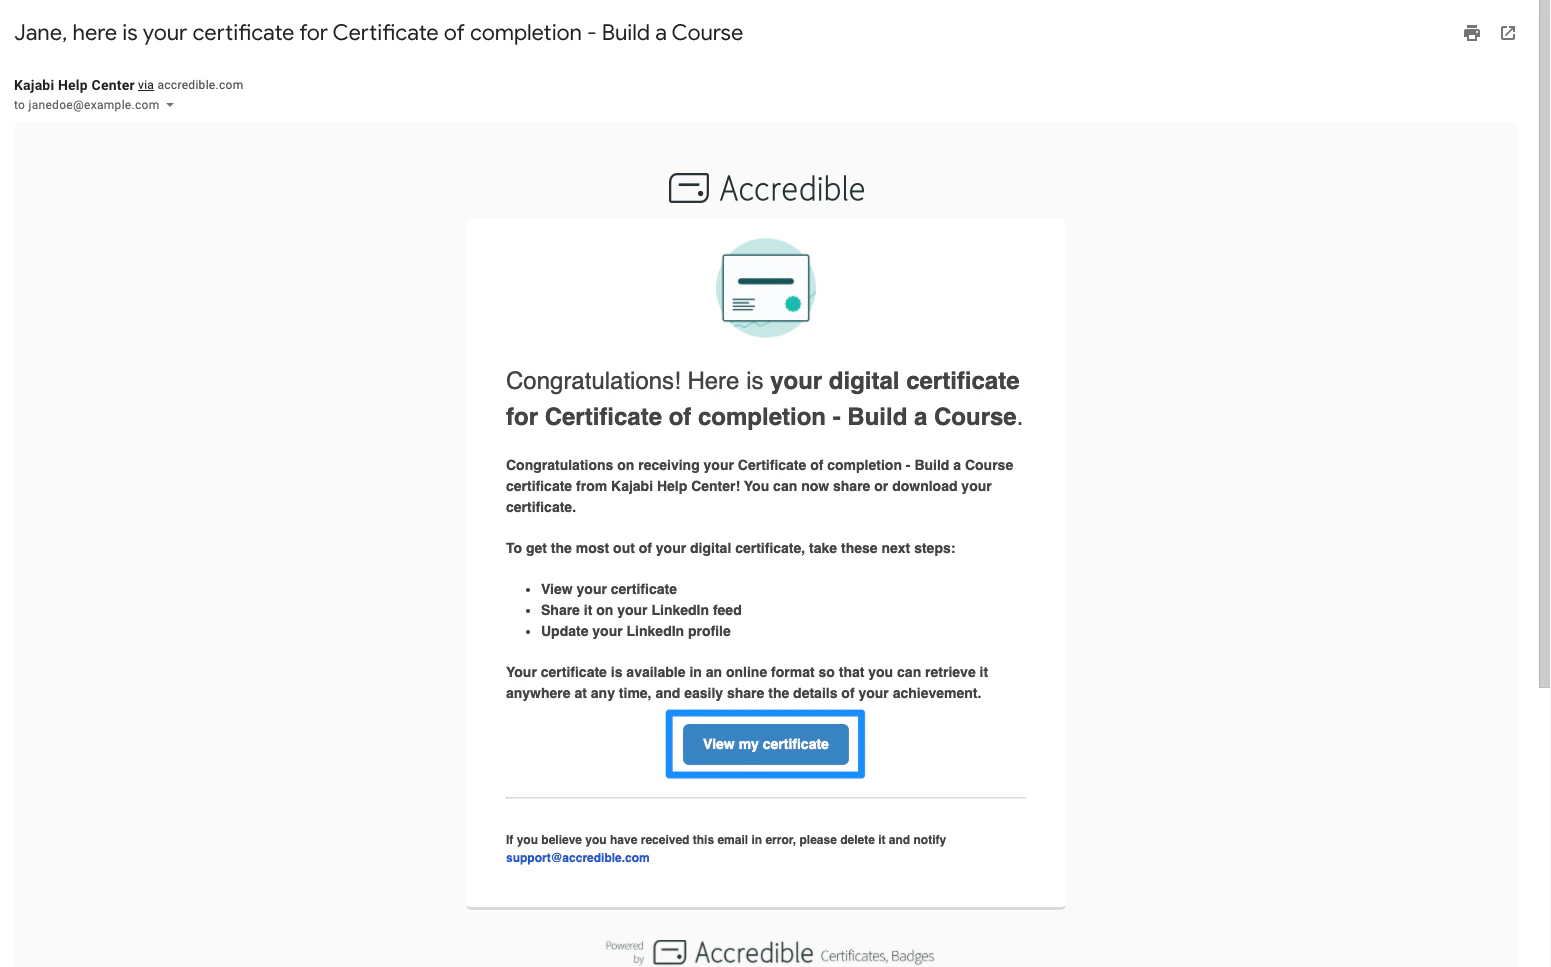
Prepare the site in Kajabi
Before creating your Zap with Zapier, prepare your Form and Product in Kajabi. With this setup, your customers must complete a Form in the final Lesson of your Course Product to receive their certificate of completion.1. Create the Form
First create your Form:- Open the Marketing tab from the Dashboard.
- Click Forms.
- Create a new Form. Learn more
- Click Embed in the top menu.
- Customize the settings of your embed form to change the appearance.
- Then, copy the Embed Code for the Form:
2. Embed the Form into the final Course Lesson
To include your Form in your final Course Lesson, you must embed the Form into the body of your Lesson:- Open the Products tab from the Dashboard.
- Select the Course Product you wish to use to send a certificate to your customers.
- Open the Lesson editor for the final Course Lesson.
- Paste the embed code into the source code (source code icon) of the final Lesson.
- Click Ok to apply.
- Click Save to keep your changes:
Note:
In the Course Lesson editor, your embedded Form will not display in the body editor. Preview the Lesson to see how your Form will display for your customers.
3. Prepare for the Zap by completing and submitting the Form
The Test & Continue step in Zapier requires data to successfully perform the test. Therefore, there must be a Form Submission in your Form. To create a test form submission:- Click Preview in the top menu.
- Complete and submit your Form:
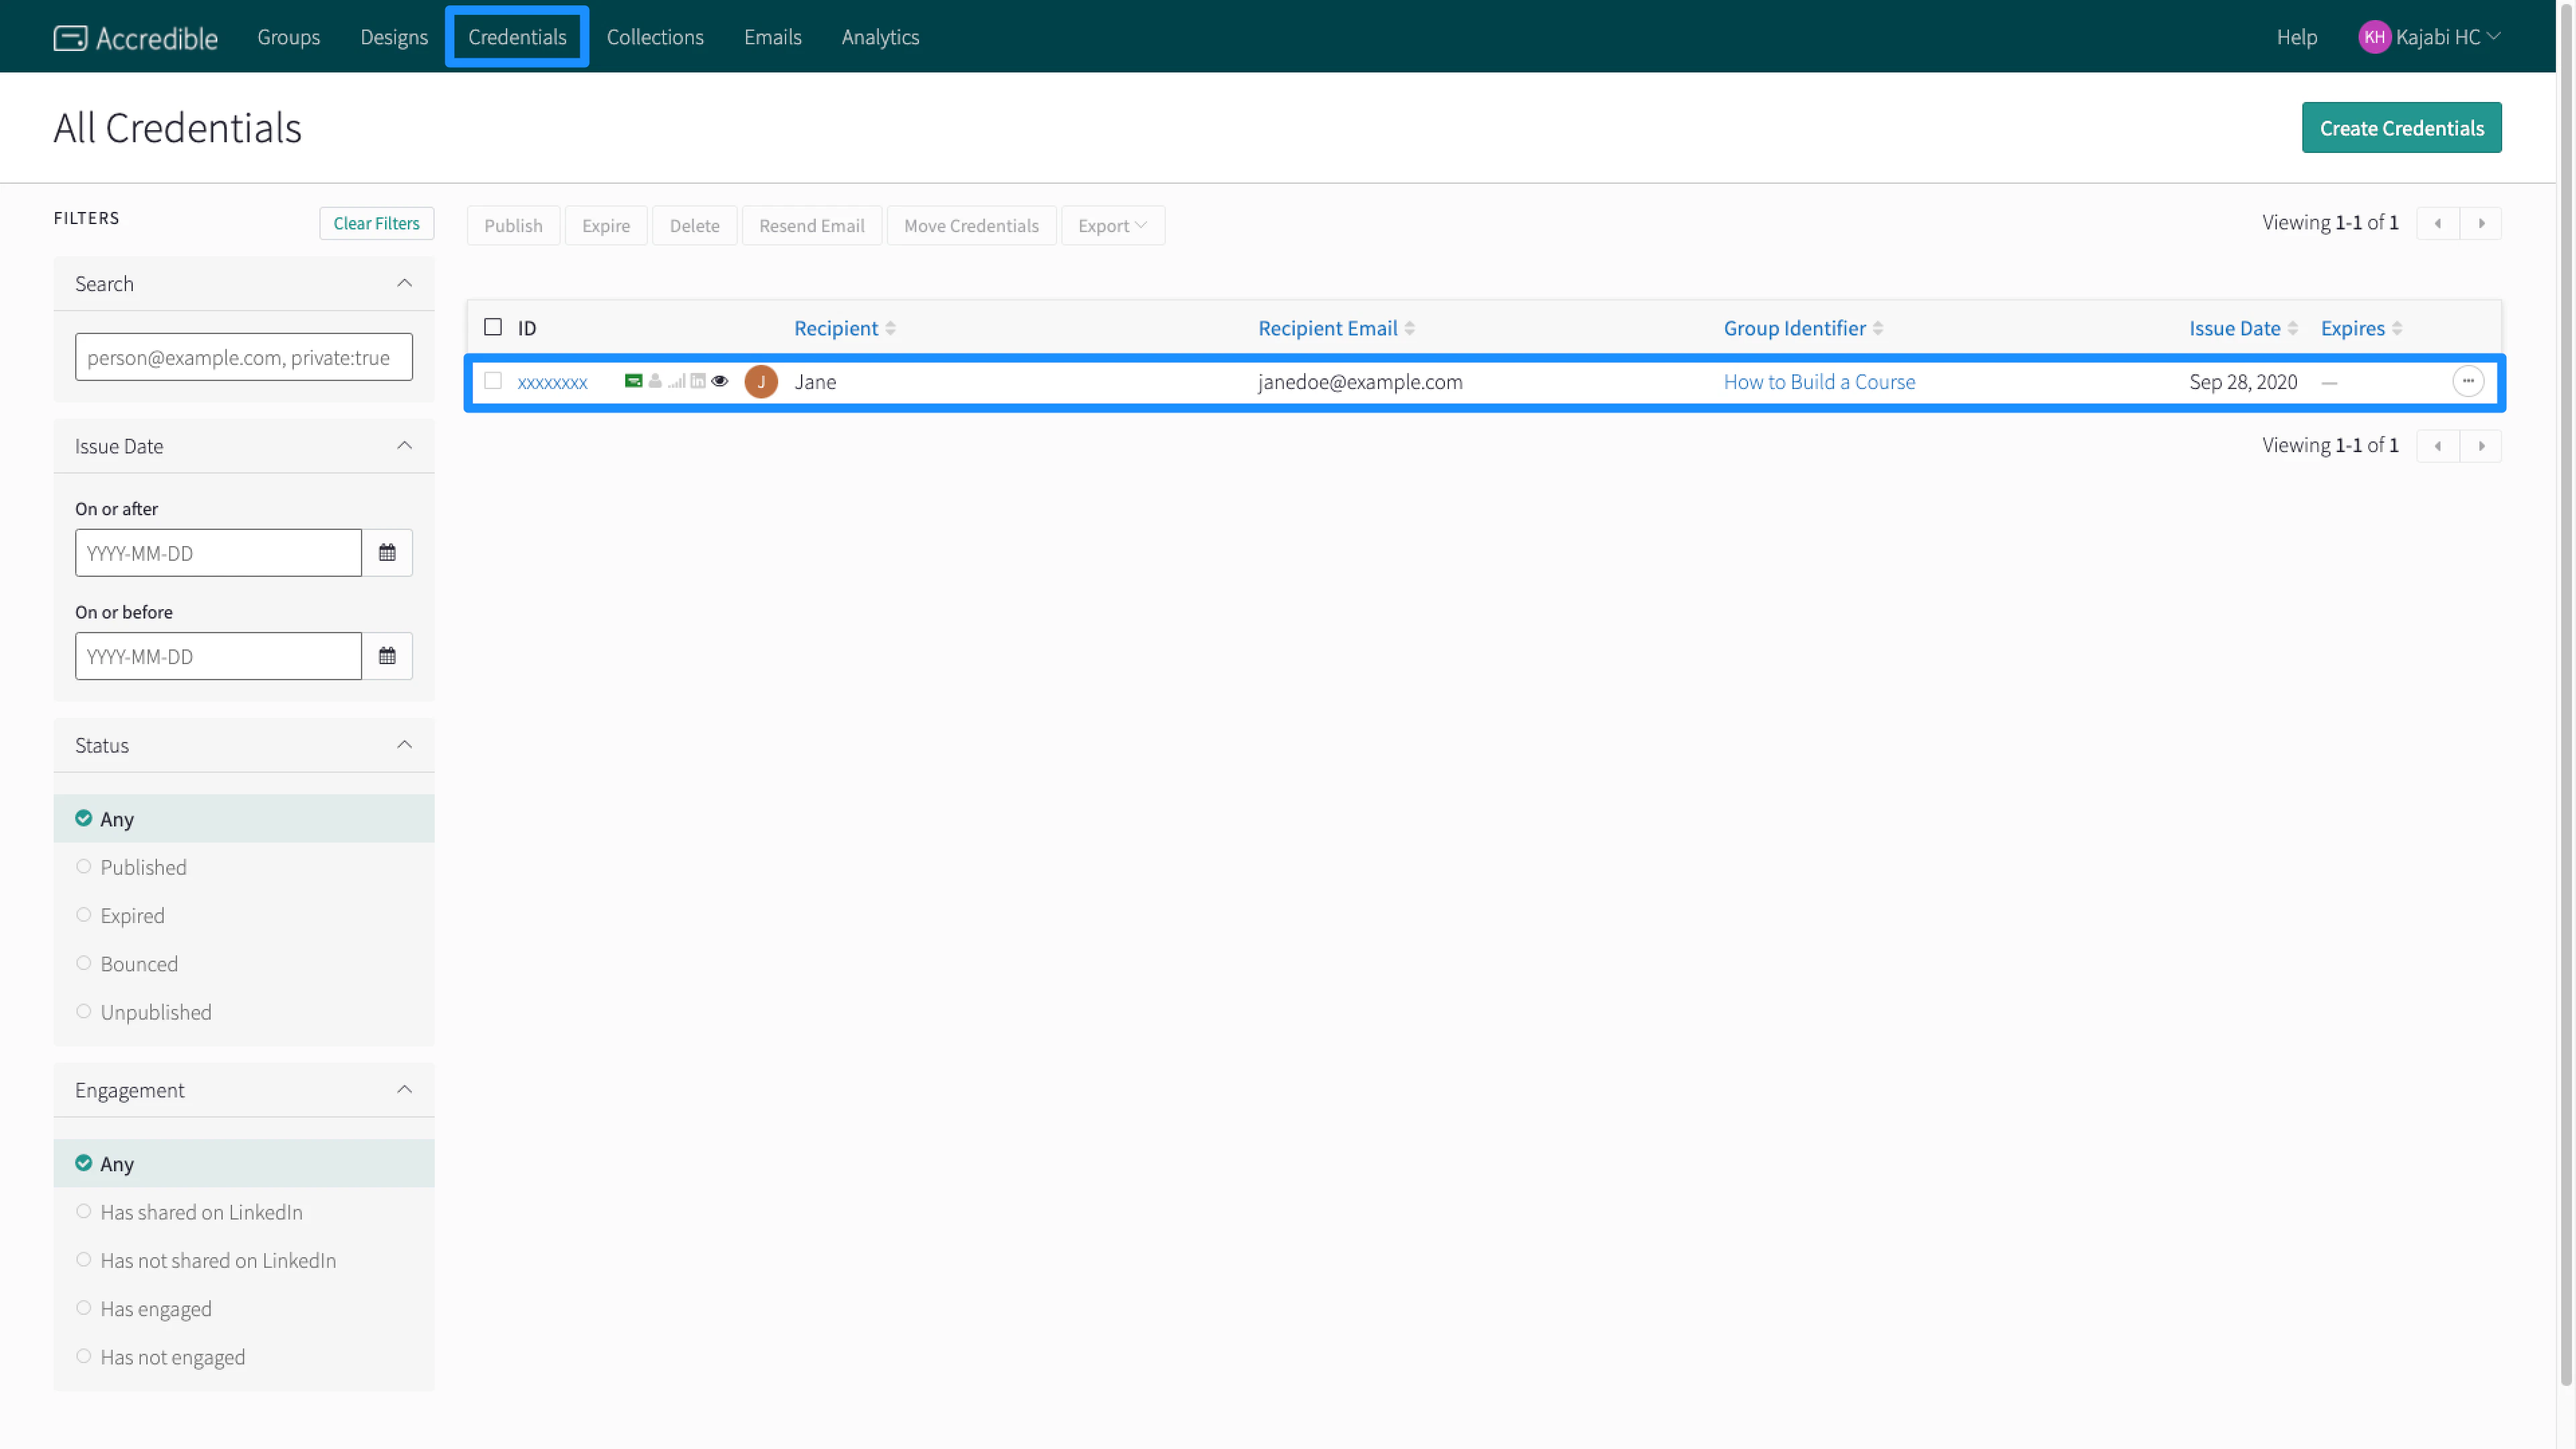
Prepare the certificate in Accredible
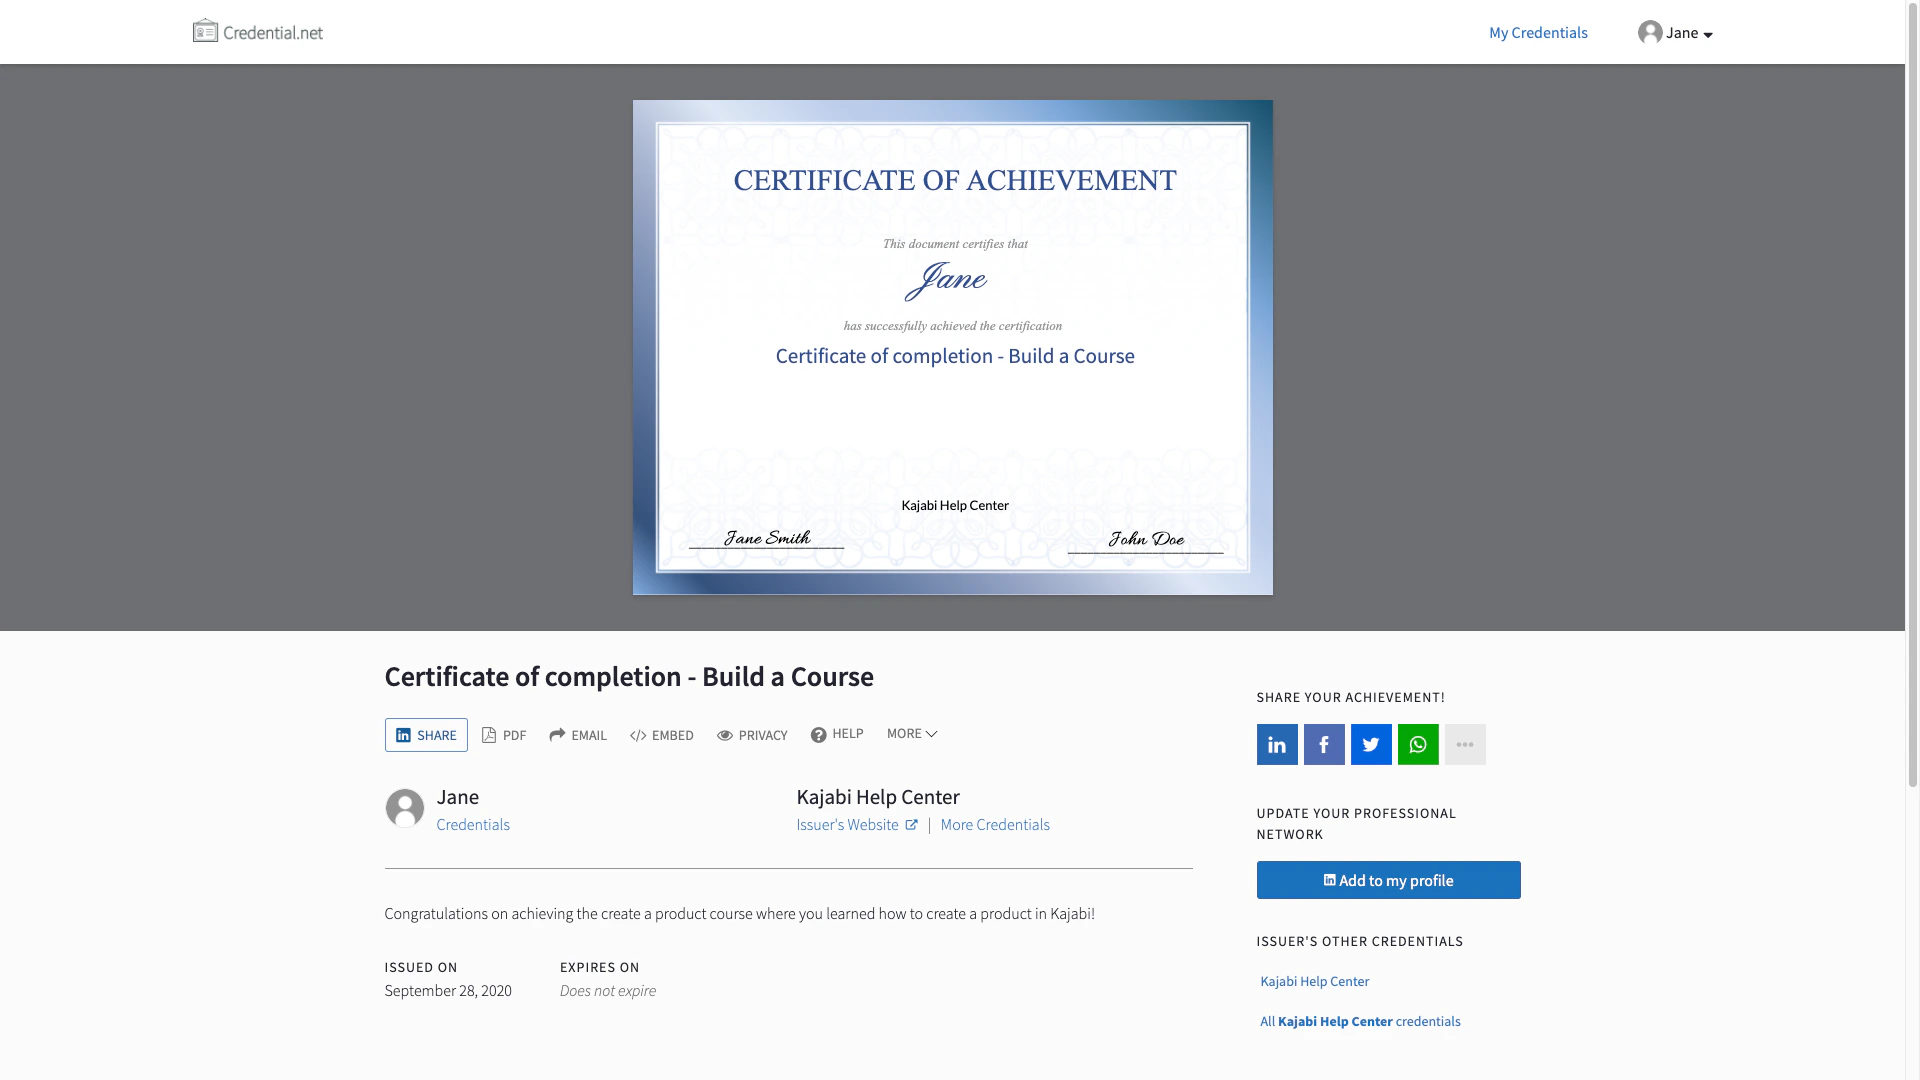
After preparing your site, set up your certificate of completion with Accredible. Already have your Accredible certificate and group set up? Skip to Create the Zap to set up your Zap.1. Create and design the Accredible certificate
Accredible is a third-party app specialized in creating and sending digital certificates or badges. With the powerful pairing of Kajabi and Accredible through Zapier, you can create professional, streamlined certificates to award your customers. Learn to create your certificate in Accredible Example certificate design: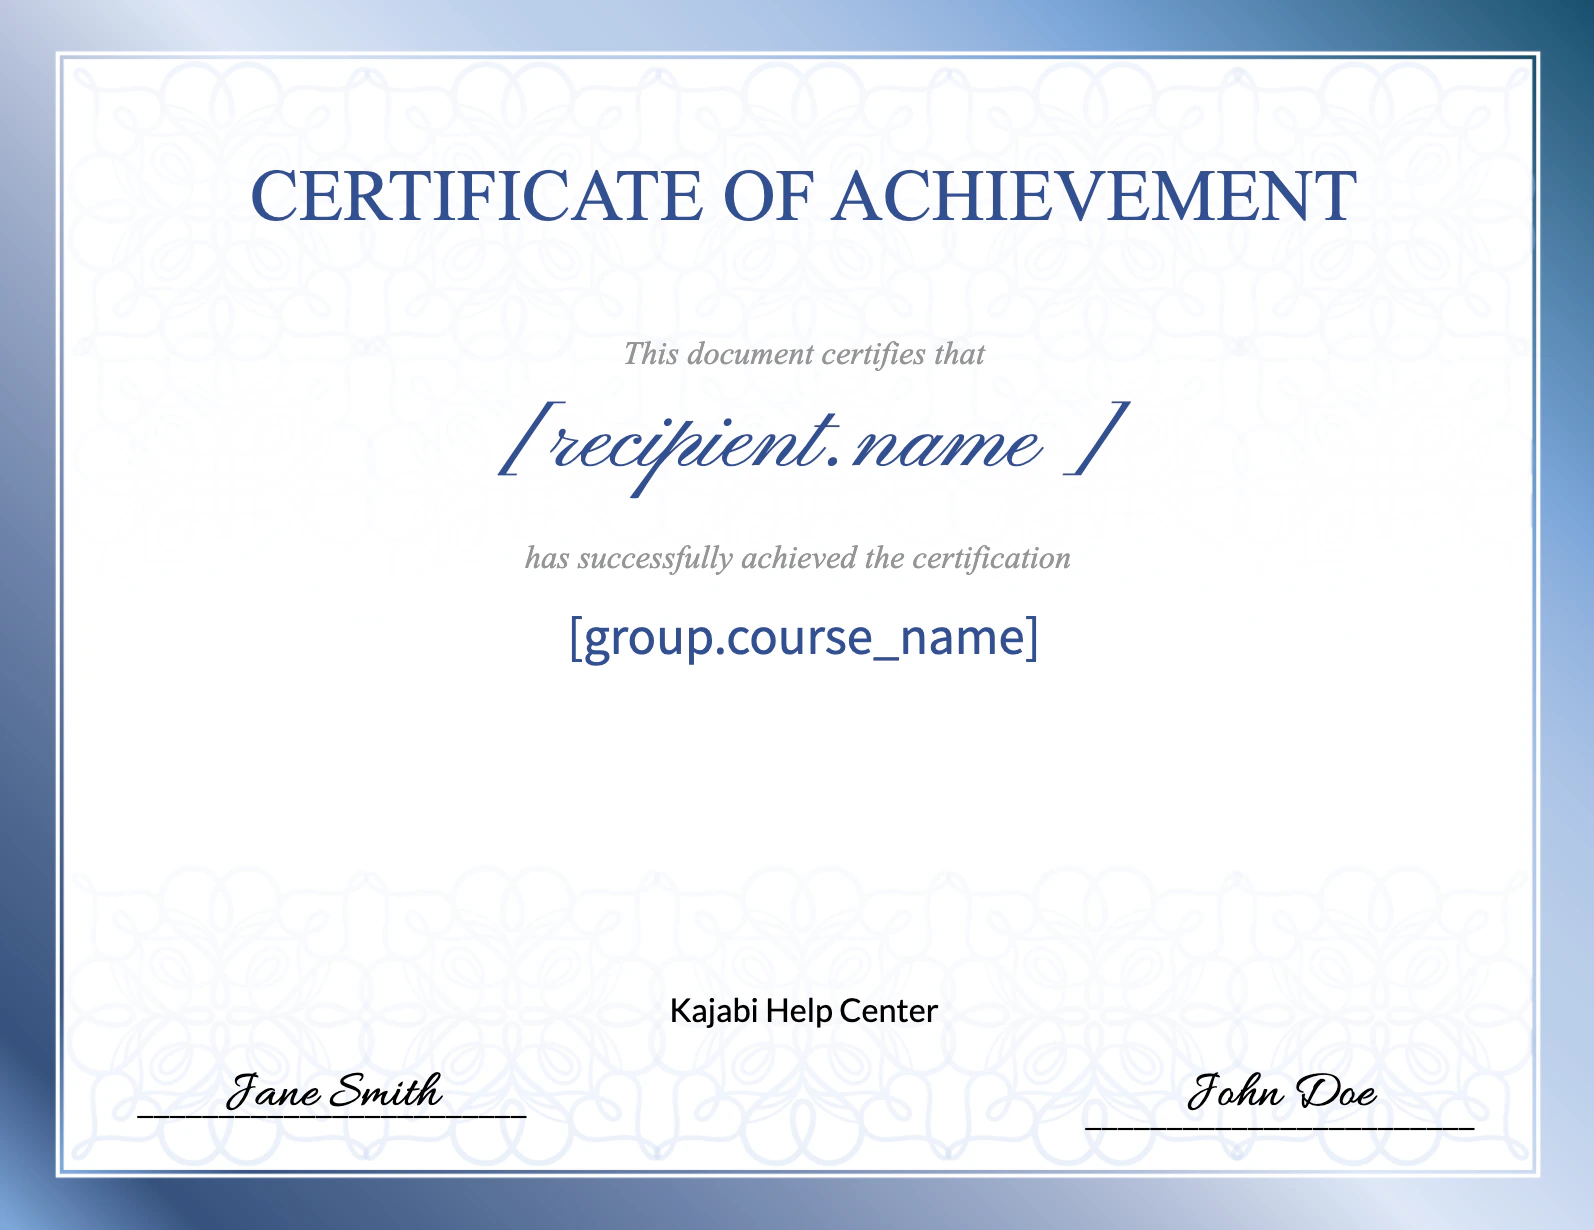
2. Create a group
After creating and designing your Accredible certificate, create a group for your certificate: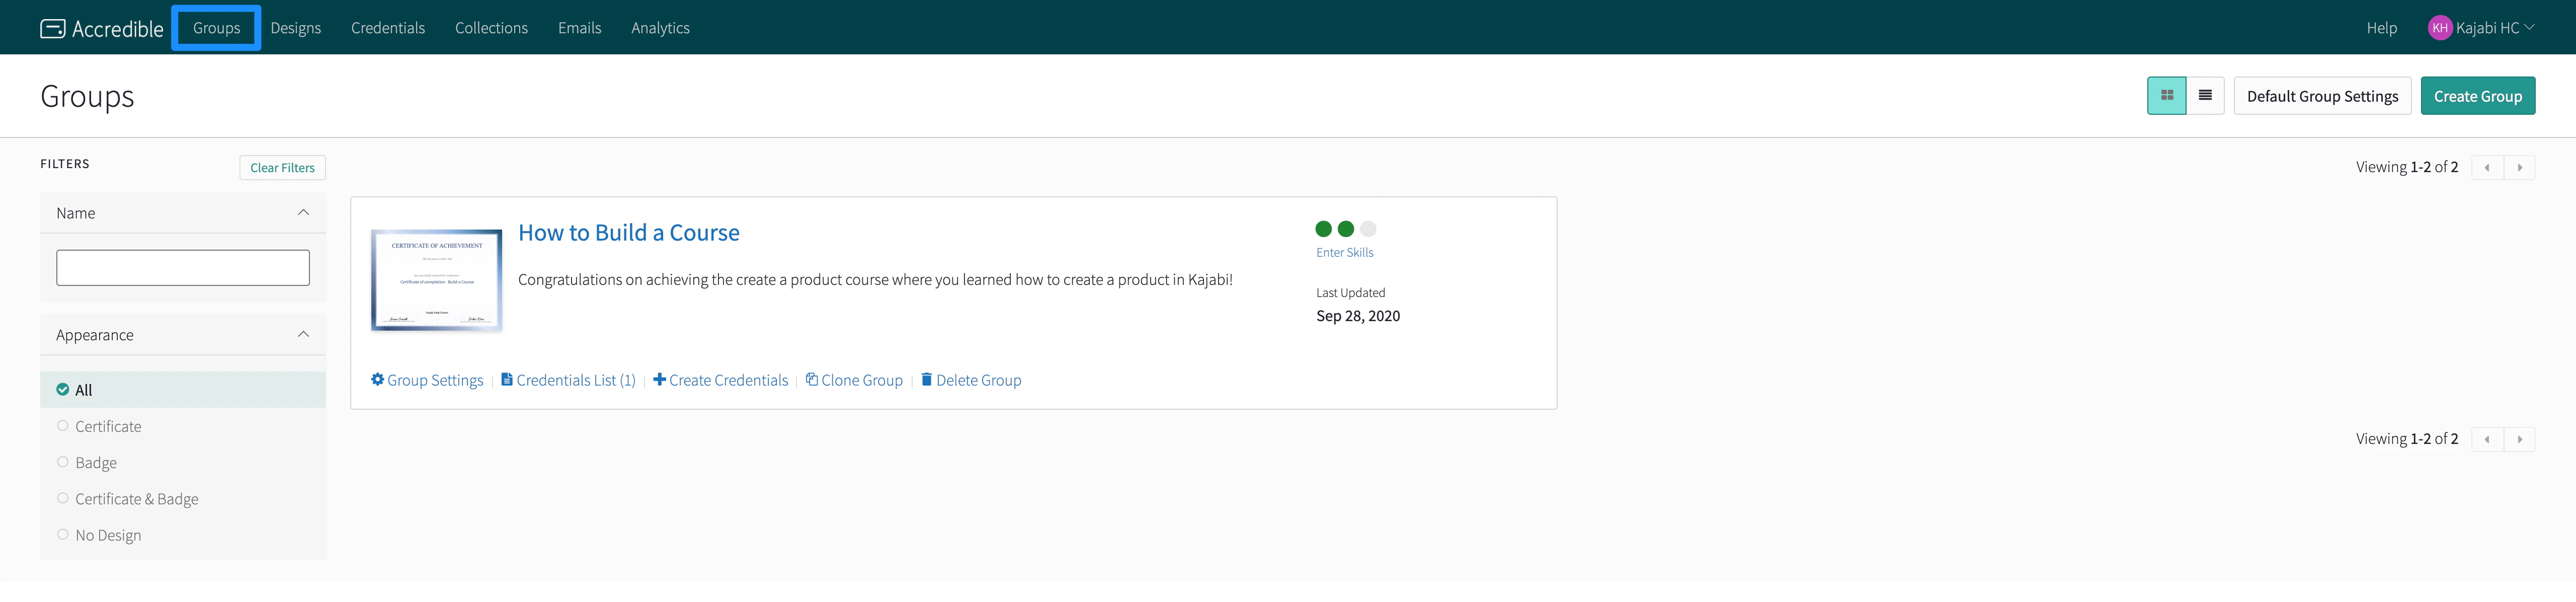
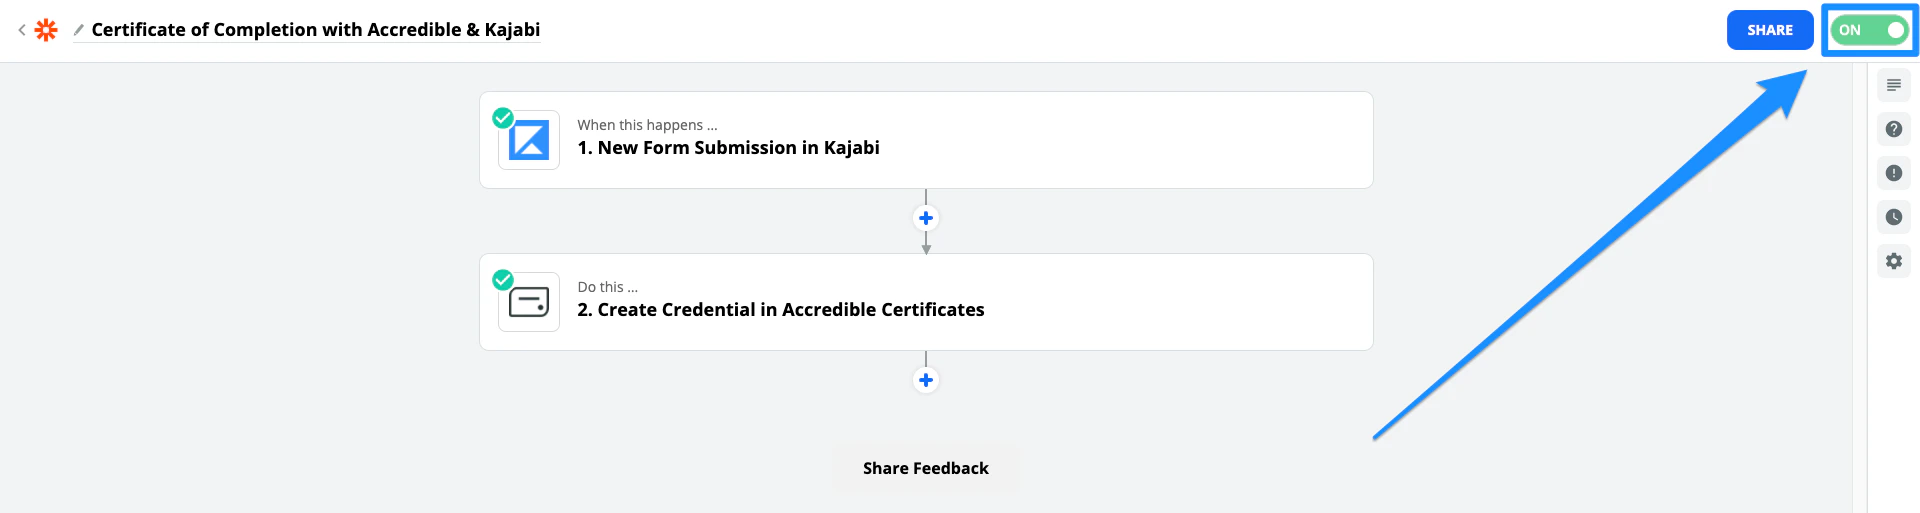
Create the Zap
After preparing your Kajabi site and Accredible certificate, set up your Zap with Zapier. Begin by setting up your trigger app to trigger the Accredible certificate when a new Kajabi Form is submitted. Make a Zap with Zapier to automatically create and send certificates of completion when your customer completes your Course Product and submits the Form.- Create a new Zap by clicking Make a Zap:
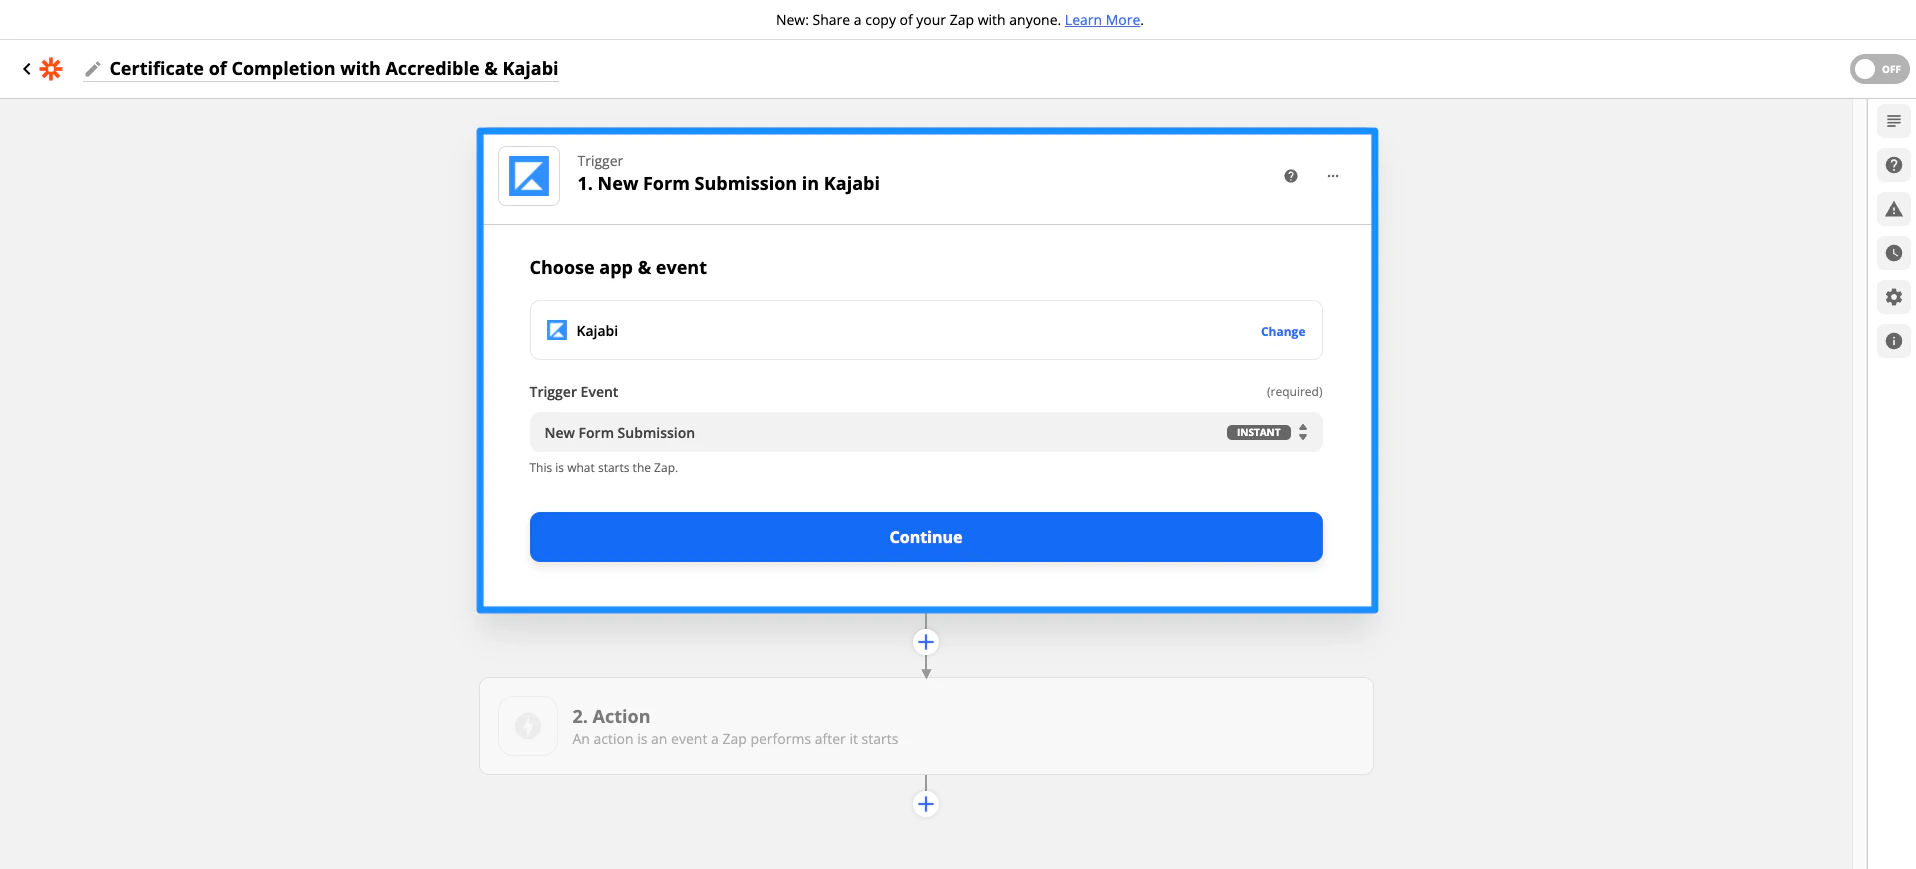
1. Select the Trigger App: Kajabi
For the Trigger App & Event:- Select Kajabi for the App.
- Then, select New Form Submission for the Trigger Event.
- Click Continue:
- Connect your Kajabi account by copying and pasting your API Key and Secret into Zapier.
- First, select your Site in the second dropdown menu.
- Then, select the Form created in Step 1.
- Click Continue:
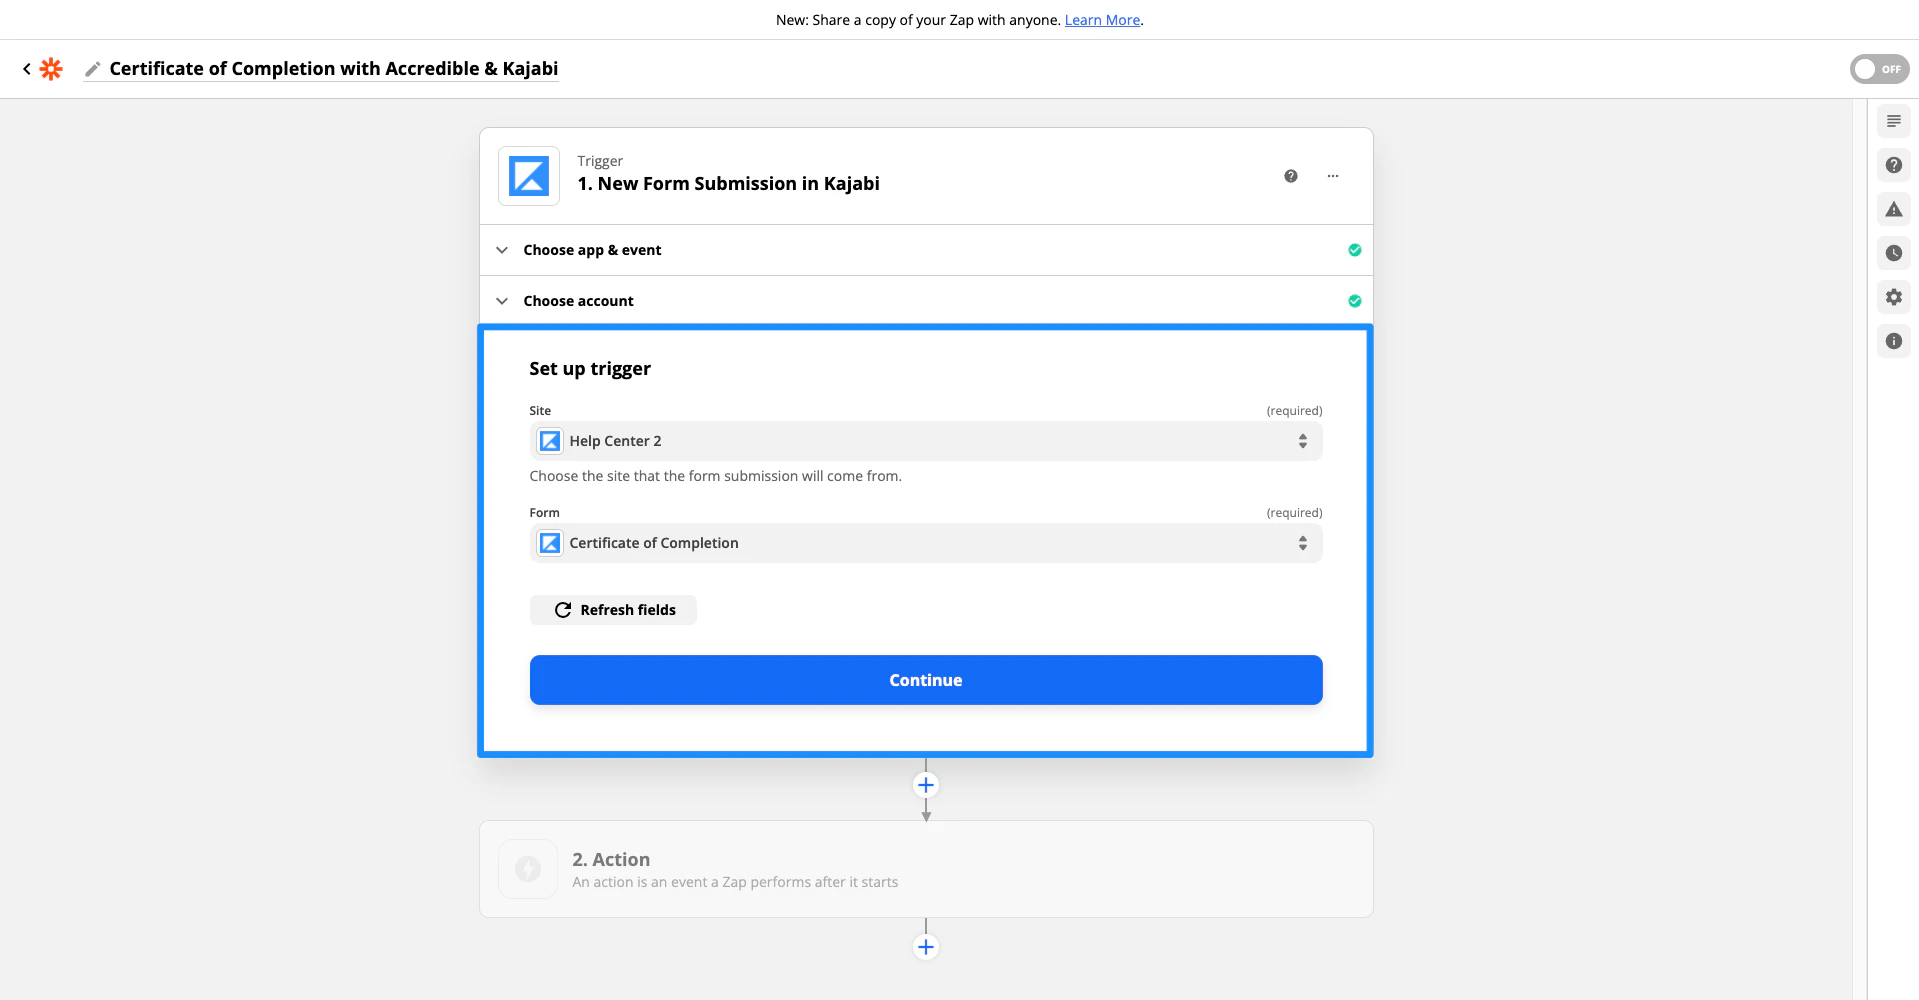
- Then, click Test trigger:

Note:
The Test & Continue step requires data to successfully perform the test. Therefore, there must be a Form Submission. If you haven’t created a Form Submission, refer back to the Prepare for your Zap step. Read Zapier’s Guide if you wish to change the sample data.
2. Configure the Action App: Accredible
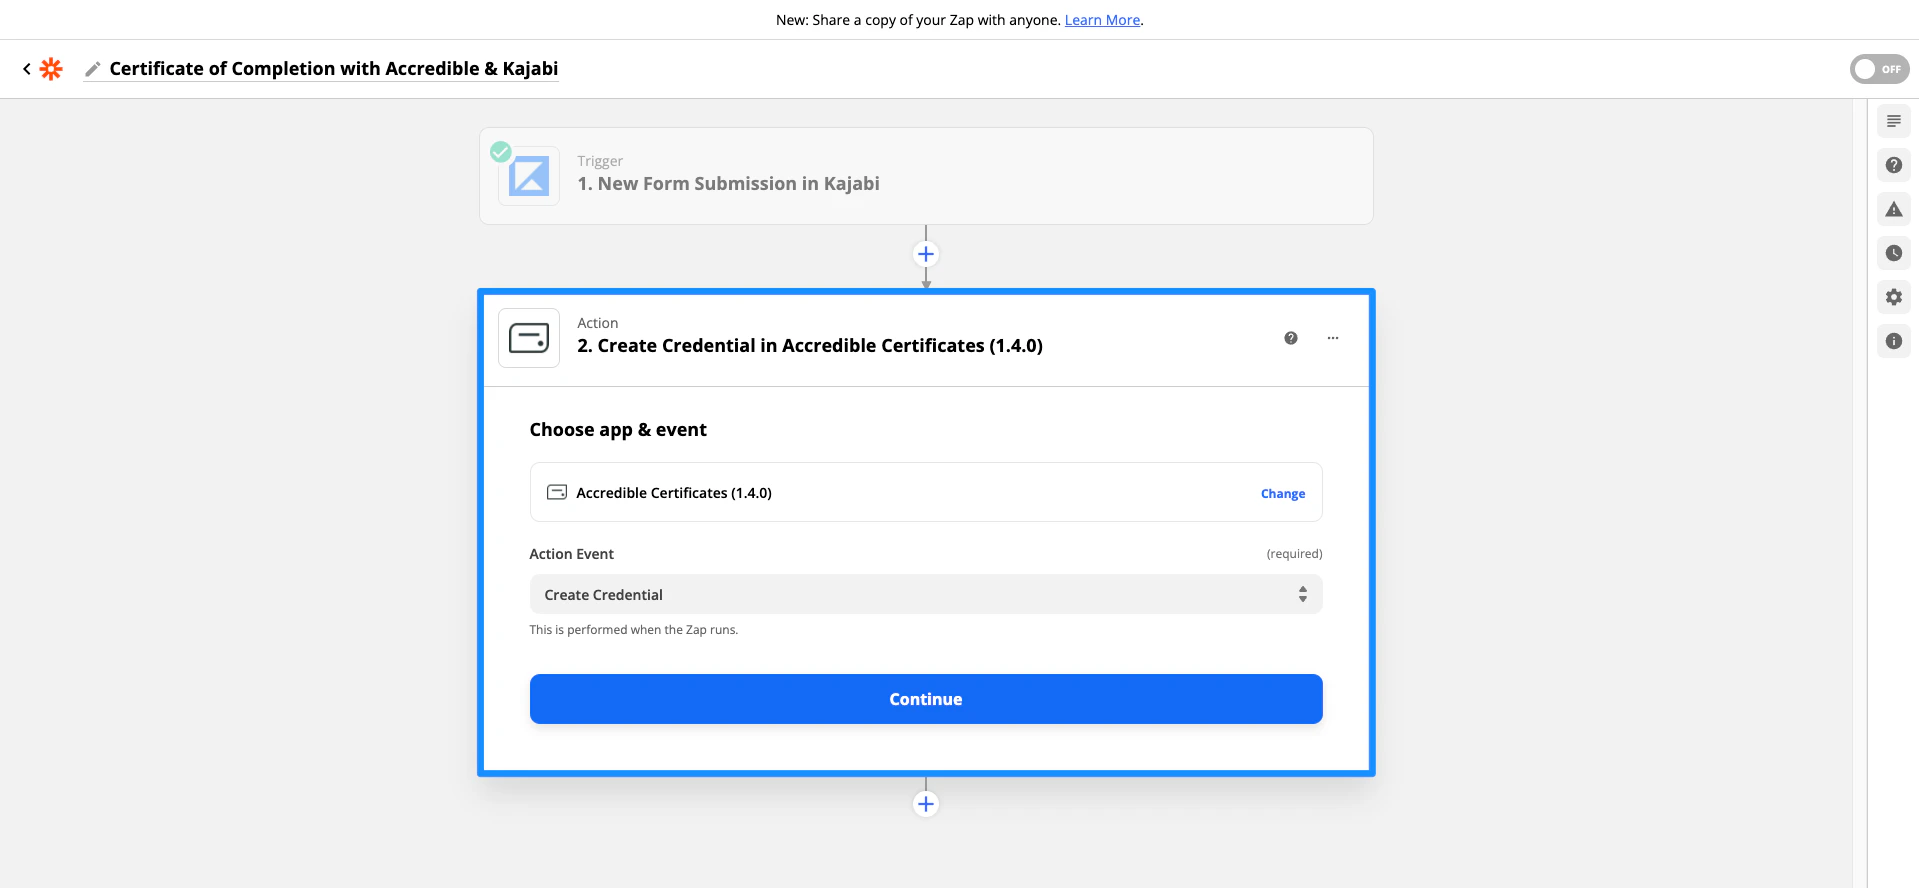
For the Action App & Event: 2. Do this… connect your Accredible to create a new credential when your Form in Kajabi is submitted. For the Action App & Event: 2. Do this…- Select Accredible Certificates for the App.
- Select Create Credential for the Action Event.
- Click Continue:
Customize credential
- In the Cohort Name field, select the name of your group created in Step 2 of creating your certificate group:
- In the Name field, select First Name (or Name if you wish to display the full name).
- In the Recipient Email field, select the Email data.
- In the Course Name field, enter the name of your Product or the achievement the certificate is for.
- In the Course Description field, type a brief description of the Course or achievement.
- (optional step) If you have any additional attributes set up in your Accredible certificate, match the attribute to the data pulled from your Form in Kajabi.
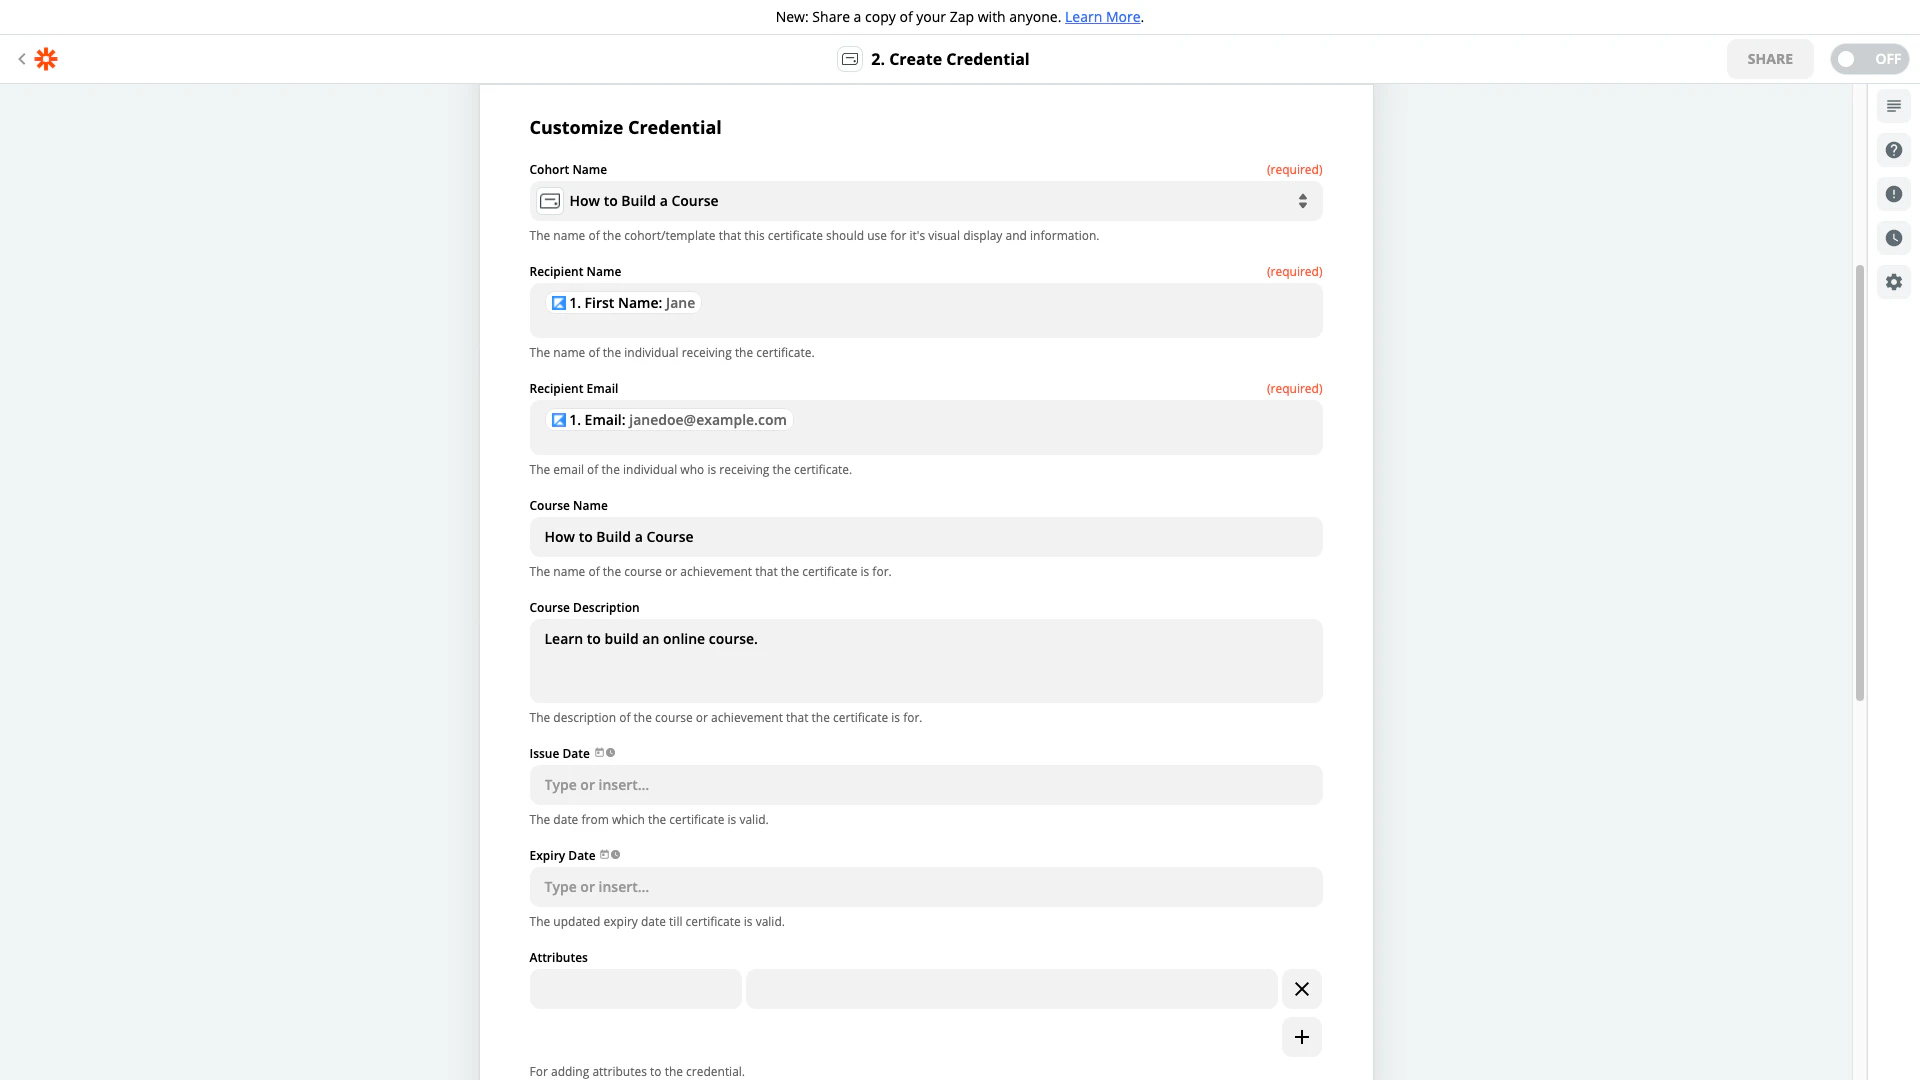
- Then, in the Publish Credential field, be sure to select True to publish your credential when the Form is submitted.
Turn on the Zap
After successfully testing your Zap, be sure to turn your Zap On: